Photography Tips

Photography Tip - shoot at eye level to your subject

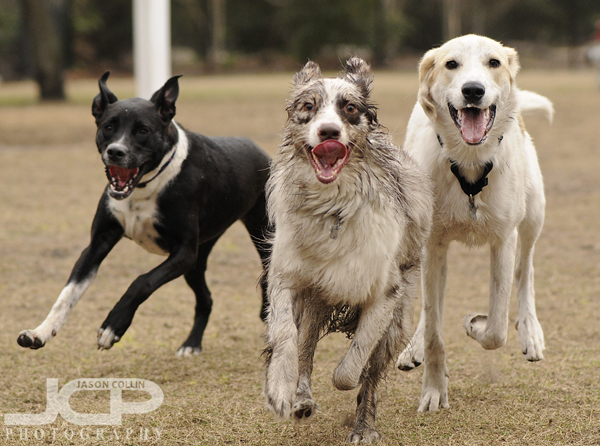
Seeing eye-to-eye with Kiki (left) and two friends. Shot from one knee at the same eye level as the dogs.One very easy way to start making photographs like a pro is to simply stop only shooting from your own eye level.  Getting down to the same eye level as your subject immediately transform a photograph, for the better.  I often see people in the dog park standing and shooting down on their dogs playing.  That will just show you what you already see when looking at your dogs, so why would you want to see a photograph of that?  Get down on one knee (or your stomach if you have a very small dog!) and suddenly you will see in photographs your dog from a very different perspective.  

In the above photo Kiki is running with two friends.  The expressions on their faces are all very clear and it looks like the dogs are looking right at the viewer of the photo in the eye.  This creates a connection to the subject of the photograph not possible if shot from me standing up over five feet in the air.

The next time you go out shooting trying taking a knee or even lying down to get to eye level and see a world from a new perspective!

Photography Tip - go minimalist with subject & background

Composed and exposed for minimalism in subject matter and background.One way to create visual appeal in a photograph is to compose for minimalism in both subject and background.  This also results in a very clean looking image.  Sometimes the lack of visuals can create a strong visual.  Nothing ruins a photograph like a busy background.  In the above photo instead of showing the sky, I chose settings that totally blew out the sky creating a pure white background.  This allows the old cable tower to be shown cleanly.  Only part of the cable tower was put in the frame to again focus the subject matter and create a minimalist look.  

The next time you go out shooting try composing for minimalism.  This can be done with any subject matter.  

Photography Tip - leave your camera out ready to shoot

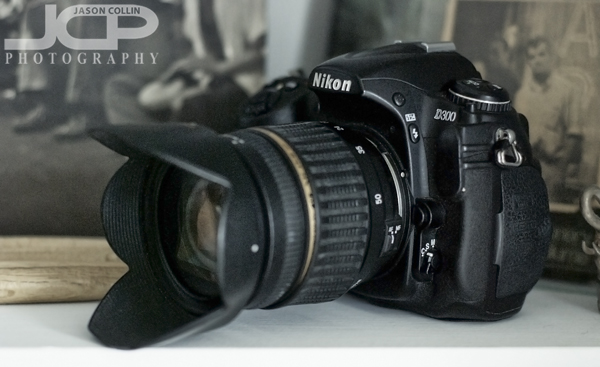
Photography Tip - keep your camera on a shelf with lens cap off ready to shoot at any time!If you are not shooting much from home, maybe it is because your camera is packed away in a bag in the closet somewhere.  A very simple way to start taking more photos at home is by keeping your camera out on a shelf, or table, lens cap off, all ready to just be picked up, turned on and shoot.  Just seeing your camera and having it out will remind you, hey I should be taking some photos to keep in practice.  Another reason to keep your camera at the ready is if you are always seeing good photograph opportunities, but miss them because your camera is four steps away from shoot ready.  For example, if I know I want to make a shot of the sunrise, the night before I have my camera out and on the tripod ready so when I wake up, that is one less hurdle to getting the sunrise photos I want.  

Photography Tip - point your shadow at the subject

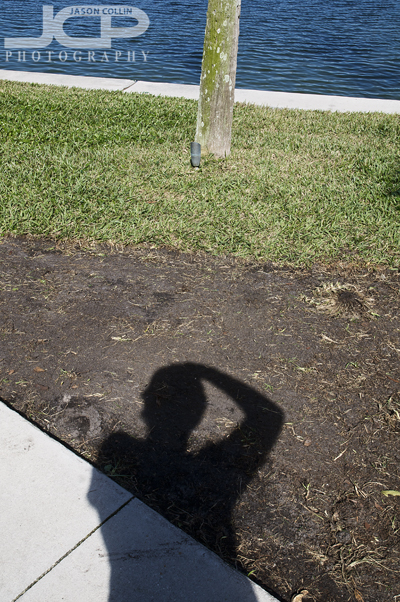
Point your shadow at the subject to get the best exposure chance.Pointing your shadow at the subject is the photography tip I have given the most perhaps.  I have told it to every past photography student (300 and counting!).  The most common way to express this though is to say put your back to the sun to help get the best exposure when shooting outside on a sunny day.  I find it is even easier just to point your shadow at the subject.  For a subject you can move, then definitely place yourself between the subject and the sun so that your shadow is pointing at the subject and your back is to the sun.  Sometimes of course the subject cannot be moved so then you have to compromise or come back at a different time when the sun would be behind you.

For moving subjects I follow this same rule.  I will position myself as much as possible with my shadow pointing in the general area of the subject and wait for it to move in front of me.

Pointing your shadow at your subject will give you the best chance at getting a good exposure throughout the photo when shooting during the day.  It's a very simple way to dramatically improve your final image.  Let me know how it works for you.

Photography Tip - use repeating patterns & shallow DoF composition

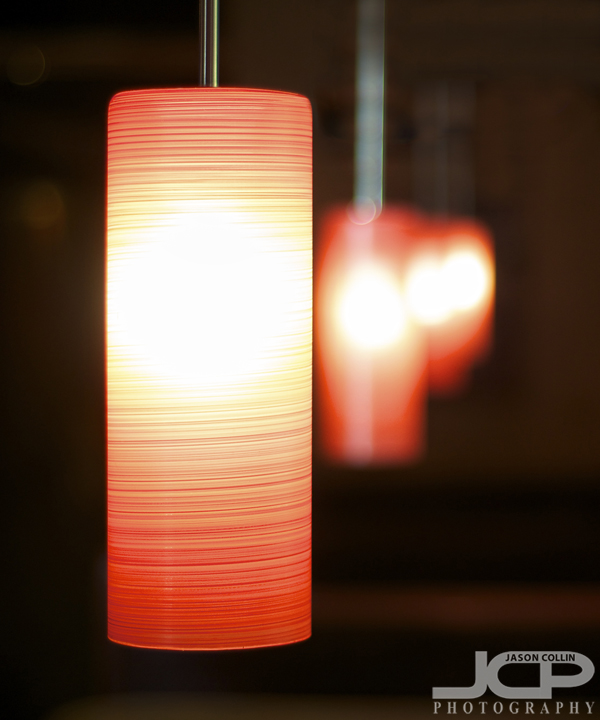
These are hanging lights in a dark restaurant. I just popped in and asked someone if I could make a quick photograph of them.I do not often give composition tips, nor get around to teaching them so often in my 1-on-1 DSLR photography lessons because I usually focus on the practical aspects of making a well exposed and sharp image in any given shooting conditions.  Once someone knows how to do that, then the creative aspect of photography can come into play, and that is something that can only be taught to a certain extent anyway.  Either you have talent composing a photograph, or you do not.

Of course there are some composition tips that can definitely help out, or if you find yourself using the same composition style over and over, reading a few new ideas can provide some new inspiration.  

These are hoops on a rack in an accessories shop. Same situation, I asked someone inside if I could take a few photos, and they said yes!The two example photos in this blog post show a combination of two composition techniques, the first is obviously shallow depth of focus (DoF) and the other is repeating patterns.  The latter is something I am always looking for when out in the field.  I am a big fan of including repeating patterns, the more creative and abstract the better, in photographs.  Shallow DoF can be used on any subject matter, but when combined with a repeating pattern I feel has an even greater visual impact. 

Photography Tip - go through all your DSLR menus and recheck settings

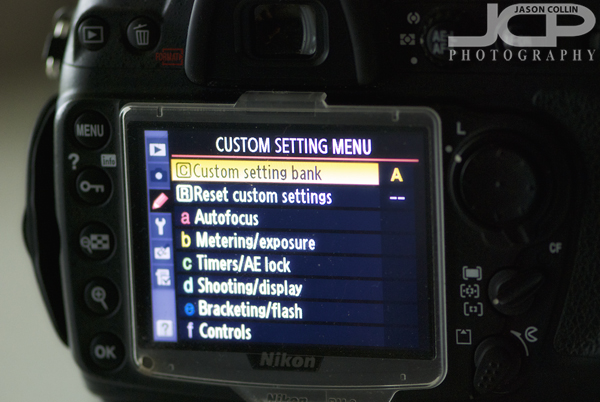
To start out the year, the first photography tip of 2014 is to go through each and everyone of your DSLR's menus and confirm that all the settings are what you want and to refresh your memory about where less often used settings are.  Deep in the menus are things that basically only ever need to be set once (like number of auto-focus points beyond a single point), but gremlins do exist and even though you may never remember changing any of these lesser used settings, they might have on their own somehow!  

Going through all the menus will also help you remember where things are that do occassionally need to be changed.  It's better to refresh you memory home at your desk than when out in the field already shooting.  

If you find something in your menus you are not sure of what to set at, or even what it does, leave a question in the comments and I will try and answer it for you.

Good luck shooting in 2014!

Photography Tip - adjust highlights slider to recover detail

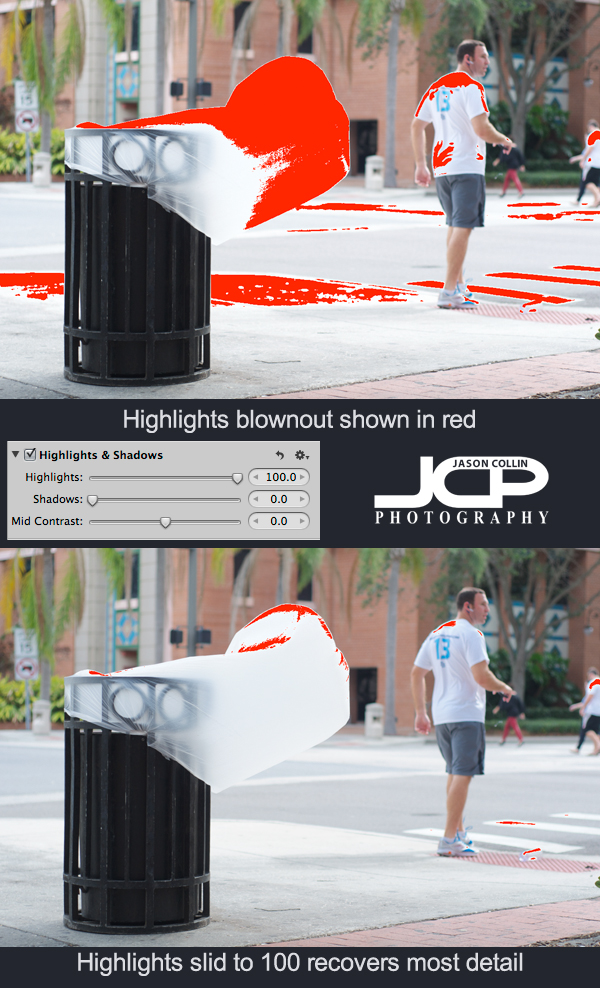
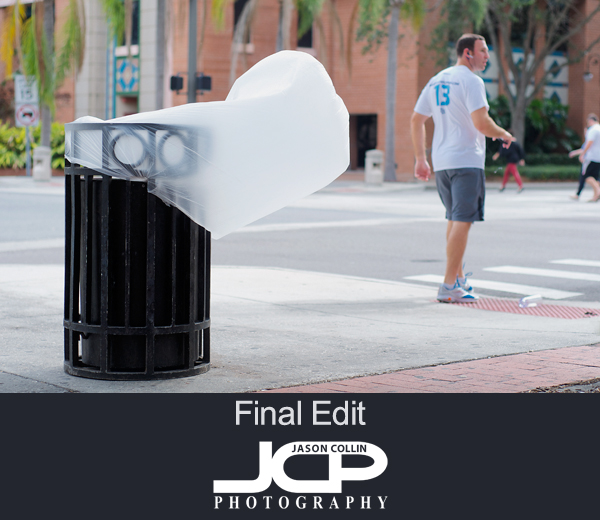
When shooting outdoors in the harsh Florida sun, it is not uncommon to blowout the highlights in a photograph, especially if there are any white colors in the shot or there are reflective surfaces.  In the above example you can see one thing that fascinates me about St. Petersburg - its trash cans.  On windy days when the trash cans are empty, the trash bag itself gets kind of turned inside out and blows out like a tongue.  These wave and thrash in the wind and it amuses me to see this phenomenon.  

In the shot, the trash bag is the lightest thing in the whole frame.  Most of the shot looks exposed correctly, but the white trash bag is catching a lot of light and that results in it looking blownout.  Using Aperture 3 I turned on the show Highlights/Shadows view which paints red over the parts of an image that are overexposed (blownout).  Sometimes detail can be recovered in blown highlights and it is very simple to do.  

---> Just use the Highlights slider to get back details 

In this case it had to go all the way to 100%, but usually less is needed.  In the second screenshot after the Highlights slider has been adjusted, there is much less red visible.

After doing all my usual editing to a photoggraph, the results allow the viewer to see the trash bag as more than just a pure white cylinder.  Try adjusting the Highlights slider when editing your photographs to recover as much details as possible, especially when shooting out in bright sunny conditions.