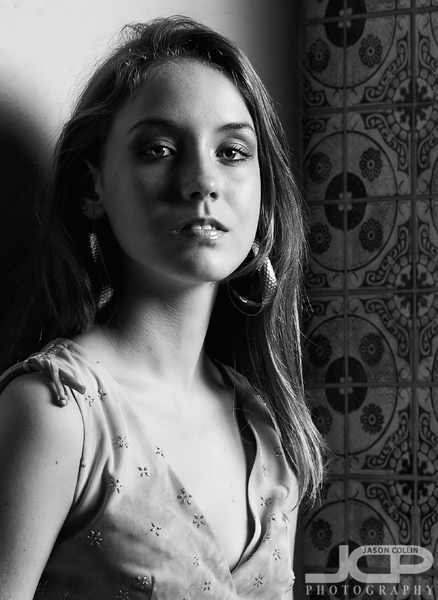
shadow

White Sands National Park Sunset Photography July 2021

White Sands National Park Sunset Photography July 2021

Closer to White Sands but still a world apart

White Sands National Park outside of Alamogordo, New Mexico is easily the most photographed natural wonder for me in the state. I have had the opportunity to visit this amazing place three times in the past seven months alone. Each time I go the views and the sands are different. This time I did not have the chance to wonder very far to some little trod on area, but I made the best of this near parking lot location by looking even more for the dance between shadow and light and the sunset. As it has been since I got it last year, the Sony 12-24mm f/2.8 G Master lens is an absolute rock star at White Sands. Which of these views is your favorite this time?

Read More

Photography Tip - point your shadow at the subject

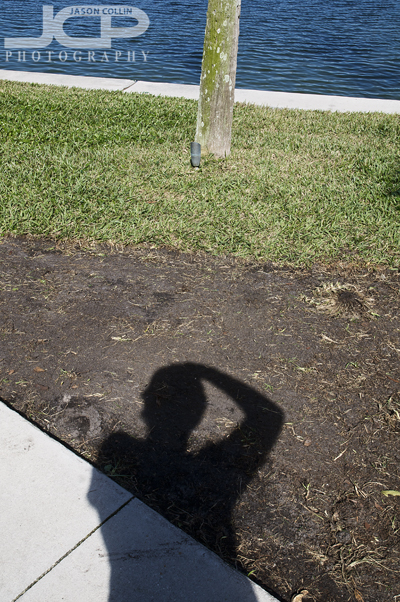
Point your shadow at the subject to get the best exposure chance.Pointing your shadow at the subject is the photography tip I have given the most perhaps.  I have told it to every past photography student (300 and counting!).  The most common way to express this though is to say put your back to the sun to help get the best exposure when shooting outside on a sunny day.  I find it is even easier just to point your shadow at the subject.  For a subject you can move, then definitely place yourself between the subject and the sun so that your shadow is pointing at the subject and your back is to the sun.  Sometimes of course the subject cannot be moved so then you have to compromise or come back at a different time when the sun would be behind you.

For moving subjects I follow this same rule.  I will position myself as much as possible with my shadow pointing in the general area of the subject and wait for it to move in front of me.

Pointing your shadow at your subject will give you the best chance at getting a good exposure throughout the photo when shooting during the day.  It's a very simple way to dramatically improve your final image.  Let me know how it works for you.

Photography Tip - shoot in RAW to get greater details in shadows

One of the many advantages of shooting with a DSLR camera over a lot of point and shoot cameras and the cameras built into phones, is that you can shoot in RAW quality level.  However, by default DSLRs are usually set to shoot in only JPG mode, and not even the highest quality JPG images at that!

The photo above was made kind of by accident as I was testing shooting tethered to my MacBook Pro (hence it is just a photo of my laptop), but when I saw the results I thought this is a good example of why to shoot in RAW.  My Nikon D300 is always set to shoot in RAW + JPG (basic) mode.  So in one shot it makes two images, one RAW and one JPG.  So both photos above are actually a single shot, the top is the JPG result and the bottom is the RAW result (both just put into Aperture 3, no editing done).

One advantage of shooting in RAW is the much greater detail you can get in shadows.  Look at the keyboard in the JPG, you cannot even really see individual keys.  In the RAW image you can see them individually.  On the laptop screen look at the upper right corner.  In the RAW version you can see the grass on the side of the road.  In the JPG version it is pure black.  In the RAW photo you can see the dishwasher in my kitchen, in the JPG it is just a black blob under the window.  

Shooting in RAW is a great advantage if you do a lot of low light photography.  

Vintage Door Model Portfolio Shoot St. Petersburg Florida with Rita

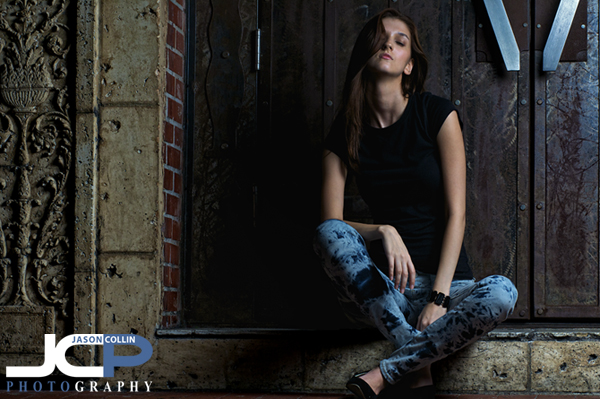
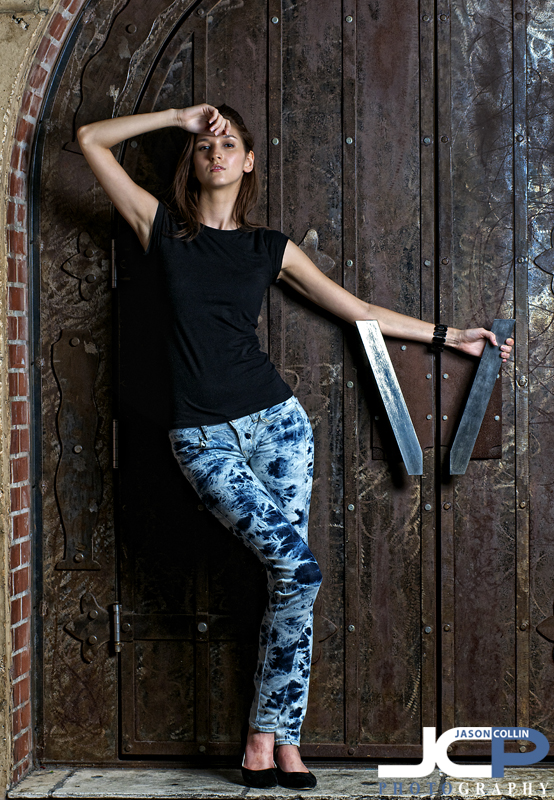
Framing the model, Rita, with detailed architecture and a vintage door - Nikon D300 Nikkor 80-200mm @ f/9 ISO 200 1/100th - Strobist: SB-800 @ 1/4 power in 43" brolly to frame left

For my model portfolio shoot with Rita in downtown St. Petersburg, I finally had a chance to use a very small part of a building I had been wanting to feature in a photo shoot for a long time.  Many times I walked past this spot while teaching 1-on-1 DSLR Photography Lessons and kept making mental notes to use the features of the spot (long brick wall, medieval looking door) in a shoot someday.  Finally, that day was yesterday evening with model, Rita (her official website).

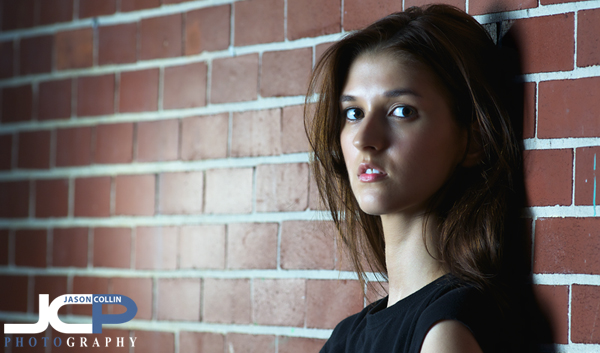
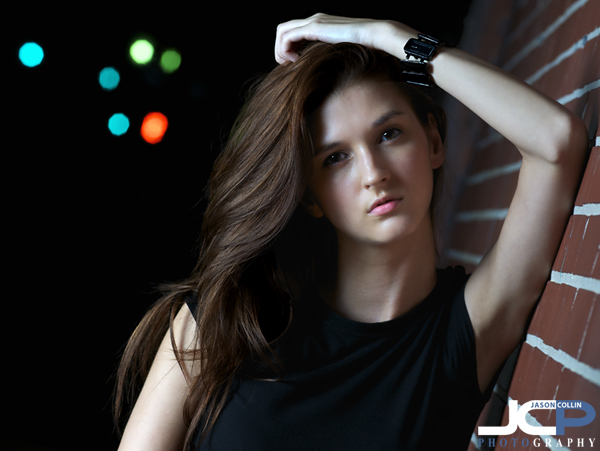
Featuring a brick wall in this panorama model headshot - Nikon D300 Nikkor 80-200mm @ f/5.6 ISO 200 1/60th - Strobist: SB-800 @ 1/4 power in 43" brolly to frame right & SB-600 @ 1/16th power with diffuser cap pointed at the wallThough we only shot in a space of about 10 feet, we were able to produce a variety of different shots by featuring the brick wall or the metallic door as the background as well as close-ups and wide shots.  I also switched between using a 2-strobe setup like the one above, and a single strobe setup like the lead image.  

Model positioning her arm as a triangle to be symmetric with the door handle - Nikon D300 Nikkor 80-200mm @ f/5.6 ISO 200 1/60th Strobist: SB-800 @ 1/4 power in 43" brolly to frame leftRita's style of changing poses after each time I pushed the shutter made for a flow that I had not experienced with a model before.  I really liked it as it kept the shoot moving giving the process a dynamic feel.  

Bokeh made by traffic lights - Nikon D300 Nikkor 80-200mm @ f/5.6 ISO 200 1/60th Strobist: SB-800 @ 1/4 power in 43" brolly to frame right & SB-600 @ 1/16th power to frame leftI liked being able to make soft looking images, like the one above, along with gritty images in the same shoot as no matter how long or short of a shoot, I do like to create a variety of looks for the model.  For the above shot, I thought the straight perpendicular composition looked too rigid, so I tilted my camera to remove the boundary feeling of the 90-degree angle framing.

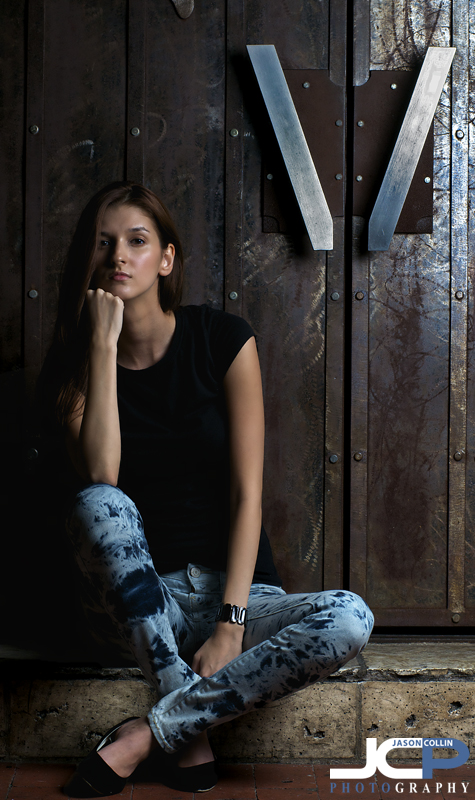
This images features a vertical line theme - Nikon D300 Nikkor 80-200mm @ f/9 ISO 200 1/100th Strobist: SB-800 @ 1/4 power in 43" brolly to frame leftI was again impressed with the lighting job my 43" brolly did.  I will feature it in a proper gear review soon.  As you can see it does not take a lot of lighting equipment to make an effective portrait.  The above shot features a single speedlight off camera in the brolly.  All I did was place it about 45 degrees to the left of the model on a light stand using inexpensive Yongnuo radio triggers (to be reviewed soon also).  Of course it also helps to have a beautiful and talented model like Rita to work with!

Film Noir Model Portfolio Shoot St. Petersburg Florida with Alexandra

These are actually post office steps! The neon in the background is real, though modified - Nikon D300 Nikkor 80-200mm @ f/5.6 ISO 400 1/160th Strobist: Nikon SB-800 Speedlight @ 1/4 power in 43" brolly to frame left & Nikon SB-600 Speedlight @ 1/2 power with diffuser cap to frame left

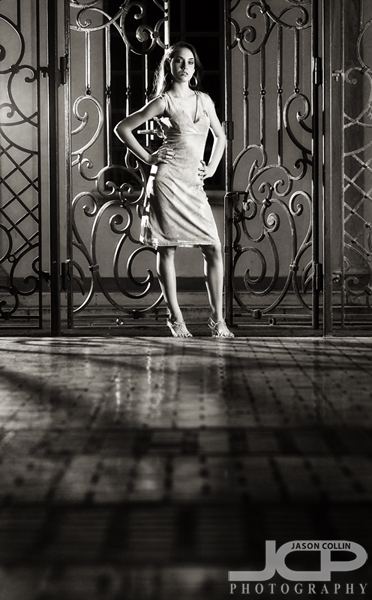
I cannot say I explicitily intended for my model portfolio shoot with Alexandra to turn into a film noir style, but through editing of the images it certainly turned out that way.  We were shooting in the late evening from about 7:45pm to 8:25pm mostly around the Arcade in downtown St. Petersburg.  The Arcade is a great location offering a variety of shot opportunities, especially at that late time of day with all its shadow opportunities.  The above shot was actually the very last shot of the shoot.  The background features the neon sign of a cafe across the street with the contrast selectively turned up so that only what is illuminated by my speedlights and the neon remain visible.

Using long shadows created by a speedlight outside the gates - - Nikon D300 Nikkor 80-200mm @ f/4 ISO 400 1/160th Strobist: Nikon SB-800 Speedlight @ 1/8 power in 43" brolly to frame left & Nikon SB-600 Speedlight @ 1/2 power with diffuser cap to frame leftI chose the Arcade as a shooting location because of the great, very tall, ornate, iron gates.  I knew they would make for a fantastic background and/or prop.  For the above shot I placed a speedlight outside the gates to frame left in the alley to help cast long shadows in the foreground.  I composed so to accentuate them.  Alexandra came up with a great pose taking my one small suggestion to create space between each arm and her body, something I always make sure is set otherwise the model will appear to have a lumpy body or strange attached arm.  Alexandra in fact did a great job overall allowing me to focus on creating mood and atmosphere with my lighting and composition.

The 43" brolly creates soft shadows, I love it - - Nikon D300 Nikkor 80-200mm @ f/4 ISO 400 1/160th Strobist: Nikon SB-800 Speedlight @ 1/8 power in 43" brolly to frame left & Nikon SB-600 Speedlight @ 1/2 power with diffuser cap to frame leftThis shot features the same gates and lighting setup.  Without the speedlight outside the gates providing backlight, the gate on frame right would appear dull and lack the reflective light on it.  Additionally, the same speedlight provides rim light around the model, especially her hair, right arm and right side.  A photographer can do a lot with just two speedlights positioned in key spots.  I could carry all my strobist and photography gear that I used for this shoot myself, following the "lighten up and shoot" philosophy.

A single strobe setup with intentional background shadow - Nikon D300 Nikkor 80-200mm @ f/4.5 ISO 400 1/160th Strobist: Nikon SB-800 Speedlight @ 1/8 power in 43" brolly to frame rightThis shot is different than all the others in that it features only one speedlight positioned to create Rembrandt lighting (nose & cheek shadows touch leaving a little light under the eye) on the model.  I wanted to include one soft feeling image in the shoot as most of the others were really strong from a posing and overall feel perspective.  

Thank you again to Alexandra.  You can follow her work on Model Mahem and Facebook.