Old Northeast St. Petersburg Real Estate Photography 9th Ave North

Old Northeast Real Estate Photography - living room with character - Nikon D300 Tamron 17-50mm @ f/11 ISO 200 7-exposure HDRI got another St. Petersburg real estate photography assignment from Haike of Crown Group Realty last week to photograph a very charming Old Northeast home with lots of character.  The great room features a high ceiling with exposed beams, a fireplace, hardwood floors and a rounded archway into the dining room.  

Old Northeast Real Estate Photography - rounded archway & exposed beam ceiling - Nikon D300 Tamron 17-50mm @ f/11 7-exposure HDRI wanted to include as many of the unique features of the rooms as possible in each shot.  Setting up in the dining room this shot shows the formal living room and in the back the Florida (sunroom) room that is right at the front of the house.  

Old Northeast Real Estate Photography - bright & cheery kitchen - Nikon D300 Tamron 17-50mm @ f/11 ISO 200 0.5 sec single exposureThe kitchen is at the back of the house and connects to several nooks, one for a small office and another for a built-in bench table.  The owner keeps boxes of crackers in his oven, which reminds me of my grandparents who did the same!

Old Northeast Real Estate Photography - a tudor style home - Nikon D300 Tamron 17-50mm @ f/11 ISO 200 7-exposure HDRI really enjoyed photographing this house and talking with the owner and his two lady friends.  I believe upon selling the house he plans to move to Rome "for the rest of his life" as he puts it.  Sounds like a great adventure.

Architecture Photography Tip put building edge parallel to edge of the frame

This photography tip is about how to frame architecture shots with regards to the sides of the frame.  When photographing a skyscraper like the one above, I like to get the opposite edge (in this case the left) of where the building starts from to end with a part of the building parallel to that edge.  

In the shot on the right, the top of the building is at an angle to the left of the frame.  To me this looks awkward and makes the viewer's eye uncomfortable when following the lines of the skyscraper.  In the shot on the left, I composed so that the top of the building ended up parallel to the left (opposite edge) of the frame.  The viewer's eye starts from right to left and continues up through the top of the frame.  

What do you think about this small, but important composition detail? 

  • Read more photography tips
  • Reserve your own 1-on-1 DSLR Photography Lesson with Jason today!
  • Learn more about the lessons
  • Kiteboarding at Pass-A-Grille Beach Florida in Stormy Skies

    Kiteboarding at Pass-A-Grille Beach Florida - unusual settings needed - Nikon D300 Tamron 17-50mm @ f/2.8 ISO 800 1/500thPass-A-Grille Beach exists at the very southern end of all the gulf beaches of Pinellas County on Gulf Blvd.  It is a quiet place, especially in February.  It is a very quiet place in February just after a storm passes by.  The length of the sandy beach was empty.  The only other human around was floating out above the water kiteboarding under stormy skies.

    Kiteboarder floating over Pass-A-Grille Beach Florida - Nikon D300 Tamron 17-50mm @ f/2.8 ISO 800 1/500thAs is usual when walking around with my DSLR, I had only one lens with me.  I knew before I left the house the types of photographs I wanted to make, so I brought the appropriate lens for that job, my Tamron XR Di II 17-50mm f/2.8 lens.  However, this meant when I saw the kiteboarder I could only make wide sweeping shots in which the kiteboarder himself appeared but as a speck.  I felt limited by that then, but now I realize I would not have wanted to make the shots any other way because the story of these shots was largely in the storm itself.  Showing the kiteboarder in the context of the weather was more dramatic than if I had made tight actions shots of him in flat light.

    Kiteboarder zooming against the wind at Pass-A-Grille Beach FloridaIf you are looking for a quiet place to just "be," then I highly recommend Pass-A-Grille Beach for its forgottenness, it's end of the land feeling and for its sweeping views of the Gulf.  If you go there in winter, after a storm, you might see someone with a dog and a camera passing you by.  

    Nikon D5100 DSLR Photography Lesson with Debbie in St. Petersburg Florida

    Debbie with her new Nikon D5100 during our photography lesson in St. Petersburg FloridaIt was on a crisp and sunny President's Day I met Debbie with her new Nikon D5100 for our first DSLR Photography Lesson together in downtown St. Petersburg.  Debbie had a Fuji bridge camera before that she had extensive experience with photographing people.  However, she was mostly using it on auto-mode, and likewise, when she got the D5100 she was staying in auto-mode.  DSLRs do not work well at all in auto-mode, they like to be told what to do.  The very first goal during my 1-on-1 photography lessons is to get people off auto-mode and to start taking more control over their photographs.  

    Even though Debbie already had photography knowledge, I added some organization to that with my 4-step method of getting the settings right for any given shot and also helping her just get familiar with changing those four things on her D5100.  We started out using aperture priority mode, but it did not take long to find the limits of using it in the harsh mid-day Florida sunlight.  Aperture priority mode was a good starting point for making a landscape shot of The Pier and Tampa Bay, but it was choosing too slow of a shutter speed.  By switching to manual mode and doubling the speed from 1/100th to 1/200th the results were much deeper blues in the sky, more details in the clouds and just an overall more dynamic image.  That is the power of taking control of your DSLR.

    Debbie gets to travel often for her work, giving her lots of different photography opportunities.  I look forward to seeing her images taken in aperture and manual modes!

    Downy Woodpecker neighbor on palm tree in St. Petersburg Florida

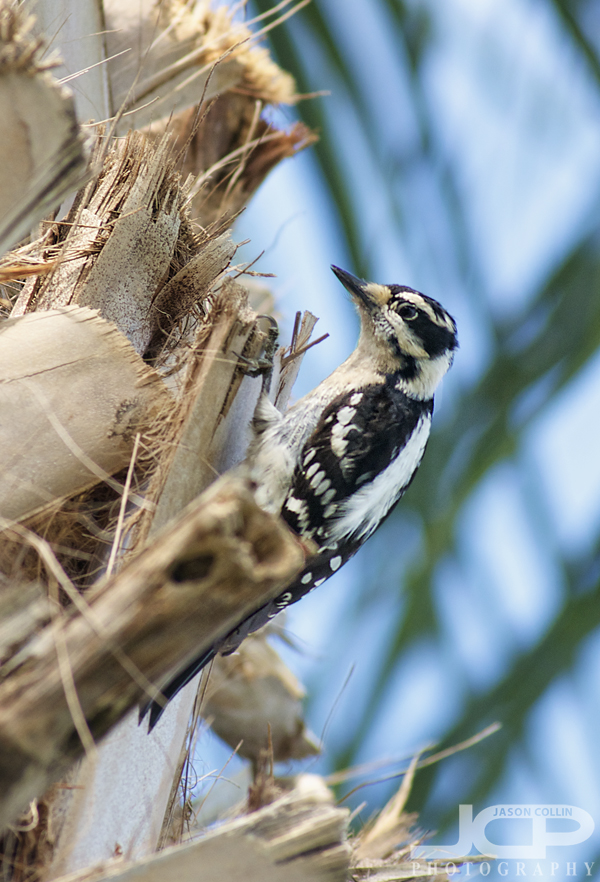
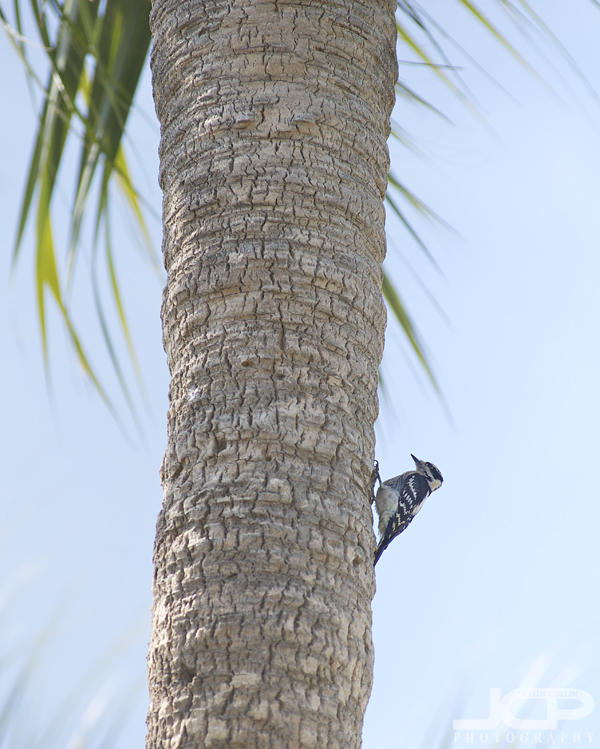
    Downy Woodpecker on palm tree - one of my neighbors - Nikon D300 Nikkor AF ED 80-200mm f/2.8D lens @ f/4 ISO 200 1/500thOn weekday afternoons while I am at my desk editing photos or putting up blog posts like this one, I often hear a dull, repetitive sound coming from just beyond the back patio.  The sound signals my neighbor, a downy woodpecker, has returned to work on the three cabbage palms in my backyard.  He (or she) is a small fellow and my longest lens is only 200mm, so I never really thought to try and photograph the woodpecker before.  Well yesterday the downy woodpecker was pecking away a bit lower in the tree and with a bit of cropping, I was able to produce the above shot.  

    Downy Woodpecker on cabbage palm in St. Petersburg FloridaIt seems strange doesn't it to see a woodpecker on a palm tree?

    Panasonic Lumix DMC-GF3 Photography Lesson St. Petersburg Florida

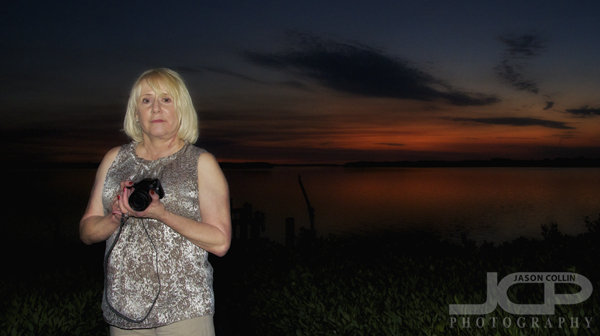
    Donna with her new Lumix DMC-GF3 Micro Four Thirds camera at twilight during our first photography lessonI received a phone call from Donna inquiring about my DSLR Photography Lessons and if I had time for a lesson before she soon left for a trip to South America.  Fortunately, both our schedules worked out and we were able to have our first of four lessons before her trip.  Donna just got a Panasonic Lumix DMC-GF3 Micro Four Thirds style camera.  This was my first time to get hands on with one of these compact cameras that has interchangeable lenses.  To be honest, my first impression is I would never own one of these types of cameras.  If I was not going to bring my DSLR around with me, I would probably then opt for something like the Nikon Coolpix P7100 or the Canon Powershot G12.  Still, I found the mostly menu driven DMC-GF3 to be pretty intuitive as I could figure out everything without having to delve into the manual.  

    The Lumix DMC-GF3 does have all the exposure modes of a DSLR, including aperture and shutter priority modes, as well as full manual.  Therefore, I could teach Donna my (someday) patented 4-step process for getting the correct exposure and sharpness for any given shooting conditions.  We started in aperture priority mode and once we hit the limits of her lens (f/5.6) and then also the shutter speed limit of 1/50th (what I feel is safely possible to handhold with a wide angle lens on) I had her switch to manual mode and force the shutter speed to stay at 1/50th of a second, but increase the ISO acccordingly to still get the desired exposure.  

    We tested the built-in pop-up flash of the Lumix DMC-GF3 for casual indoor portraits.  It worked as well as most pop-up flashes, which means it was passable.  When Donna returns from her trip we will work on more composition focused lessons.  I look forward to seeing her South America images!

    Photography Tip - How to make a black background out of nothing but camera & strobe settings

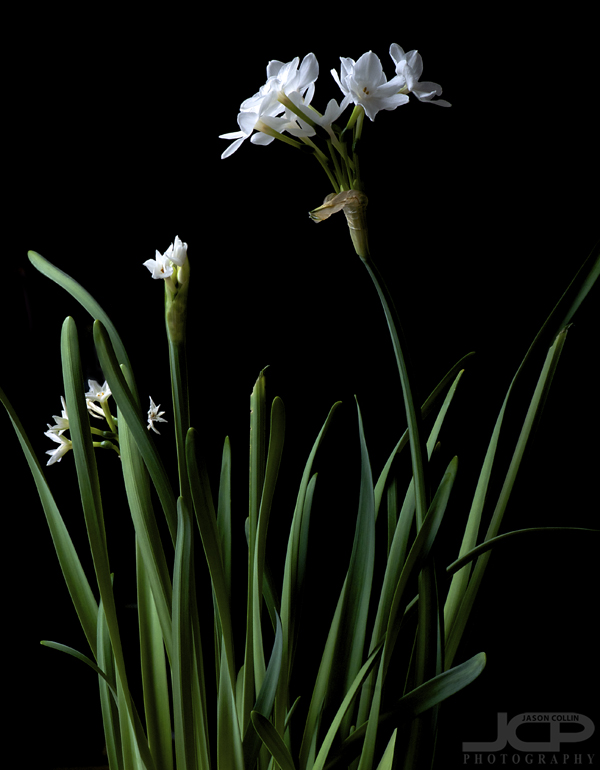
    This flower was photographed in my living room in the afternoon, black background achieved by: Nikon D300 Nikkor 105mm VR micro lens @ f/22 ISO 200 1/250th - Strobist: SB-800 in reflective umbrella to frame leftIf you would like to photograph a subject on a black background, you do not need to have an actual black background to achieve this.  Using strobist skills and manual settings on your DSLR you can create a black background almost magically.  I set these flowers on a small table in the middle of my living room.  It was 1:21pm on a sunny afternoon with the blinds closed on both windows, but a lot of light was still filtering through.  I setup a reflective umbrella (a softbox would work even better) to the left of the flowers with a Nikon SB-800 Speedlight.  It took some fiddling to make sure none of the light from the umbrella splashed onto any of the walls, which made them visible in the shot.  The same goes for getting the settings on my DSLR to produce the results I wanted.  In the end I was able to achieve what I wanted, just the light from the speedlight exposing my subject with the ambient light in the room eliminated due to the small aperture and fast shutter speed settings.  

    How to create a black background: 

    1. setup the subject in a room with as much distance from the walls as possible
    2. setup a speedlight to left or right of subject with umbrella/softbox/other light modifier
    3. start with f/16 and 1/200th & adjust from there as necessary (ISO should be at lowest setting) 

    Thank you to Bill Gracey and his great flickr photostream for the inspiration for this shot.  Be sure and visit his extensive gallery of strobe lit plants.

    Try this at home and be sure and post a link to your results in the comments below.  If you would like to learn how to make photographs like this first hand, I offer 1-on-1 DSLR Photography Lessons in and around the St. Petersburg area.  Reserve your lesson today! 

  • Read more photography tips
  • Reserve your own 1-on-1 DSLR Photography Lesson with Jason today!
  • Learn more about the lessons