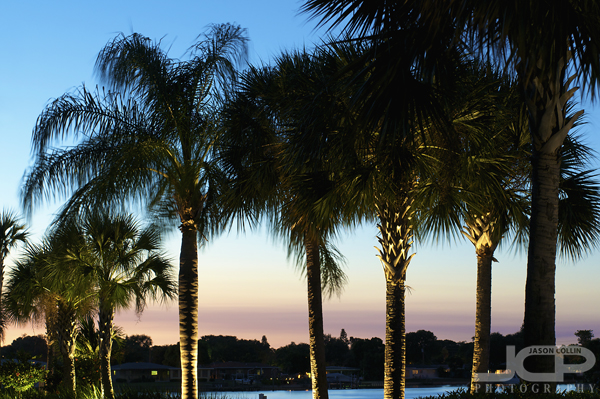
palm tree

Photography Tip use Unsharp Mask for sharpening in Photoshop

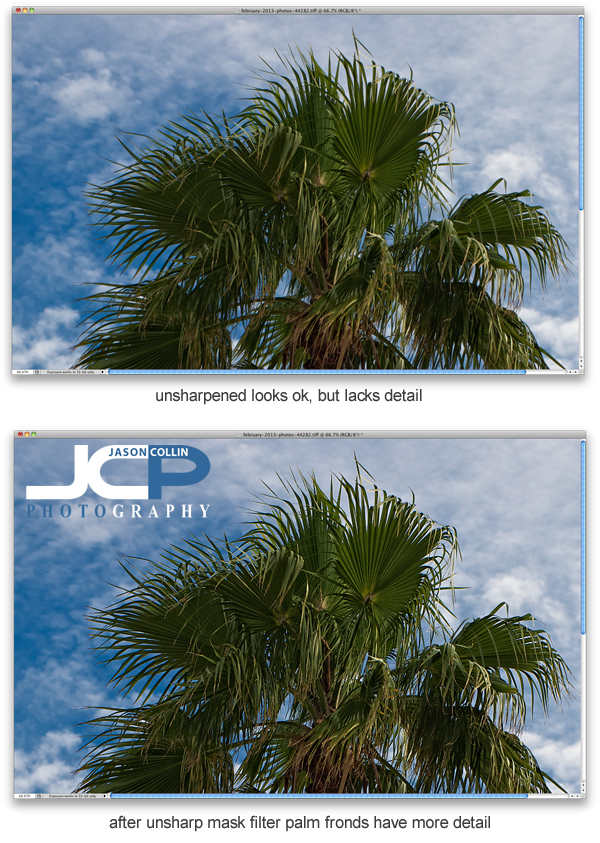
Sharpening is a key part of editing digital photos and perhaps one that goes overlooked due to thinking sharpening is not needed.  On every shot I edit, I use the Unsharp Mask filter in Photoshop (I still use CS5).  In the above example of a cabbage palm tree, I did all my usual editing except sharpening.  The unsharpened image may look fine, but I know it can look better.  In the sharpened version much more detail is visible in the palm fronds, especially on the edges.  Another photography tip within a tip, I did all other editing first because sharpening should be the last thing done when editing an image.
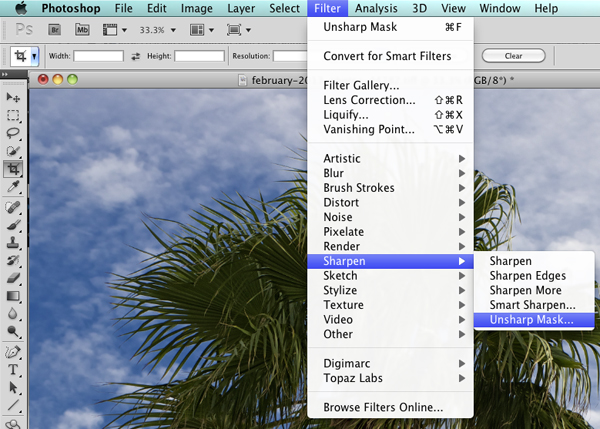
To find Unsharp Mask in Photoshop go into the Filter menu, then Sharpen, and there you will find Unsharp Mask.  I kow it sounds totally crazy to use something called unsharpen to sharpen, but that is just one of the thousands of quirks you either find charming about Photoshop or infuriating!  Note that if you used Unsharp Mask already, on a Mac you can just hit CMD-F to apply the same sharpening to the current photo you are working on.

You can see the settings I use in the Unsharp Mask filter in the above screenshot.  Radius and Threshold never change and are at settings I found I liked, though I learned these from another photographer and fine tuned them a bit.  The only setting of the three I change when applying the Unsharp Mask filter is the Amount percent.  For a very large majority of my photographs, I use 60%.  For portraits (single subject) I may use less.  For HDR shots, I may use more.  Each camera and lens may dictate more or less sharpening to be used.  

Try out the Unsharp Mask filter and let me know what you think in the comments below!

Double Headed Date Palm Tree of St. Petersburg Florida

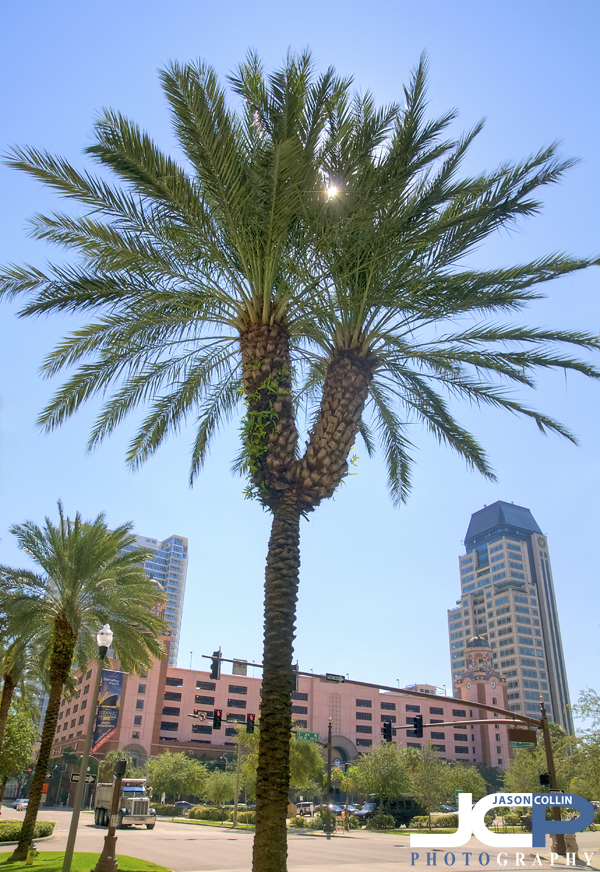
Hiding in plain sight is this double headed date palm tree in downtown St. Petersburg, Florida - Nikon D300 Tamron 17-50mm @ f/5.6 ISO 200 3-exposure HDR handheldI must have walked right past this double headed date palm tree dozens of times, but not until I was out teaching a DSLR Photography Lesson last month did I notice this most unusual tree hiding in plain sight.  Believe it or not, this is not the first time I have seen a double headed palm tree before.  Two years ago I found a cabbage palm in Cape Coral with two heads (see here).  Perhaps they are actually not that rare of an occurrence in nature?

This double headed date palm is near the corner of 1st Ave N and 1st Street N in downtown St. Petersburg.  Go and check it out for yourself!


View Larger Map

Do not use in camera black & white setting - photography tip

I am following up last week's black & white photography tip with yet another this week.  Many digital cameras have the option to shoot in black & white right from the camera.  This may sound very convenient, but as usual with convenience there comes a trade-off, in this case less image data.  To illustrate this I set my Nikon D300 to shoot in monochrome mode for the shot on the left and then in standard mode for the shot on the right, which I then converted to black & white in Silver Efex Pro.  Both photos were large, fine jpg.  As you can see, the converted image contains a half megabyte more of data (12.8% more).  The difference in the amount of data will vary from shot to shot, and in this case it is a bit of a smaller difference, but you will always end up with more data by converting the image to black and white.  What that means is a better final image quality, especially for prints.

Other reasons to always shoot in color and then convert to black & white later include:

  • Silver Efex Pro allows for much more variety of black & white conversions
  • You may actually like the color image better
  • The color image can be shot in RAW

So I highly recommend always shooting in standard mode, and then later converting images into black & white using a powerful app like Silver Efex Pro to produce the best looking black & white images possible.

Use Negative Space when composing photography tip

Composing with negative space - Nikon D300 Tamron 17-50mm @ f/11 ISO 200 1/400th

 I often tell my DSLR photography students to "fill the frame" when composing shots.  I also recently wrote about how not including the entire motorcycle makes for an image with more impact.  That said, another composition technique follows just the opposite of those and calls for using negative space in the frame to be part of the photograph.  

In the above image instead of filling the frame with the palm tree, or using a rule of thirds type of composition, the palm tree is composed as to look small and isolated allowing the negative space itself to be the main subject of the photograph.  Filling the frame with negative space gives the impression of great expansion, or rather, no end once the eye reaches the edge of the frame.  The viewer's eye continues on past the edges filled in by their own imagination of what goes beyond.  

Post a link to your example of negative space composition in the comments below.

Downy Woodpecker neighbor on palm tree in St. Petersburg Florida

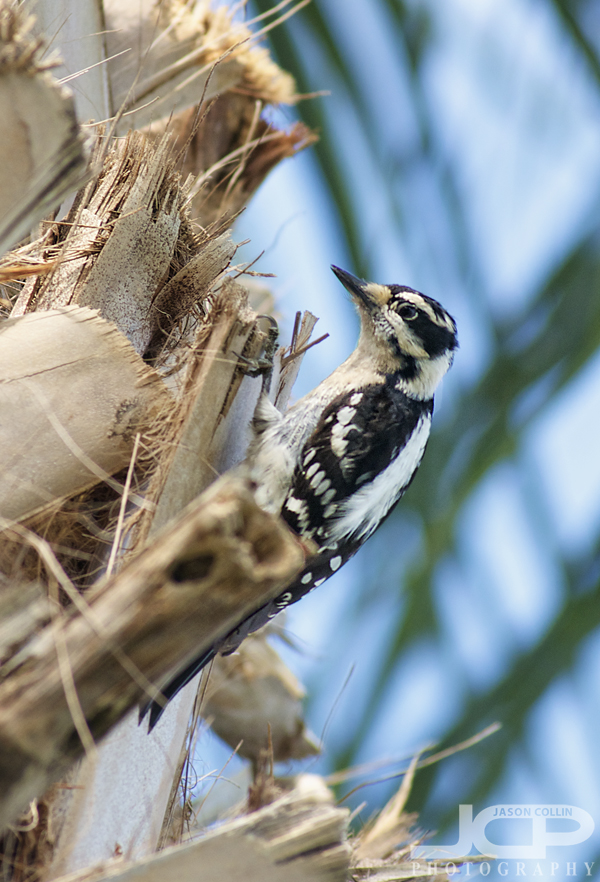
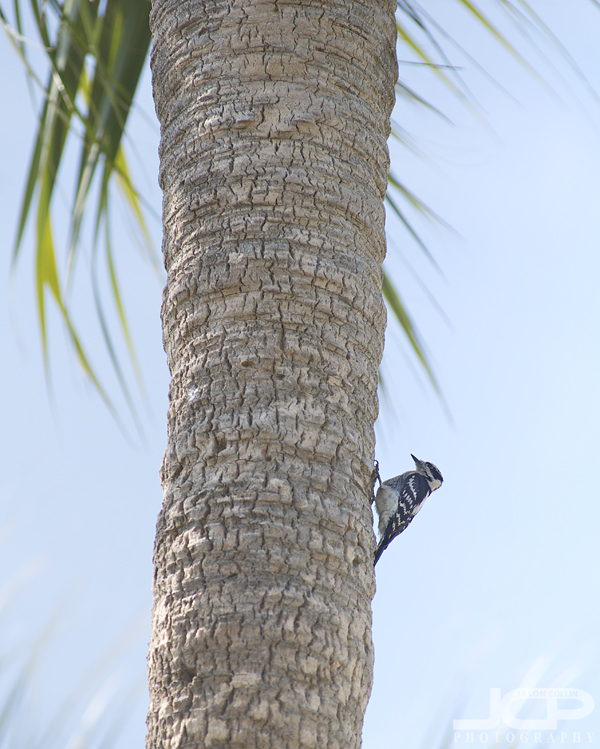
Downy Woodpecker on palm tree - one of my neighbors - Nikon D300 Nikkor AF ED 80-200mm f/2.8D lens @ f/4 ISO 200 1/500thOn weekday afternoons while I am at my desk editing photos or putting up blog posts like this one, I often hear a dull, repetitive sound coming from just beyond the back patio.  The sound signals my neighbor, a downy woodpecker, has returned to work on the three cabbage palms in my backyard.  He (or she) is a small fellow and my longest lens is only 200mm, so I never really thought to try and photograph the woodpecker before.  Well yesterday the downy woodpecker was pecking away a bit lower in the tree and with a bit of cropping, I was able to produce the above shot.  

Downy Woodpecker on cabbage palm in St. Petersburg FloridaIt seems strange doesn't it to see a woodpecker on a palm tree?

Double Headed Cabbage Palm of Cape Coral Florida State Tree

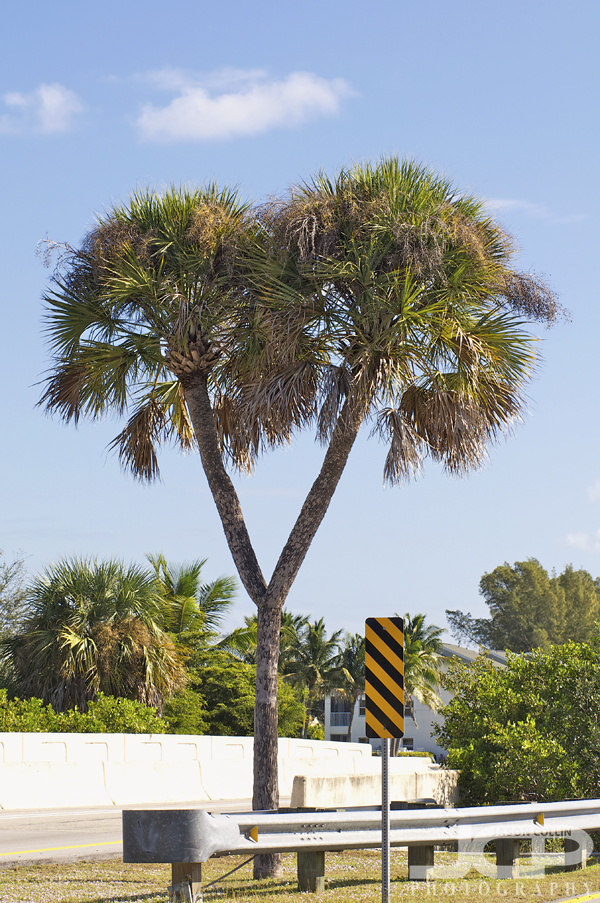
A rare double headed cabbage palm in Cape Coral Florida - Nikon D300 Nikkor 80-200mm @ f/8 ISO 200 1/320thI would say that this double headed cabbage palm is the most famous object in all of Cape Coral, Florida.  I cannot even think what the second most would be.  The cabbage palm itself, in normal single head form, is the Florida state tree.  Personally, I think the cabbage palm is perhaps the least good looking of all palm trees in Florida.

While visiting Cape Coral a few years ago someone tipped me off to the existence of this most unusual tree.  I was able to find it, but I cannot recall the reason why I did not photograph it at that time.  This time I sought it out prepared to shoot it. 

It does not hold any hallowed ground, living its life in a very humble bit of land that serves as the median of a suburban road in a little traveled part of Cape Coral.  

If you would like to visit the most famous denizen of Cape Coral, you can find it here:


View Larger Map

Vivid Florida Waterfront Neighborhood Twilight Palm Trees

The best part of living in Florida, its sunset & twilight views - Nikon D300 with Nikkor AF ED 80-200mm f/2.8D @ f/8 ISO 200 10 sec on Induro CT214 tripod with Nikon MC-30 cable releaseIf you are a photographer living in Florida, very likely you will, at least at first, be most drawn to photographing the magnificent twilight and sunset skies Nature provides on a daily basis.  The time of the transition from day to night is my favorite part of the 24-hour day cycle.  I have a fantastic view of this from my back patio, but to be honest, I do not take advantage of it enough.  In summer with the later sunset time, it is easier as I often take Kiki for our evening walk between 8pm and 8:30pm.  Now back in regular time, with sunsets coming before 6pm, our walks are in all darkness, but those provide stargazing opportunities.

Vivid twilight photographs are not difficult to make.  All you need are:

  • a western view (or eastern if clouds available to reflect twilight)
  • a sturdy tripod
  • the correct shutter speed to pull the most color from the sky

The DSLR and the lens used do not matter that much.  The sturdy tripod eliminates problems of camera shake resulting in blur.  The correct shutter speed eliminates exposure problems, but since you are using a very long exposure, there is a wide range of choices depending on one's desired results of a brighter or darker twilight image.  So unlike many other types of photography, the margin for error in twilight shooting is far greater than say a sunset portrait.

  • Read more photography tips
  • Reserve your own 1-on-1 DSLR Photography Lesson with Jason today!
  • Learn more about the lessons