Photography Tips

Photography Tip - subject dictates lens dictates aperture

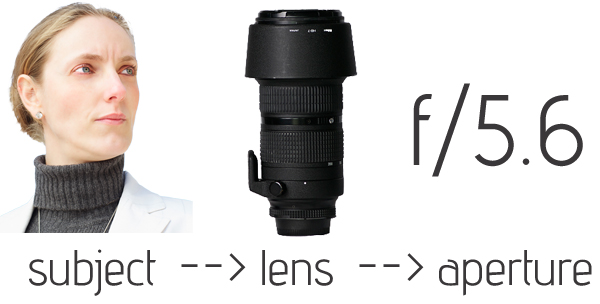
If you find yourself thinking, which lens should I use?  Or if you are thinking, which aperture should I use?  Well, I suggest first thinking about what subject are you going to photograph.  I have lenses with the following focal lengths:  17-50mm, 50mm, 105mm, and 80-200mm.  Each one is very good at photographing different subjects.  After all, why have lenses that largely overlap in purpose?  Since I have these different lenses, how do I know which one to use?  And with what aperture?  I decide this by thinking of the subject first.  I phrase it like this:

subject dictates lens --> lens dictates aperture

Using the above image as a reference, if my subject was a single person for a headshot, that dictates to me I want to use my 80-200mm lens (pictured) and when I use that lens, I most often use it at f/5.6 (read this photography tip for more on which aperture for which lens).  In that way my subject dictates everything I need to know for making the shot as far as which lens & which aperture.  

Likewise, if my subject was a landscape, that would then dictate that I use my 17-50mm lens and that lens dictates that I most often want to use an aperture of f/11.  

So my advice is to always think of your subject first, then think which lens is best for that, and then for each lens you have you know which aperture you like to shoot at with it.  If you only have one lens, or a lens with a wide focal range of 18-200mm for example, you can still use the same process, just instead subject dictates lens dictates aperture, it would be subject dictates focal range dictates aperture.  I would think of the lens then as an 18-50mm and a 50mm-200mm in that regard.

Photography Tip - Enable Highlights mode

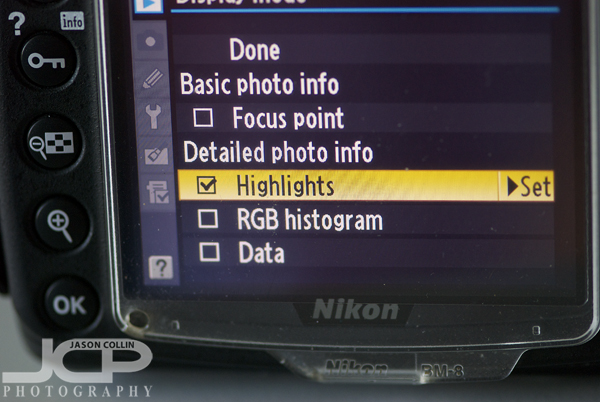
Go to Highlight alert on Canon DSLRs to show any overexposed areas when reviewing your shots.One very useful feature that is often not on by default in DSLR cameras, is the view highlights mode.  Enabling this mode allows you to see which areas of a photograph have blown out highlights.  The areas will flash giving a clear signal that part of the photograph is overexposed and that you may want to adjust exposure to bring back detail in those highlights.

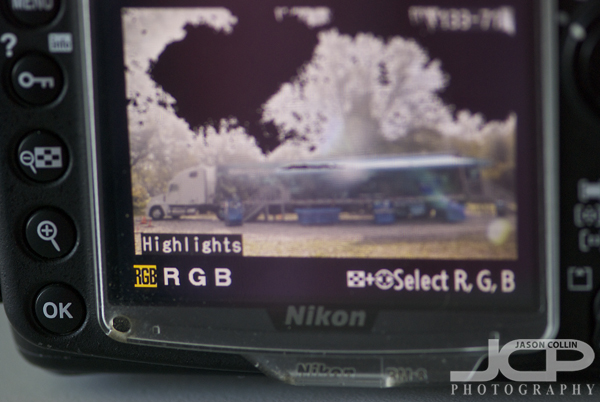
Nikon offers many types of review views including highlights.As usual, Nikon does highlights mode much better than Canon.  No matter what review mode you look at on a Canon DSLR, the highlights will always be flashing.  This gets annoying when you just want to see the composition of the shot and you may have intentionally overexposed some areas.  On Nikon highlights have their very own review view.  

The black areas in the white sky are the flashing highlight signalIn the image above the large black areas in the sky indicate the portions of the photograph that are overexposed, or blown out.  Those black areas will flash on and off clearing letting you know, "hey, the sky is totally blown out, did you really intend to do that?"  

How many memory cards for photography should I have?

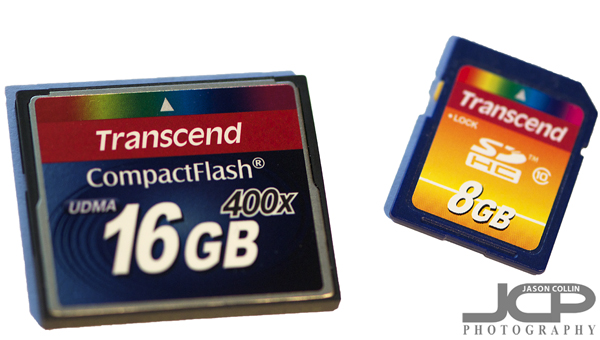
I recommend Transcend memory cards. I have used them exclusively in my DSLRs for over 4 years.HOW MANY MEMORY CARDS SHOULD I HAVE FOR MY DSLR CAMERA?

The answer to this question is simple, but it requires a bit of counting.  This is my formula for the minimum number of memory cards you should have: 

  • # of cameras + # of camera bags = total number of memory cards

I have two DSLRs and two camera bags.  Therefore, if I followed my own rule, I should have at least four memory cards.  I do, I have five.  Why match the number of memory cards to both the number of cameras you have and the number of bags?  This is to avoid ever being stuck without a memory card.  For example, you took the memory card out of your camera and left it on your desk.  You put your camera back in your bag and go out to shoot the next day, but the memory card is still at home on your desk!  If you had a memory card stashed in your bag, you are saved.  

Why do I recommend this?  Well, because it has happened to me!  I left a memory card on my desk, went out to shoot, boom, no memory card.  That feeling is a rather terrible one let me tell you!  So I then made sure I always had a spare memory card in each camera bag so if I ever forgot to put a memory card back in my camera, I am not out in the field stuck not being able to make photographs.  

Memory cards are extremely cheap, so there is no excuse not to follow my memory card formula!  If you think memory cards are not cheap today, then let me tell you that in 2001 when I got my first digital camera, a beloved Olympus 2040 (2 megapixel camera!), I paid over $250 for a 500mb (yes, megabyte) card.  All of my photos from the greatest trip of my life, 10 days in Cambodia, all but four of those photos are at 640x480 because I had to converve space on my memory card!  

Photography Tip use Christmas lights for portrait lighting

In December (and even November) holiday and Christmas lights begin showing up hanging from trees, houses and windows.  Another use for Christmas lights is as portrait lighting.  As seen in the above example, I wrapped a string of Christmas lights around a couple from head to toe (but not over their faces) and also the mantle of the fireplace.  I used no speedlights and there was only the dimmest of ambient light coming into the living room.  In order to get enough exposure I used a shutter speed of 0.8 seconds with my camera tripod mounted.  I asked the couple to stand as perfectly still as possible as small movement would create blur with that long of an exposure.  

Portrait using Christmas lights for creative lighting - Nikon D300 tripod mounted with Tamron 17-50mm lens @ f/5.6 ISO 200 0.8 secSo for creative portrait lighting, try using Christmas lights.  Be sure and put a link to your photos in the comments below!

When should I increase ISO for handheld photography shooting?

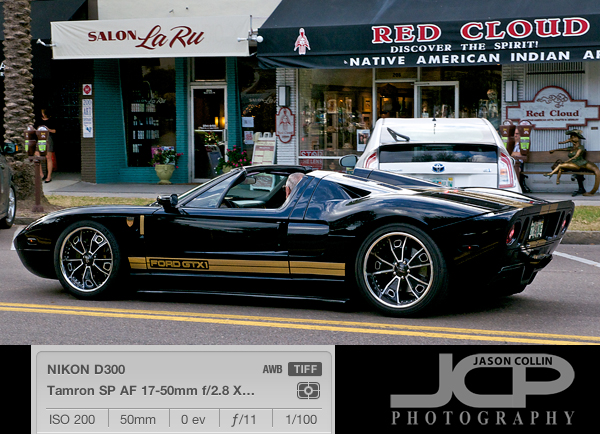
If you are shooting handheld, still subjects, with a wide angle lens like this Ford GT supercar stuck in traffic on Beach Drive NE in St. Petersburg, Florida, my advice for when to increase your ISO to get the best exposure is as follows . . .

Only increase your ISO once:

  • The shutter speed is at 1/60th
  • The aperture is at the largest or near largest for your lens (typically f/5.6)

In the photo above, you can see in the exif data I had not yet come close to the above parameters for increasing my ISO, so I had my ISO set at 200, which is the lowest for my camera.  If those settings were producing an underexposed shot, I first would have gone to 1/60th of a second.  If it was still too dark, then f/8, then f/5.6, then f/4.  My wide angle lens is an f/2.8 lens, but I know it probably will not be its sharpest at its largest aperture of f/2.8 so once I got to f/4 and 1/60th and was still getting an underexposed image, then I would have started to increase my ISO gradually until I got the exposure I wanted.

This is just one scenario for when to start increasing the ISO on your camera, there are many others that will no doubt be the subjects of future photography tip blog posts.  However, the process for thinking when to increase your ISO is always the same, it is just that the minimum thresholds for aperture and shutter speed will not always be the same.

Where to put the horizon in landscape photographs

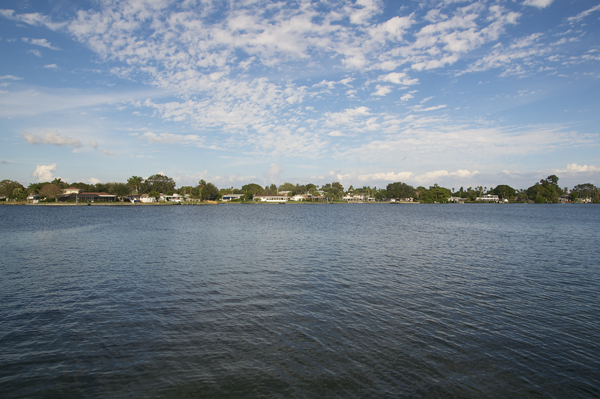
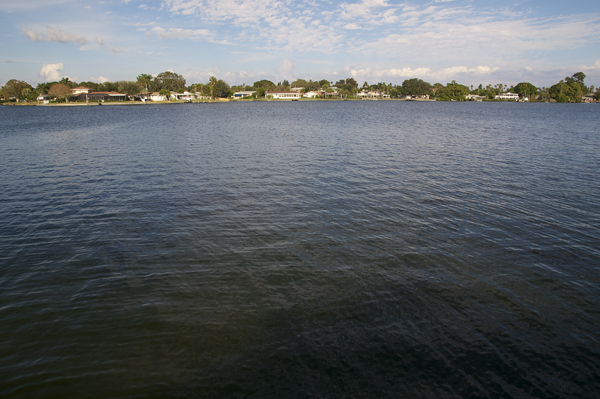
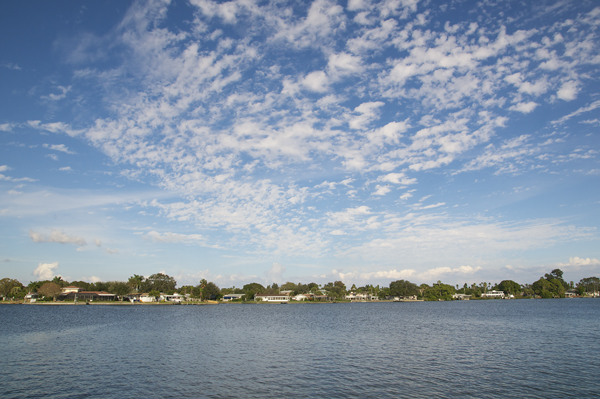
When composing a photograph, especially a landscape shot, everything needs to be considered, and that includes where to put the horizon.  By where the horizon is placed in the frame determines much of the overall impression of the photo.  One simple way to help with horizon placement is to follow the rule of thirds, by that I mean placing the horizon in the lower or upper third of the frame often results in an appealing shot.  

The horizon dead smack in the middle, not a very exciting shot.Without any formal photography training, most of the time picking up a camera and making a landscape shot of sky and water would result in the above image with the horizon dead centered.  Unless there is some kind of cool reflection or vertical symmetry, this results in a boring shot.  The photographer has not chosen which to feature more of in the frame, the sky or the water?

Placing the horizon in the upper third showcases the foreground.In the above shot the horizon is placed in the upper third of the frame, showing that the photographer chose to feature the water.  Putting the horizon in the upper third highlights the foreground.  So you have to ask yourself, is the foreground nicer than the background?  If so, compose with the horizon in the upper third.  However, for most water shots here in Florida, including the one above, the water is not as beautiful as the sky so the shot can end up looking like a lot of brown with a peak of blue at the top.

Putting the horizon in the lower third often results in the best Florida landscape compositionFinally the horizon is placed in the lower third showing more of the beautiful afternoon sky and less of the nondescript water.  This framing showcases the best feature of the shot, the sky, and just enough water to let the viewer know it is a waterfront shot.

So when framing your shot, decide what you want to feature, and then place the horizon accordingly.  

The Best St. Petersburg Florida Photography Locations

LOCATION:  THE PIER ROOFTOP  (currently unavailable due to Pier closing, but base areas may still be open)

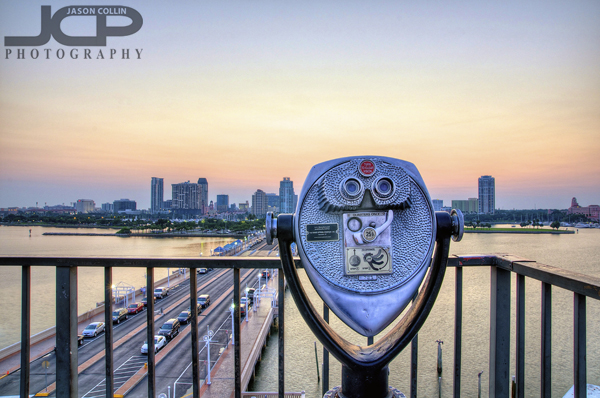
The single best spot to shoot non-beach sunsets in St. Petersburg.  Each evening offers a different kind of light and a different kind of shot.  You can get an unprecedented view of the skyline and cityscape, or use a telephoto lens to shoot individual buildings, to long exposures to get light trails of cars driving to and from The Pier.  It is simply the best spot to shoot from in all of St. Petersburg for any kind of shot.  The railing on the roof is high, so a tall tripod is required to be able to shoot over it.  Plus, The Pier is scheduled to be demolished in summer 2013, so get there while you can!


View Larger Map


LOCATION:  2ND STREET NORTH (BRICK WALL)

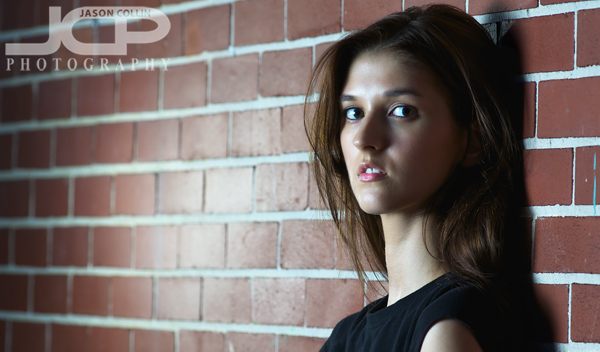
Need a good brick wall to photograph a model in front of?  Then right next to Jannus Live in downtown St. Petersburg is a great one on 2nd Street North between Central Ave and 1st Ave North.  The sidewalk in front of it is wide allowing for plenty of space to setup lights and still let passersby get by.  Bonus:  there is also a cool double-door at the end of it.


View Larger Map


LOCATION:  PASS-A-GRILLE BEACH

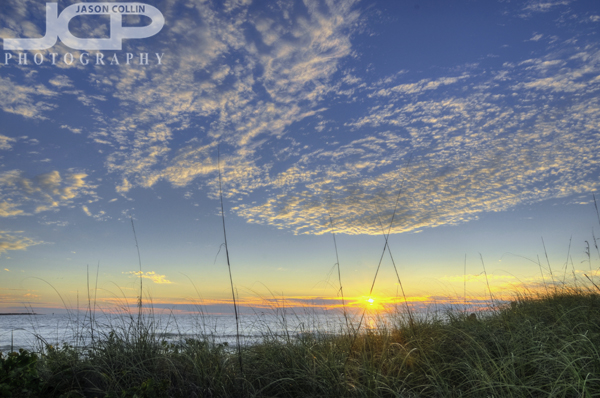
It may seem like all beaches along Gulf Blvd running north to south of Pinellas County are the same.  They are not.  Pass-A-Grille Beach is the very last of them, at the southern most tip of Pinellas County.  Such it is somewhat of a forgotten beach.  You can often find it empty, espcially outside of summer months.  The beach is long and mostly narrow allowing for super wide panorama images to be made.  Sea grass grows between the sidewalk and sand (see above) making for a good foreground subject, or a background in and of itself.


View Larger Map