Photography Tips

Photography Tip - Camera meter is only for ambient light with external flash on

When using an external flash mounted on your DSLR's hotshoe, the camera's meter is telling you the exposure for the ambient/background light.  So if your subject is standing in the shade, then you should meter off of the background light to set your shutter speed.  The aperture setting and speedlight power will be the exposure settings for your subject.  Essentially, the camera's meter does not know you have a flash on and are going to use it to expose the foreground subject (person, etc).  In shade especially, the subject should not be metered off of for setting the shutter speed.  

So when setting up an an external flash shot with it mounted to your DSLR's hotshoe, even before the subject is in place set your shutter speed to expose the background light properly.  Now place your subject where you like and set the aperture and flash power to exposure the subject correctly, and your previously set shutter speed will take care of exposing the background properly.  Try this methodology the next time you use your external flash.  Of course, your DSLR should be set to manual mode, as well as your external flash.

Photography Tip - Posing App for iOS and Android helps photographers

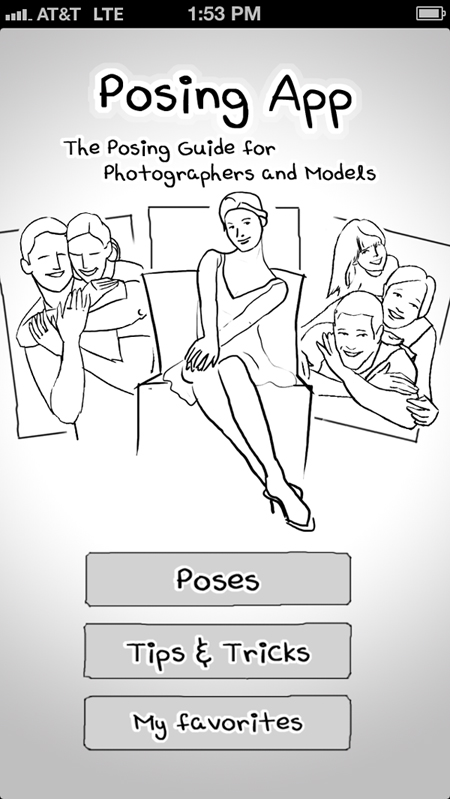
One of the hardest things about making a portrait is often the pose.  Now I like to make as candid of portraits as possible, but not every client has the personality for such a shoot.  Likewise, as a photographer it is not easy to memorize exactly a whole catalogue of poses, and even if you have done so, describing that in words to a client is not so easy.  

This is why I really like the Posing App (available for iOS & Android).  It is a visual way out in the field for me to show clients how to get into natural and attractive poses that will result in great portraits.  The app breaks poses down by the number of people in a shot making it easy to find a collection of poses for the number of subjects.  There is also a tips & tricks section.  Just for how to better pose hands and arms the app is worth it.  

Photography Tip - use your speedlight external flash at 1/4 power manual mode

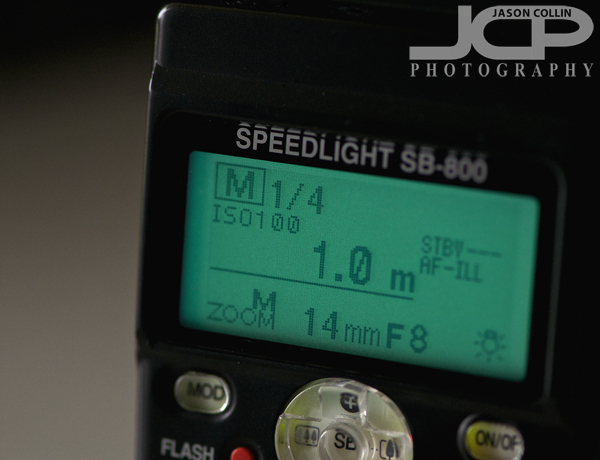
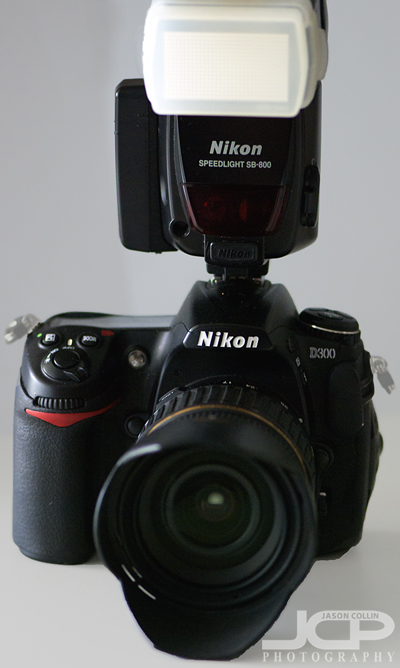
I use my speedlights at 1/4 power most of the time in manual mode.Speedlights, or external flashes, are great tools and in my view absolutely necessary for every photographer to own.  They are actually very easy to use for the most part.  Current speedlights have TTL (through the lens) modes which are basically automatic modes.  You connect the speedlight to your DSLR's hotshoe, and the camera's meter determine's the power used by the speedlight.  This sounds great, and is convenient, but the problem is often too much power is used resulting in black images.  Why?  Because speedlights need time to recycle their charges between flashes.  The more power used, the longer the time.  

This is why a majority of the time I use my speedlights at 1/4 power and always in manual mode.  At this quarter power setting the speedlight can take a small burst of shots (3+ in a row) allowing me to capture action in events, group shots, etc without having one of those frames be pure black because the flash did not fire due to a long recycle time.  

Try using your speedlight in manual mode at 1/4 power and then compensate for any exposure needs using the settings on your DSLR.  You will get more consistent results and your speedlight's batteries will last longer too!

Photography Tip - make your own bokeh using Photoshop Gaussian Blur

If you have a photograph that you wish had a bokeh (out of focus) background, you can still add one in Photoshop using the Gaussian Blur filter.  This can be an easy way to add a whole new look to a photo.  In the above example of mother and daughter sunset beach portrait, I chose to have the background in detail by using a small aperture and wide focal length.  I like the shot as it is, but I was curious to see how it would look with the background out of focus (bokeh).  The following describes my digital workflow:

  • Use the Quick Select tool to select just the mother and daughter (foreground subject)
  • Choose the Inverse of the selection
  • Apply the Gaussian Blur filter 

In this case, it was a pretty simple process.  I chose to select the people rather than the sky, then do the inverse because I felt that was a simpler selection to make.  For other photographs, you may want to select the background itself if that is easier.  Then you also do not have to select the Inverse of the selection.  

Let me know in the comments below how this bokeh photography tip worked for you.

Photography Tip - show your photos to people online

Digital photography is no doubt a revolution in photography.  There are many reasons for this, but one very big one is that simply more photographs exist because of the ease of making a digital photograph.  Combine this with the existence of the Internet, and in 2013 there are infinitely more photos and more people to see them than there were just 15 years ago.  Any level of photographer benefits from showing her/his photographs online, from the full-time pro, to the budding amateur, to the serious enthusiast.  


REASONS TO SHOW YOUR PHOTOS ONLINE

  • GET FEEDBACK & CRITIQUES

There is nothing like honest feedback on your images to help you improve your photography.  It is easy to fall in love with your own photographs, so often it takes another pair of eyes to point out a few things that could have imporoved the photograph.  Showing your photos online allows a photographer to get the constructive criticism needed to make it to the next photography level.

  • LEARN WHICH OF YOUR PHOTOS OTHERS LIKE

Sometimes I have a pretty good idea how popular a photo will be, however, many times I am surprised by which photo people like the most.  Showing my photos online has caused me to like or "discover" my own photos due to them being popular or liked for other reasons I did not see at first.  If not for showing these photos online and seeing what other people liked, they may have just lied in waste on my hard drive.  Also, you can ask people why they liked a particular photo more than another one and get useful feedback.

  • GET PAID!!

Just from having my photos online and discoverable by Google search, I have made money from selling prints and website usage licenses.  This is like found money to me.  The work has already been done making the photograph, and then by making just a little more effort to show that photo online, each time that is done the potential is created for selling and making money from a photograph.


Why I show my photographs on flickr -- my flickr page

~flickr was one of the original photo sharing websites.  There are tons of users on it and you can search for photos made by a specific camera and lens.  This helped me learn how to use my own gear.  I have sold several photos because people found them on my flickr page.  flickr is also very good for judging how popular a photograph is with a large audience.  There are also flickr groups you can submit your photos to for critique.  I have a pro account and recommend spending that small yearly fee as I usually sell a photo or two that covers that cost anyway.

Why I show my photographs on Google+ -- my Google+ page

~I started using Google+ because a lot of pro photographers were and when it first debuted it quickly became the hot site to show your photos.  Supposedly no one uses Google+ now, but I just heard this past week that it is still very good to post your photos to Google+ because Google gives search result preference to Google+ content.  For that reason alone I will keep using it.  Also, since it is not so populated, it makes it easy to follow the select few pro photographers I like to.

Why I show my photographs on facebook -- my facebook page

~Because everybody is on facebook!  Besides my own website, it is the most powerful online marketing tool for a photographer.  I friend my clients, put the photos from our shoots on my business facebook page and tag the clients in the photos.  This starts a network of their friends being exposed to my work, and their friends, etc, etc.  I also receive a lot of feedback on what is popular and can stay in touch with past clients.  I encourage clients to "like" my business page so they can follow my current work as well.  There is no other indirect way better for keeping in clients' mindview than the facebook timeline feed.
Photography Tip - own more than one camera bag

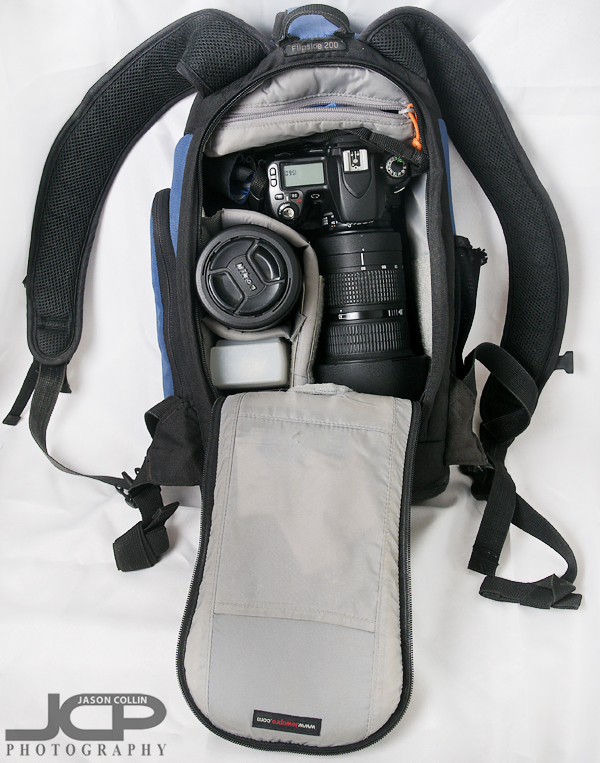
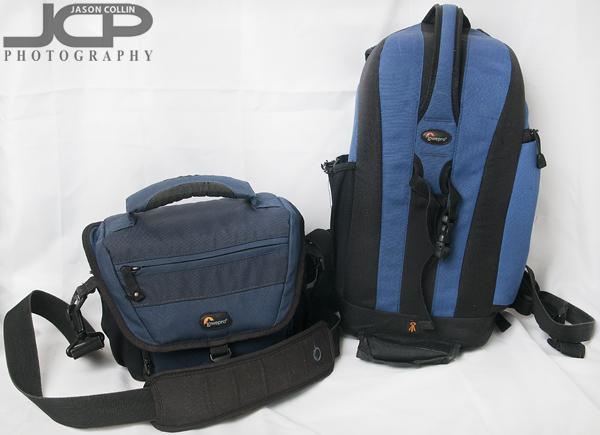
I use this camera bag when bringing my Nikkor 80-200mm f/2.8 lens along.You might have started out with just a DSLR body and a single lens, but chances are, as time has gone on you have accumulated a lot more photography gear.  So when people ask me what camera bag should I get, I usually answer, "you should actually get two bags."  A solid photography tip is definitely have more than one camera bag.  I have only two myself, and I could definitely use a third because neither of my bags can hold all my photography gear for a typical job in a single bag.  

The Lowepro Flipside 200 has been a great bag.  I can hold a lot in its very slim profile.  As you can see it can hold one DSLR body, a 70-200mm f/2.8 lens, a second medium sized lens, a speedlight, and hidden at the very bottom of the bag in a small compartment is a 50mm lens.  It also holds spare batteries, memory cards, camera cleaning equipment and a water bottle (very important!).

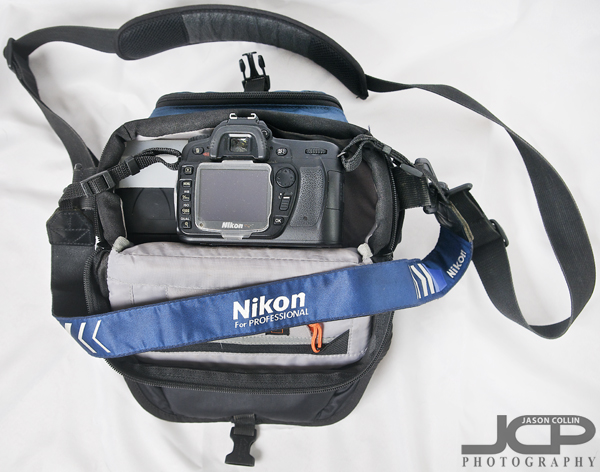
My traveling light camera bag is this Lowepro Nova 160 AWWhen I do not need to bring my long Nikkor 80-200mm f/2.8 lens, then I can often get away with just using my much smaller Lowepro Nova 160 AW bag.  Despite its small size, I can still fit a DSLR body, medium sized lens, speedlight and a 50mm lens plus memory cards and extra batteries, and the all important water bottle.  

Having these two camera bags provides great flexibility in how heavy or light I travelBasically, the amount of gear dictates how many bags you need and what sizes.  If you have a lot of gear and one big bag that can hold everything, I recommend getting a smaller bag for times you only need one lens with you.  Likewise, if you just have one big bag and it makes you not want to go out shooting as much because it is too heavy to lug around all the time, a second smaller bag is a must have.

How many camera bags do you have?

Photography Tip - using leading lines in composing your shots

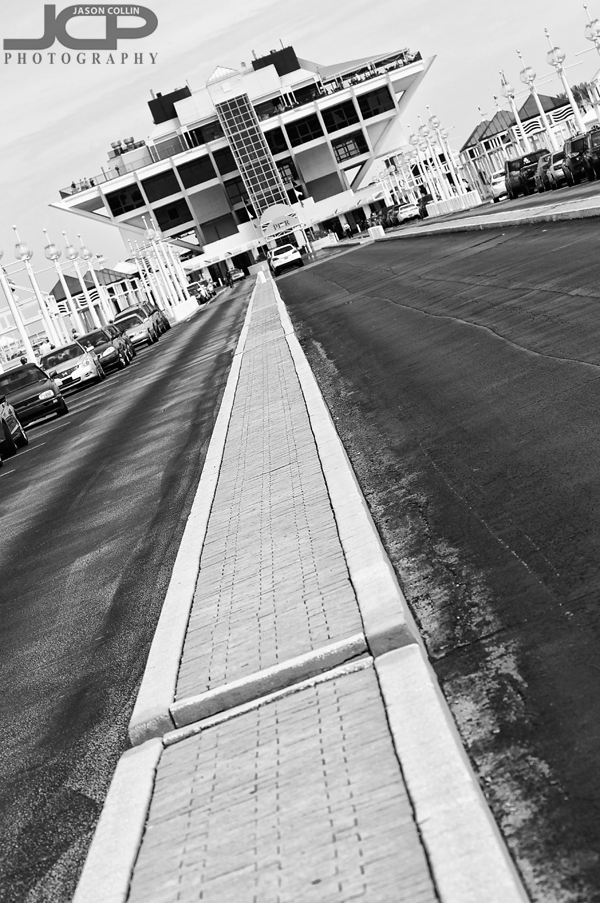
The lines of the curb act as leading lines to the main subject, The Pier - Nikon D300 Nikkor 80-200mm @ f/5.6 ISO 200 1/500thUsing leading lines is one of my favorite composition techniques.  In the photograph of The Pier above, everything points to the main subject drawing the viewer's eye across the full length of the frame.  The entire foreground of the photograph uses the curb as a leading line to the focus of the image.  If there was no curb and just black pavement, then having such a large empty foreground would be a waste of space in the frame.  However, using the curb as a leading line adds another element of interest to the photograph besides The Pier itself.  

Additionally, I used a titled axis composition style to add yet more interest to an oft photographed St. Petersburg landmark.