Photography Lessons

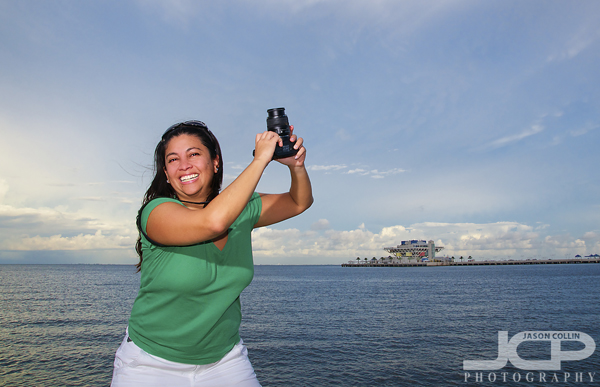
DSLR Photography Lesson with Jordan & her new Nikon D3000

Jordan was very excited to enter the DSLR world with her Nikon D3000I sometimes get DSLR Photography Lesson inquiries before the student even owns a DLSR.  Sometimes they even call me from Best Buy asking which camera to buy and when can they take their first lesson!  Obviously I always recommend the Nikon D3s, but then it seems no one has a $5,000 budget, so then I recommend them something a bit more reasonable.  Things were alone this line before Jordan and I had our first lesson together yesterday.  She had recently bought a super zoom point and shoot, but was wondering if she should have gotten a DSLR.  Since she could still return the P&S so I recommended Nikon's entry level DSLR, the D3000.  She bought it with the 18-55mm kit lens, along with a couple of other small accessories.  

The enthusiasm she showed in her e-mails before the first lesson carried over into the lesson itself as she was anxious to learn as much as I could teach her during the 2-hour lesson.  We covered all the things I usually do in a first lesson (using aperture priority mode, set focus mode, ISO, WB for a number of shooting situations, etc) but also how to use exposure compensation to try and stem the harsh midday lighting conditions on a summer Florida Saturday.  

As we walked along the downtown waterfront area toward Vinoy Park we talked about photography and how she hopes to connect it to all the interesting people around her.  Even though we did get stuck in a bit of rain at the end of the lesson, we still took shelter under some trees to get in some flash portrait practice.  I look forward to our next lesson and seeing what gear Jordan buys between now and then. 

  • Reserve your own 1-on-1 DSLR Photography Lesson with Jason today!
  • Learn more about the lessons
  • Browse past lessons with all of my students 
  • Aperture Digital Photograph Editing Lesson with Kathleen

    Photo by Kathleen, Editing by Jason - red barn in Ohio before and after using Aperture & PhotoshopMy DSLR Photography students are increasingly wanting to learn how to edit their photographs, in addition to how to use their DSLRs out in the field.  I am of course very happy about this as I highly recommend learning to shoot and edit simultaneously (read here).  I always say that publishing and printing photographs "straight out of the camera" or "getting everything right in camera" are nice myths that never existed, not even in the film days.  Of course one should show skill in the field and produce a very well exposed and composed shot in camera.  I do believe in the common axim of today that one should not think, "oh, I'll just fix that in Photoshop later."  If you realize a flaw in the field, do your best to get it fixed/corrected right then and there.  I often shoot weddings on beaches, if I can pause for 5 seconds to let a person passing by in the background get out of the frame, I will totally do that rather than thinking, "I'll just clone them out at home."  Cloning out the person would take a lot longer than 5 seconds!

    Kathleen took a shooting-based DSLR photography lesson back in early June.  Since then she had been shooting some scenery in Ohio, including old barns (above).  She requested a lesson on editing and since she is an Aperture user as I am, I could show her my exact workflow from importing photographs to producing a finished photograph.  We also mixed in Photoshop (Elements) into her workflow from right within Aperture.  

    The red barn is her photograph.  What I showed her in Aperture was getting the exposure and contrast corrected to remove what I call the "gray film" that coats many digital photographs, especially those taken on overcast days.  Note the overall lack of a dull gray cast on the bottom photo.  This is usually the number one flaw I see in people's digital photographs, the dull gray film coating.  

    Next we gave the image a little pop using the vibrancy slider in Aperture and then started to bring in some details using the definition slider.  At that point we exported the image to Photoshop (Elements for her, CS5 for me) right from within Aperture and worked on selective editing.  We selected the red barn walls and adjusted the contrast just on that part to bring in even more detail and pop without effecting the rest of the image.  We did the same to the roof, but that did not cause much change.  Lastly, we applied unsharp mask (my preferred sharpening method) which brought even more detail, especially in the window shutters.  

    I also taught Kathleen all the keyboard shortcuts that are massive time savers when using complicated, multi-tool apps like Aperture and Photoshop.  She filled a whole notebook page with them.  We have already scheduled our next editing lesson for two weeks from now! 

  • Reserve your own 1-on-1 DSLR Photography Lesson with Jason today!
  • Learn more about the lessons
  • Browse past lessons with all of my students 
  • Tripod DSLR Photography Lesson from The Pier with Cindy

    Cindy from atop The Pier with her Canon T1i mounted on her new carbon fiber tripod!

    My DSLR Photography students continue to accumulate new gear, which is exciting for me too!  For out second lesson Cindy got a Benro carbon fiber tripod, no small investment.  Coincidentally, this was the second tripod based DSLR Photography Lesson I taught this week.  It's funny how such themed lessons, that are themselves rare, happen so close to each other.  The same thing happened with 50mm lens lessons earlier this summer.

    Despite our 10am lesson time start, things up on the roof of The Pier (5th story) were not that hot as there was a constant breeze and the sun was to our backs.  That latter fact helped us with photographing the downtown St. Petersburg skyline.  Not only did Cindy get a new tripod, she also got a cable release and wireless remote control, two very useful items that are very wise to pair with a tripod purchase, especially the cable release.  

    We actually started out by figuring out how to setup her Benro carbon fiber tripod including locking the legs securely into place and adjusting the ball head, not to mention securely tightening the mount plate to the bottom of her Canon T1i.  

    After shooting from all angles on the roof, we headed down to photograph some pelicans looking into the sun.  We did this because Cindy asked me what happens if on her trip to Alaska next year the whales are backlit by the sun.  Obviously it is not ideal at all to have backlit subjects, but getting such a subject decently exposed is still possible by adjusting the exposure compensation, usually the +/- button.  This will of course blow out the sky and overexpose much of the image, but getting the whale, or in our case yesterday, a pelican, exposed well enough to see details, not just a silhouette.   

  • Reserve your own 1-on-1 DSLR Photography Lesson with Jason today!
  • Learn more about the lessons
  • Browse past lessons with all of my students 
  • DSLR Photography Lesson feedback from Rossie

    Rossie and I had our first DSLR photography lesson together last Thursday.  Using his great illustrator skills he sent me feedback about the lesson in the form you see above.  It is reposted with his permission.  

    First I want to thank Rossie very much for taking the time to not only provide feedback, but also doing it in such an artistic way.  

    To be honest, teaching DSLR photography lessons makes up only a very small percent of my photography income, but I do it because I really like to meet people with an interest in photography and help them anyway I can to expand their photography knowledge.  

    I know when I started out with my first DSLR (Nikon D80) I thought it would be like a magic wand I could just wave around and produce National Geographic covers one right after another.  In reality, the first time I went out with it I could not even get a pigeon shot in focus!  I learned by going out every day on my own taking hundreds of shots and learning by trial and error.  So now one of my aims with the DSLR photography lessons I offer is to provide the opportunity for people to get a head start with 1-on-1 real world instruction, rather than to have to go through what I did the first few weeks after owning a DSLR camera. 

    Of course I, myself, still often learn from more experienced photographers in the area and online and continue to try and teach myself new techniques and styles.  For example, in the past few weeks I started to use a two-strobe setup for portrait work (in the past I just used a one-strobe setup).  I will be posting some of those shots soon.

    Thank you again to Rossie and for all the comments I have received from other past DSLR photography students.   

  • Reserve your own 1-on-1 DSLR Photography Lesson with Jason today!
  • Learn more about the lessons
  • Browse past lessons with all of my students 
  • Night Tripod Photography DSLR Photography Lesson with Mohammad

    Long exposure portrait - Nikon D300 Tamron 17-50mm f/2.8 @ f/6.3 ISO 200 1sec Nikon SB-800 Speedlight hotshoe mounted in TTL modeEach time we have another DSLR Photography lesson together, Mohammad has a new piece of gear!  After our first lesson (which before he just bought a Canon T2i) he got a Canon 430EX II Speedlite that we used during our second lesson.  Now for out third lesson last night he had bought a nice Manfrotto tripod and joystick grip head.  It was my latest lesson, from 8pm to 10pm.  This allowed us to have a little light left in the sky for ideal night time cityscape shots conditions and to be able to practice portraits outdoors under completely dark skies.

    We met at the usual spot in front of the Museum of Fine Arts on Beach Drive then walked toward The Pier.  Along the way we stopped at a few spots to practice low to the ground shots.  A benefit of using a tripod is you can use the legs in their shortest length and get a very low, creative angle and turn an ordinary scene into a photograph.  No one usually lies down on the ground when out sightseeing, thus a shot made from that perspective will show the viewer something that cannot be seen by just standing at the same spot at eye level.  This to me, showing what cannot be seen by just standing somewhere at eye level, is one of the things that makes a photograph a photograph, rather than just a snapshot.

    We then made our way up to the top of The Pier, a 5-story open air patio, with a great panoramic view of the St. Petersburg skyline, though marred somewhat by a very high railing forcing one to use the center column on one's tripod thereby reducing stability.  When shooting at night or dusk, manual mode is best as controlling both the aperture and the shutter speed is necessary to produce the exposure one wants.  We mostly used shutter speeds in excess of 15 seconds.  

    Our final stop, after riding the trolley from The Pier to North Shore Drive and having an exciting elevator ride with a big group of European tourists, was in front of BayWalk for some long exposure shots of the traffic driving by.  However, the traffic at most consisted of three or four cars, so we did not have much chance to get those cool red and white trail lights from the cars' lights in our shots.  Still, the spot was good for long exposure portraits (see top photo), which we made by keeping our cameras tripod mounted and flashes hotshoe mounted (so they can sync with the long exposures).

    I really enjoyed this night lesson as using the tripods allowed for a slower, more methodical lesson pace and of course it was not as hot outside.  Plus Mohammad is a good student asking many questions and an interesting person who travels a lot.

    I wonder what piece of gear Mohammad will buy before our fourth lesson, maybe a 70-200mm f/2.8 lens?? 

  • Reserve your own 1-on-1 DSLR Photography Lesson with Jason today!
  • Learn more about the lessons
  • Browse past lessons with all of my students 
  • DSLR Photography Lesson with Kathy & her Nikon D40

    Camera was not harmed for this shot - Nikon D300 Tamron 17-50mm f/2.8 @ f/11 ISO 200 1/200th Strobist: Nikon SB-800 Speedlight handheld commander mode

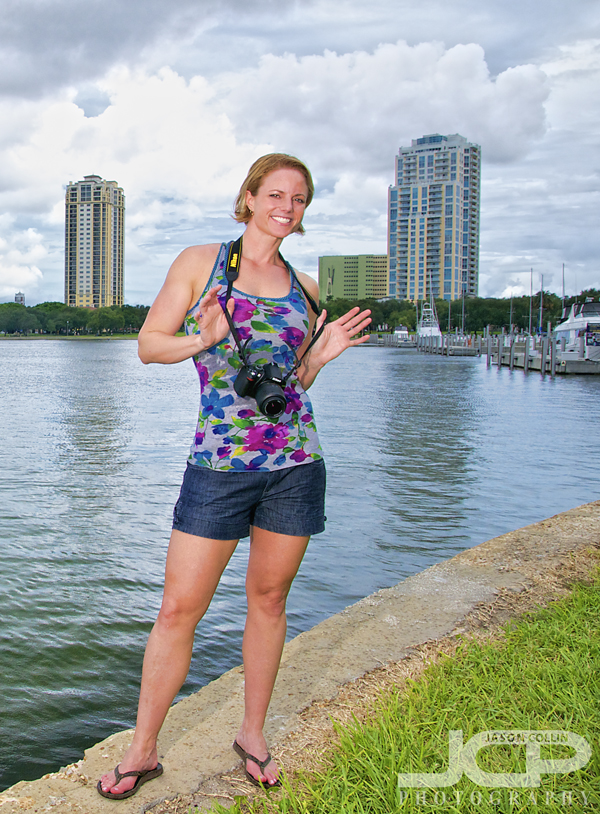
    We had to reschedule Kathy's first DSLR Photography Lesson once already this week due to rain, and as thunder rolled at 5pm, I was worried we would have to postpone it until next week, but the weather could not have been better.  Kathy has owned her Nikon D40 for a couple of years, but relied on auto mode and at times her Panasonic point & shoot camera.  She took photography lessons at various places, but never like the one-on-one lessons that I exclusively offer.

    As always, I got Kathy off auto mode immediately and onto aperture priority mode.  When shooting out in daylight, once the proper settings are dialed in, there really is not much to change or adjust on the camera as long as one is continuing to photograph the same general type of subject.  For her kit Nikkor 18-55mm lens, I told her the only apertures you need to worry about now are just:  f/5.6 f/8 and f/11.  This can help to take some of the mystery of aperture out of the equation.  

    Then we ended with making some fun flash portraits at Vinoy Park with The Pier in the background.  All the while we talked about many other photography topics, but also sports cars, Japanese culture and Spanish culture.  It was a fun lesson for me and I look forward to our next lesson when Kathy returns from various business trips. 

  • Reserve your own 1-on-1 DSLR Photography Lesson with Jason today!
  • Learn more about the lessons
  • Browse past lessons with all of my students
  • DSLR Photography Lesson with Rossie & his Canon 40D

    Nikon D300 Nikkor 50mm f/1.8D lens @ f/8 ISO 200 1/60th Strobist: Nikon SB-800 Speedlight handheld in commander mode

    I learned a little bit about Rossie's interesting career before we met for our first DSLR Photography Lesson this morning in downtown St. Petersburg.  He has worked as an illustrator for the Tampa Tribune and St. Petersburg Times and even lived in my old hometown area of Lee County.  He showed me some of his photographs and I was really impressed with the lighting, which he said he used his serious Photoshop skills to produce.  So in our lesson he wanted to start to learn how to make photographs using more photography skills, less processing skills.  He recently bought a Canon 40D from a friend and had been shooting in auto-mode, as many of my past students used to do.

    We remedied that immediately by shooting in aperture priority mode, Av on the 40D's dial.  Rossie already had many instincts for composition, but not much experience with a DSLR itself or specific shooting techniques for specific types of photograph.  For example, I noticed that Rossie really likes to photograph people, so as I had him practice on me I said make sure to always set the focus on the eyes when making a portrait.  He had not heard that before, and it is not one of those pieces of photography knowledge that widely floats around unless you specifically look for it, and how looks for something they did not know to look for in the first place?

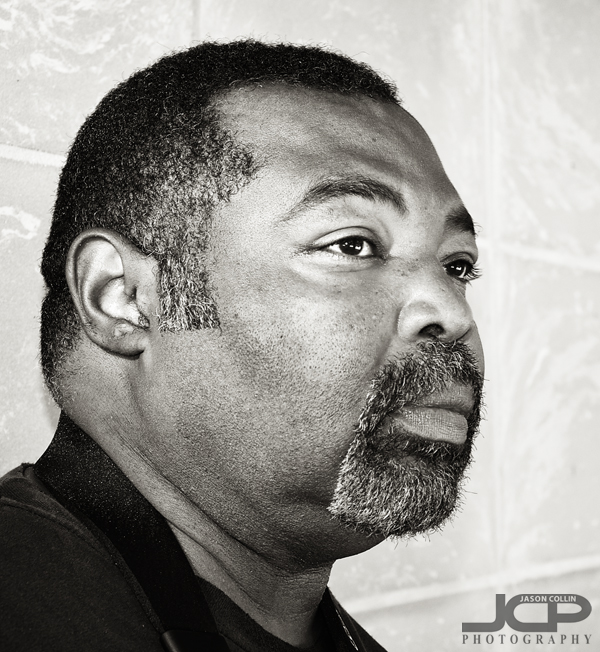
    Despite the above serious portrait of Rossie, he is a very jovial person and I had a great time during the lesson listening to his stories and his thoughts on photography, etc.  I like people that speak freely, with candor.  I look forward to our next lesson, which will focus on shooting with a 50mm lens. 

  • Reserve your own 1-on-1 DSLR Photography Lesson with Jason today!
  • Learn more about the lessons
  • Browse past lessons with all of my students