portrait orientation

Natural Light Commercial Black and White Portrait Photography in Downtown Albuquerque with Jason

Natural Light Commercial Black and White Portrait Photography in Downtown Albuquerque with Jason

Creative Commercial Portraits Brick Wall Background in Albuquerque

Meeting client requests is what it means to be a professional commercial photographer in Albuquerque. Jason contacted me needing natural light portraits, with a brick wall background. So I began scouting locations in downtown Albuquerque that had a brick wall and would be in shade at midday to be able to shoot a natural light commercial portrait in. Having found the perfect location for the photoshoot, and done all the prep work ahead of time, and having 12 years experience as a pro, the shoot ended up taking less than 10 minutes of Jason’s time so he could get back quickly to his busy work day. That’s what it means to choose me as your commercial photographer. He also had his edited portraits delivered only 3 hours after the shoot!

Read More

Photography Tip - have a foreground element in vertical orientation photos

Photo Tip - without a foreground object this vertical orientation shot would have not enough interest as composed - made with an iPhone 5When shooting in portrait orientation (vertical shots), which I recommend to do more often than you are probably currently doing, having a foreground object really helps fill the frame with interest for the viewer.  In the above shot made with an iPhone 5, there is a salt marsh and Kiki of course as subject matter, but without the boardwalk in the foreground leading to those other subjects, it would just be empty space of little interest and probably would end up being cropped out.

So when shooting landscape type shots in portrait orientation, try and include a foreground object to add more interest to the photograph overall.  Post a link to your results in the comments below!

Photography Tip - when to leave space above subject in a portrait and when not to in composition

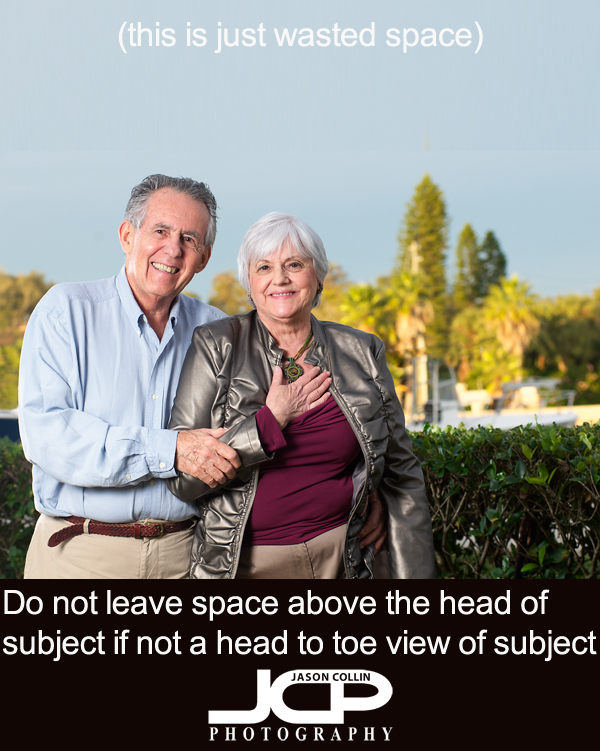
During my 1-on-1 DSLR Photography Lessons students often practice portraits, which means I often have to be the subject.  I alway let the student use their instict first for composing a portrait, rather than giving them composition tips first, so I can see their natural eye for composing.  A vast majority of the time this results in a portrait of me looking tiny and kind of in the photo by accident.  By that I mean I am usually dead centered (an issue for a future photography tip) and very low in the frame with lots of space above my head.  This results because I was composed to be dead center horizontally and vertically and most of the time was cut off at the waist.  I doctored the above photo to show excess space above the heads of the subjects that is just doing nothing.  It adds nothing to the photograph and in fact just makes the subject look smaller in the frame for no reason.

This is how the photograph looked as I shot it in the field, with minimal space above the heads of the subject allowing the subjects to fill the frame vertically and look like normal adult sized people and definitely in the photo on purpose.  

The rule here is:

--when photographing people from the waist up do not leave space above their heads

If you photograph someone from the waist up and leave a bunch of space above their head, then it looks like you might not have intended for them to be in the shot in the first place.  At the least, the person looks lost in the frame and tiny, which is not very flattering!
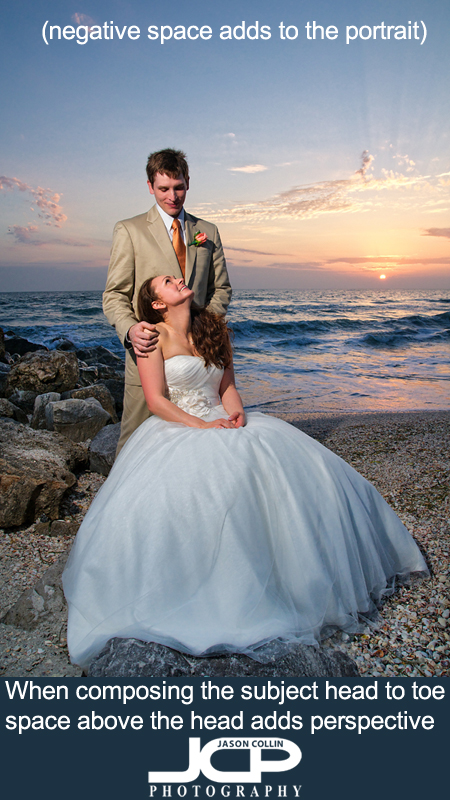
In contrast, when framing the shot to include the subject from head to toe, especially in portrait orientation, leaving space above the subject's head can add perspective to the shot.  The space above the head is then not just empty useless space.  Since you are showing the entire body of the subject, it puts the subject into a proper, normal looking perspective to the viewer.
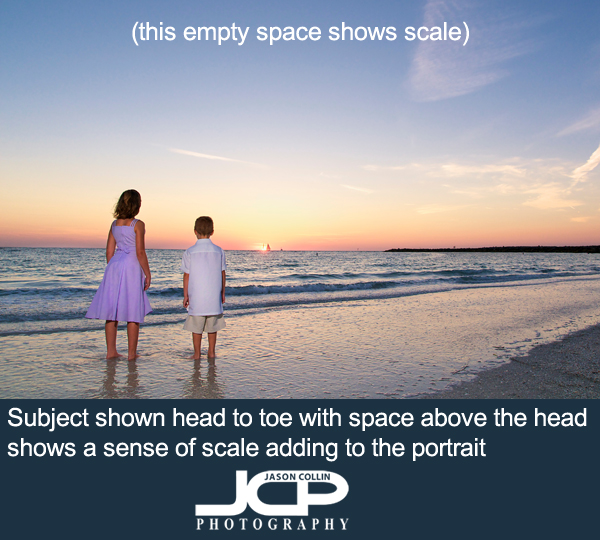
Even in landscape orientation, if you show the subject from head to toe, leaving lots of space above the subject's head will help to show the scale of the environment the subject is being photographed.  In the example above, showing the wide open beach and water surrounding the children (shown head to toe) does show them properly as they are, small kids.  

The next time you make portraits, be mindful of the space above the subject's head.

Photography Tip - shoot vertical subjects in portrait orientation

Photography Tip - for vertical and/or tall subjects shoot in portrait orientationWhen I first moved back to Florida some years ago now, I went to an early morning photo review with a local photography Meetup group.  I brought my print portfolio with me and the piece of feedback I received that stuck most in my mind was that I had no shots in portrait orientation.  My print portfolio was of course a very small sample of my work, but from then on whenver I went out to shoot I had in my mind think about shooting in portrait orientation.  This means holding the camera vertically, rather than the more natural horizontal (landscape orientation) position.

Since that time my photography experience has greatly increased and I have been teaching photography lessons for years.  In those lessons I see the same thing with many students, almost never shooting in portrait orientation.  One way to start to train yourself to shoot in this orientation more is to first try and photography vertical subjects in it.  

In my above photo of a flag pole, the tall nature of the subject naturally fills the frame from top to bottom when shooting in portait orientation.  I chose to make the subject off center as well with the flags blowing into the empty (negative) space.  Had I made this shot in landscape orientation, there likely would have been too much negative space resulting in the subject getting lost in the frame.

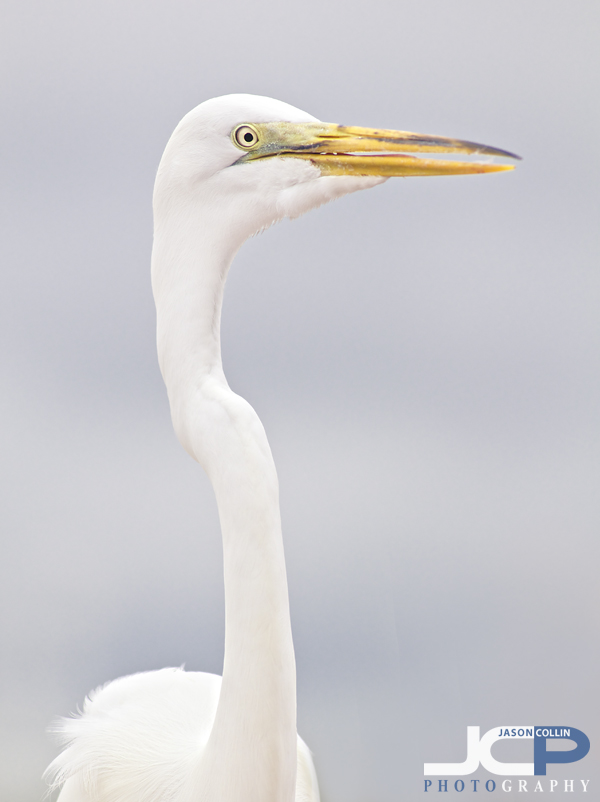
Photography Tip - use portrait orientation for long tall subjects like a great egret

Photography Tip - portrait orientation allows the great egret to fill the frame - The Pier, St. Petersburg, Florida

  • Setup:  Nikon D300 Nikkor 80-20mm f/2.8D @ f/4 ISO 200 1/2000th 

Getting into a fixed routine of using landscape orientation with your DSLR is easy.  After all, the DSLR seems to be designed to be held horizontally.  However, only using landscape orientation eliminates 50%+ of composition possibilities!  Not to mention it makes it extremely awkward to photograph long, tall subjects like the above great egret.  Perhaps the best criticism I was every given about my photography was there there were not enough portrait orientation shots (thanks Jeff!).  I was told that over two years ago.  Ever since then every time I shoot I am mindful of using an appropriate amount of landscape and portrait orientation shots.  Maybe now you will be too.

When shooting in portrait orientation, I like to hold the grip part of the DSLR up, which allows me to still wedge my left elbow into my body creating a stable shooting position.  The highest end DSLRs (i.e. $5000+) come with a vertical grip built in.  However, many other DSLRs do have vertical grip accessories available for them made by the manufacturer.  Another benefit of using a vertical grip is that it houses more batteries so you can shoot longer.  

This great egret photograph is available for commercial license and fine art print