Nikon D40 1-on-1 DSLR Photography Lesson with Diana in St. Petersburg Florida

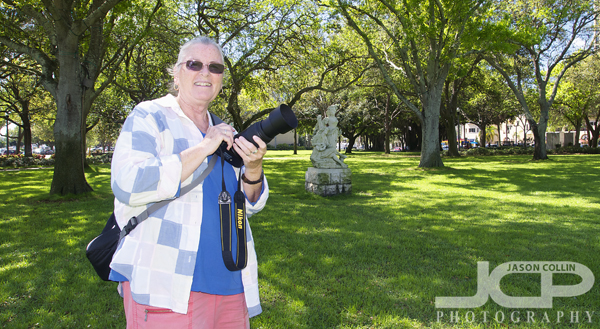
Diana with her Nikon D40 in North Straub Park during our 1-on-1 photography lesson in St. Petersburg FloridaOn a beautiful, sunny St. Petersburg morning I met Diana for a 1-on-1 DSLR Photography Lesson with her Nikon D40.  She has had the DSLR for four years and before that film SLR cameras for many more years, but she had been only using the D40 in auto-mode.  My lessons are specifically for getting getting people off auto-mode (the horror!) and taking control over their camera shooting in manual mode.  A DSLR wants to be told what to do, and personally I would rather using a simple point-and-shoot camera in auto-mode than a DSLR.  

I began by teaching Diana my 5-step process for getting a well exposed and sharp shot in any lighting conditions and filling in her existing photography knowledge about aperture & shutter speed, etc.  We practiced how to control depth of field and how to photograph moving subjects beore finishing with a little shade vs. direct sunlight portrait shots.  With continued practice and keeping in mind what we covered during our 2-hour lesson this morning, Diana will be able to stay off auto-mode and produce more consistent results in manual mode.

Canon 50D & 70-200mm f/4 lens 1-on-1 DSLR Photography Lesson with Ariel in St. Petersburg Florida

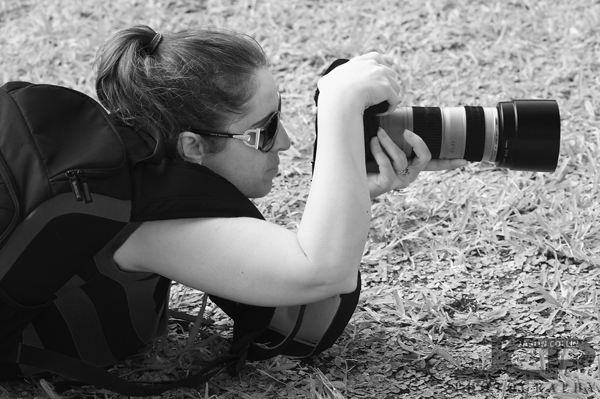
Ariel willing to get all the way down on the ground to get the shot during our 2nd photography lesson in St. PetersburgI met Ariel for our second of four 1-on-1 DSLR Photography Lessons in downtown St. Petersburg, although from there we made our way out to The Pier to photograph birds using her Canon 70-200mm f/4 lens.  We were in luck as besides the usual bunch of pelicans that are always hanging around, there was also a snowy egret conveniently standing on a box and a curious laughing gull who perched right next to us for five minutes.  In all I felt we were very lucky with bird spotting during our time at The Pier.  

In between shots we discussed what Ariel may want to branch into next with her photography, and we came to the conclusion off camera flash (strobist) is next!  I recommended the basic kit needed:  remote flash triggers, light stand and light modifier and once they are all delivered, our third lesson will be all about how to make great one light portraits.

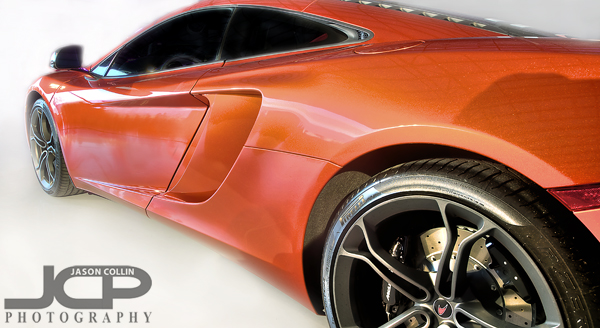
McLaren MP4-12C stylized HDR profile view Tampa Car Photography

McLaren MP4-12C photographed in Tampa Florida on digital background - Nikon D300 Tamron 17-50mm @ f/8 ISO 200 9-exposure HDR

Back in October I received a media pass to the Cars & Couture event in Tampa where I had the opportunity to photograph the event as a whole, and some supercars in particular like the above McLaren MP4-12C.  As is usually the case at car shows, all of them were parked pretty close to each other and there were people and other objects around in the background.  To focus just on the car I try to compose a view minimizing the background, and in this case, just remove the background altogether.  

The actual background of the McLaren MP4-12C shot from Cars & Couture event in TampaCoincidentally, I think I saw this McLaren parked in a neighbor's driveway just this past weekend!

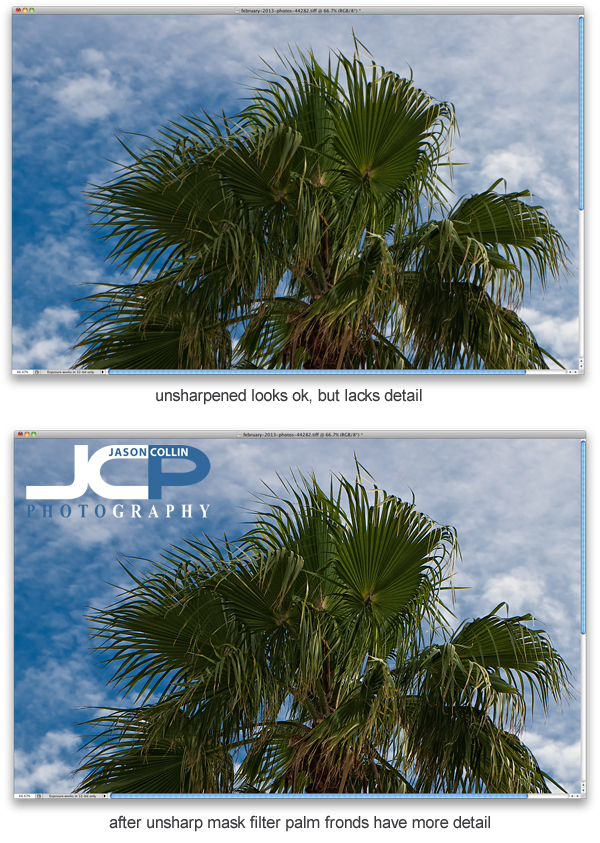
Photography Tip use Unsharp Mask for sharpening in Photoshop

Sharpening is a key part of editing digital photos and perhaps one that goes overlooked due to thinking sharpening is not needed.  On every shot I edit, I use the Unsharp Mask filter in Photoshop (I still use CS5).  In the above example of a cabbage palm tree, I did all my usual editing except sharpening.  The unsharpened image may look fine, but I know it can look better.  In the sharpened version much more detail is visible in the palm fronds, especially on the edges.  Another photography tip within a tip, I did all other editing first because sharpening should be the last thing done when editing an image.

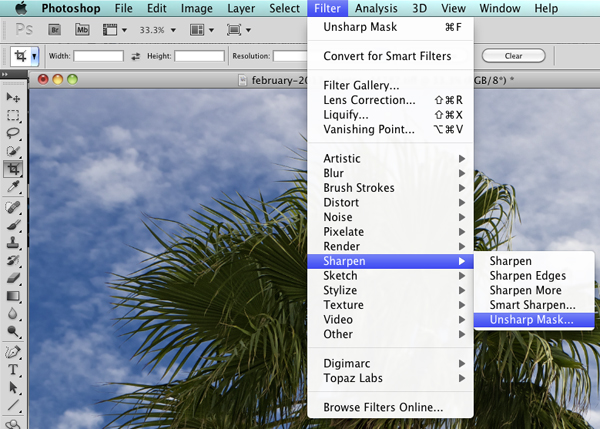
To find Unsharp Mask in Photoshop go into the Filter menu, then Sharpen, and there you will find Unsharp Mask.  I kow it sounds totally crazy to use something called unsharpen to sharpen, but that is just one of the thousands of quirks you either find charming about Photoshop or infuriating!  Note that if you used Unsharp Mask already, on a Mac you can just hit CMD-F to apply the same sharpening to the current photo you are working on.

You can see the settings I use in the Unsharp Mask filter in the above screenshot.  Radius and Threshold never change and are at settings I found I liked, though I learned these from another photographer and fine tuned them a bit.  The only setting of the three I change when applying the Unsharp Mask filter is the Amount percent.  For a very large majority of my photographs, I use 60%.  For portraits (single subject) I may use less.  For HDR shots, I may use more.  Each camera and lens may dictate more or less sharpening to be used.  

Try out the Unsharp Mask filter and let me know what you think in the comments below!

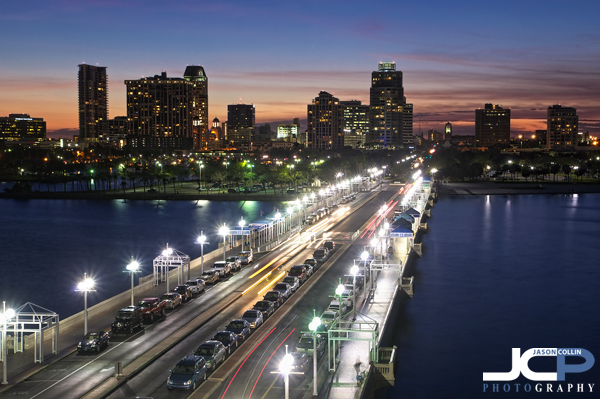
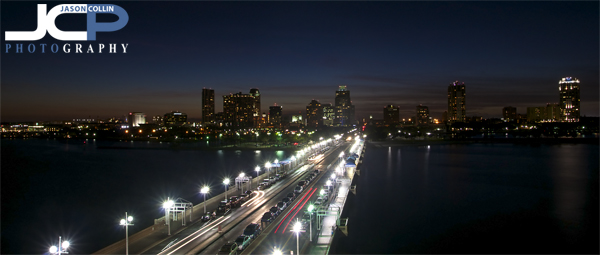
St. Petersburg Florida Skyline at Twilight Fine Art Photography

St. Petersburg Florida waterfront skyline in vivid twilight - Nikon D300 Tamron 17-50mm @ f/11 ISO 200 5 sec tripod mounted with cable release

Each time I go out to the top of The Pier to make waterfront skyline images like this of downtown St. Petersburg Florida, I think it may be my last since The Pier is scheduled to close in May 2013.  As you can see, its closing will be a great loss for photographers and anyone who enjoys a great vantage point for looking at the sunset over a cityscape.

Finding the last light left over St. Petersburg Florida fine art photography - Nikon D300 Tamron 17-50mm @ f/11 ISO 200 5 sec tripod mounted with cable releaseThe Pier is five stories tall with an open roof allowing for the making of clean shots (i.e. not shooting through window glass).  It is often a quiet spot, especially on a weeknight, providing an opportunity to watch the sunset in peace as twilight then night takes over.

Nikon D7000 1-on-1 DSLR Photography Lesson in St. Petersburg Florida with Patricia

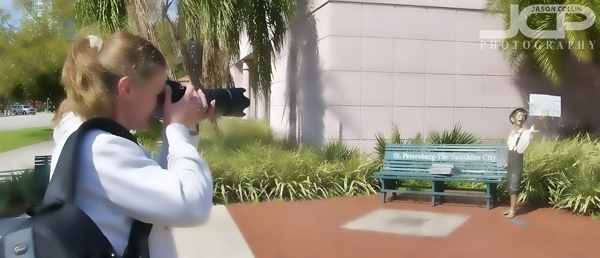
Practicing DoF with a 300mm lens during our photography lesson in St Petersburg Florida

On a warm February Saturday morning I met Patricia with her new Nikon D7000 in downtown St. Petersburg for our first of four 1-on-1 DSLR Photography Lessons.  She was very new to DSLR cameras, and photography in general, but my 5-step process for learning how to make a well exposed and sharp photograph works for total beginners as well as more experienced photographers.  We began the lesson with a lengthy tour of how to use her Nikon and in particular how to use the finger and thumb dials to make adjustments to the critical aperture and shutter speed settings.

In the second half of the lesson we wondered around the waterfront area practicing how to control DoF, in particular, how to make the background disappear into a nice, creamy bokeh.  This skill is very useful for portraits especially, as well as just adding a creative look to an image overall.  Using the paperboy statue out in front of the St. Petersburg Museum of History I showed Patricia how focal length and distance from the subject matters even more than using a large aperture in creating bokeh.  

For our next lesson we will head out to The Pier!

Nikon D3100 1-on-1 DSLR Photography Lesson St. Petersburg Florida with Jason

Jason using his Nikon D3100 tripod mounted for some long exposure shots on The PierWhile it is still open and still standing, I will still be using The Pier as a great location for my 1-on-1 DSLR Photography Lessons, and really cannot imagine what it will be like to not have it available come May 2013.  Friday evening I met Jason with his Nikon D3100 in downtown St. Petersburg.  He specifically wanted to practice long exposure night photography, which is fine by me as it is one of my favorite kinds.  We made our way out to The Pier and got setup on the open roof viewing area.  This type of photography of course requires a tripod because as by the end of the lesson we were using 30-second exposures, and even while there was still plenty of light in the sky (but no sun), exposures were in the 1 to 2 second range.  

In a way, night photography is kind of simple: put camera on tripod, leave shutter open, done.  Of course there are things that can be done to improve one's night photography, especially related to placement of the horizon and exactly how long to leave the shutter open.  These were the things we focused on mostly during our night photography lesson.  I look forward to seeing Jason's future long exposure shots!