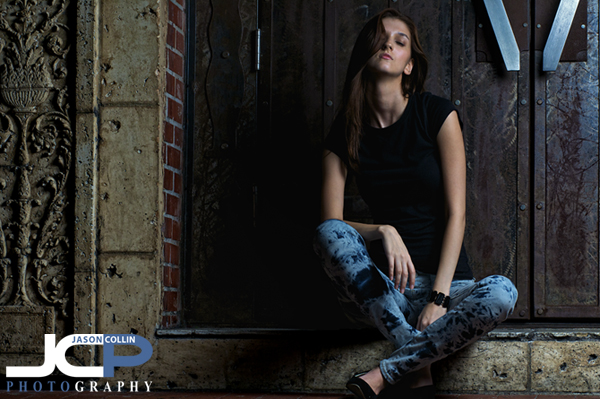
 Framing the model, Rita, with detailed architecture and a vintage door - Nikon D300 Nikkor 80-200mm @ f/9 ISO 200 1/100th - Strobist: SB-800 @ 1/4 power in 43" brolly to frame left
For my model portfolio shoot with Rita in downtown St. Petersburg, I finally had a chance to use a very small part of a building I had been wanting to feature in a photo shoot for a long time. Many times I walked past this spot while teaching 1-on-1 DSLR Photography Lessons and kept making mental notes to use the features of the spot (long brick wall, medieval looking door) in a shoot someday. Finally, that day was yesterday evening with model, Rita (her official website).
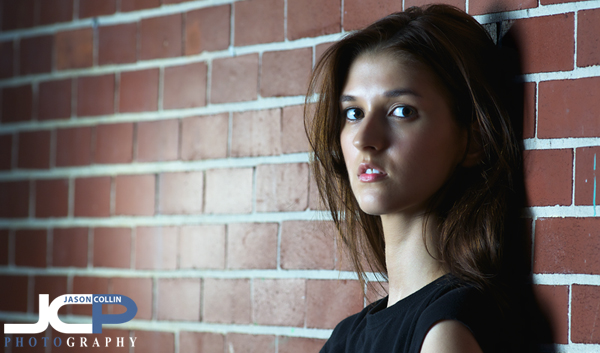 Featuring a brick wall in this panorama model headshot - Nikon D300 Nikkor 80-200mm @ f/5.6 ISO 200 1/60th - Strobist: SB-800 @ 1/4 power in 43" brolly to frame right & SB-600 @ 1/16th power with diffuser cap pointed at the wallThough we only shot in a space of about 10 feet, we were able to produce a variety of different shots by featuring the brick wall or the metallic door as the background as well as close-ups and wide shots. I also switched between using a 2-strobe setup like the one above, and a single strobe setup like the lead image.
 Model positioning her arm as a triangle to be symmetric with the door handle - Nikon D300 Nikkor 80-200mm @ f/5.6 ISO 200 1/60th Strobist: SB-800 @ 1/4 power in 43" brolly to frame leftRita's style of changing poses after each time I pushed the shutter made for a flow that I had not experienced with a model before. I really liked it as it kept the shoot moving giving the process a dynamic feel.
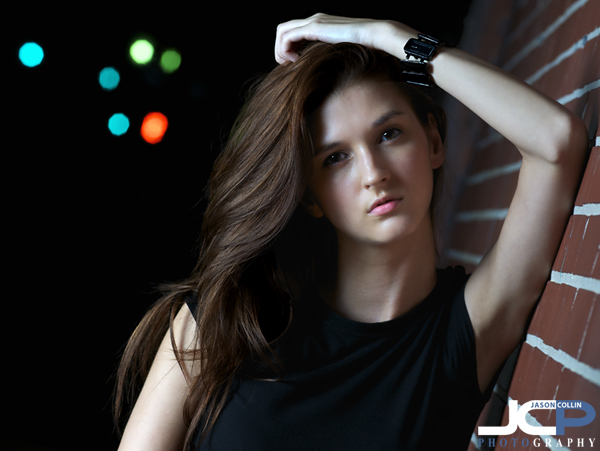 Bokeh made by traffic lights - Nikon D300 Nikkor 80-200mm @ f/5.6 ISO 200 1/60th Strobist: SB-800 @ 1/4 power in 43" brolly to frame right & SB-600 @ 1/16th power to frame leftI liked being able to make soft looking images, like the one above, along with gritty images in the same shoot as no matter how long or short of a shoot, I do like to create a variety of looks for the model. For the above shot, I thought the straight perpendicular composition looked too rigid, so I tilted my camera to remove the boundary feeling of the 90-degree angle framing.
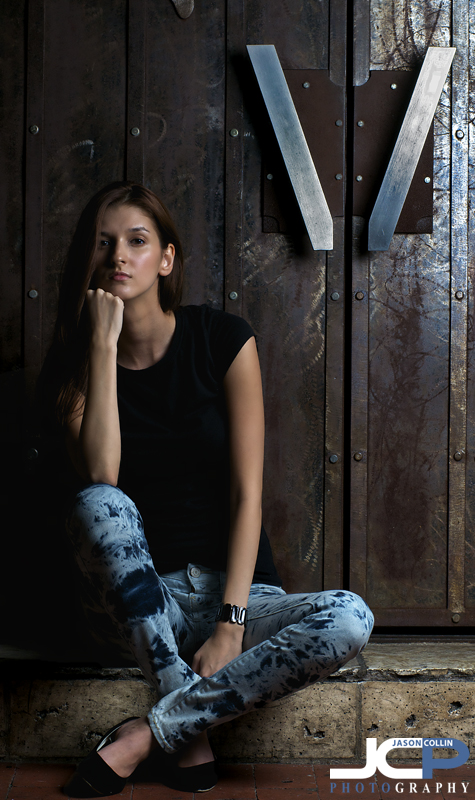 This images features a vertical line theme - Nikon D300 Nikkor 80-200mm @ f/9 ISO 200 1/100th Strobist: SB-800 @ 1/4 power in 43" brolly to frame leftI was again impressed with the lighting job my 43" brolly did. I will feature it in a proper gear review soon. As you can see it does not take a lot of lighting equipment to make an effective portrait. The above shot features a single speedlight off camera in the brolly. All I did was place it about 45 degrees to the left of the model on a light stand using inexpensive Yongnuo radio triggers (to be reviewed soon also). Of course it also helps to have a beautiful and talented model like Rita to work with!

 Lens flare sunset over North Straub Park - Nikon D300 Nikkor 80-200mm @ f/5.6 ISO 200 1/320th processing in Color Efex Pro & Topaz AdjustMy favorite time of day is the transition from day to night. In my mind I imagine all the day time creatures shutting it down and getting ready to yield dominion to all the night time creatures. During the transition period things overlap as the sun approaches and passes the horizon. This great physical change always produces a large mental change. I have always wondered why just the lack of being able to see at distance, which really is all the sun setting causes, results in the world feeling entirely different? In addition to the lack of light it must be that other creatures hold sway over the night, and this causes peculiar feelings among day creatures that overlap too far into the night.