Photography Tips

Corvette great subject bad background digital photography editing tip

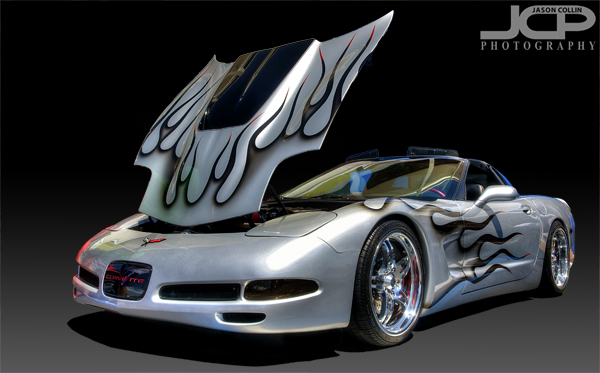
Final fully edited custom silver Corvette - Nikon D300 Tamron 17-50mm @ f/11 ISO 200 5-exposure HDR - black gradient background added digitallyWhat if you have a great subject to photograph, but a terrible background?  I tell my DSLR photography students that assuming you have a good subject, then what makes or breaks a shot, what sets it apart is the light (lighting) and the background.  For this shot the subject is a really cool custom Corvette.  However, the background was horrible and I could not use depth of field techniques to just turn the background into beautiful bokeh because the subject was too close to the background, at least if I wanted to photograph the entire car, which I did.  So, to make the shot usable I opend up my digital photographing editing toolkit.
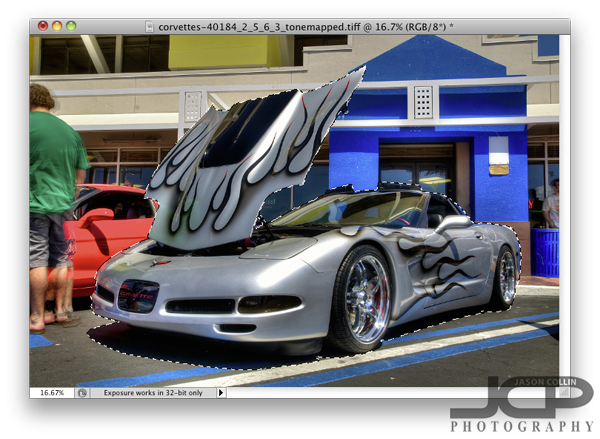
So what did I do first after processing the HDR image and do a few little minor edits?  I loaded the photo in Photoshop (I still use CS5) and chose the Quick Select (W is the keyboard shortcut) tool.  The background looks very busy and it might seem like selecting the Corvette would be difficult, but there are several factors why it was not too tedious.  One is the Corvette is a fairly distinct, blocky object, no lone thin parts or openings.  Second, none of the surrounding colors are similar to the Corvette itself.  The hood did take a little fine tuning to get selected, but other than that it was not too bad.  Notice I selected the naturally existing shadow under the car too.  Once finished I clicked on the Refine Edge option up in the Quick Select menu bar.
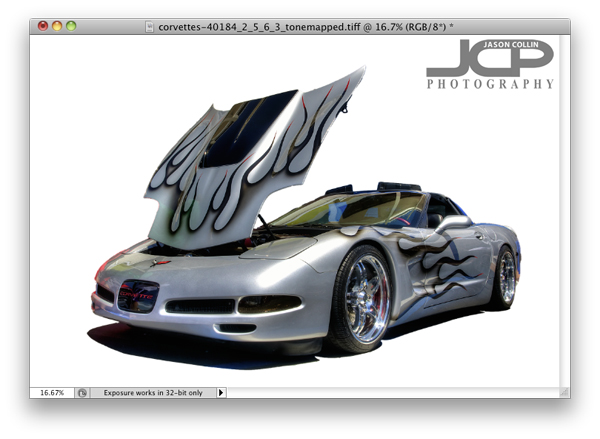
In the Refine Edge window you can clean up the extra bit of edging that you do not want as well as export just the selected subject to a new layer, which is what I always do.  Once that is done, I add a new layer to use as a background that I can paint any color.  I usually choose white first to see how it looks and also to make sure I really cleaned up all the edges.  I liked the white background, so I saved a JPG from the PSD project.
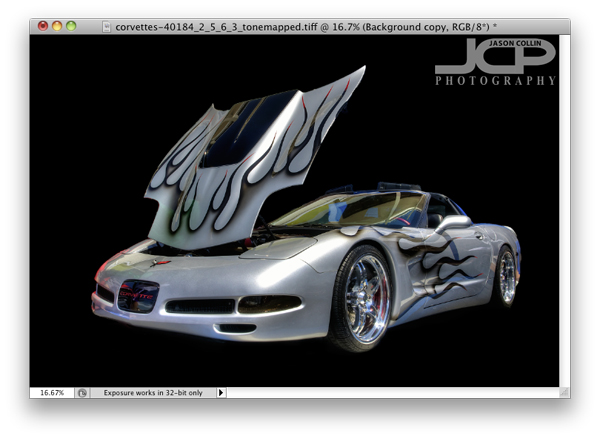
Next I just painted over the white background with the Brush Tool at 100% opacity black.  Right away I liked the black background better as I thought it made the silver Corvette pop out.  The black background caused the shadow to become invisible and kind of made the shot look a little two dimensional, so the final touch was adding a 40% opacity vertical gradient only from the mid-height point of the image.  

This process can of course be used for any subject with a variety of digital or real backgrounds.  So the next time you see a really cool subject, but are disappointed by the background, be sure to still make the shot in the field knowing you can using a few Photoshop techniques to produce a final image you will be happy with.

Off Camera Flash Strobist DSLR Photography Lesson with Julie & Rebecca

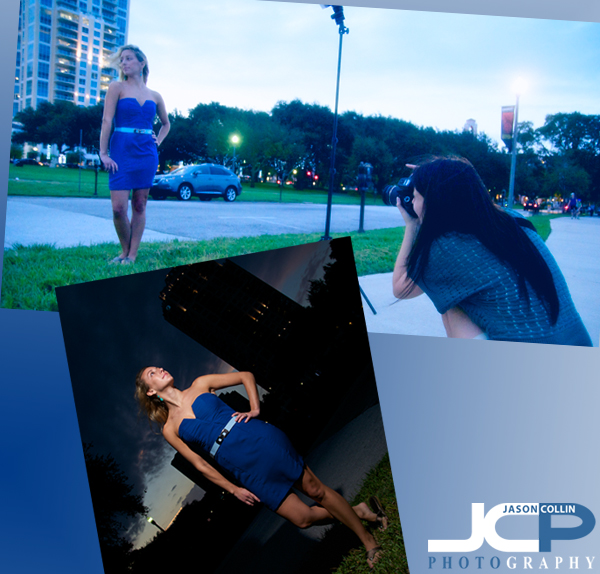
Julie practices off camera flash as her friend, Rebecca (also my photo student), does an excellent modeling job for her!Julie has started her second 4-pack of 1-on-1 DSLR Photography Lessons with me and is really ready to step up her photography skills!  She has invested in complete setup for off camera flash, or strobist, photography.  This actually does not require a large financial investment (assuming you already have a speedlight).  To join the strobist portrait world it just takes a light stand, head for the light stand, radio triggers and maybe a brolly or other light modifier.  All that can be had for about $125.  Just add your DSLR & speedlight, and of course my photography lessons, and you can start making your own amazing portraits (see above).  

For this lesson in downtown St. Petersburg Julie brought along her friend Rebecca, who is also taking my photography lessons as well!  She was a very patient model as we setup up several different shots in North Straub Park and along the waterfront.  You can see the very simple one speedlight setup we used with just a diffuser cap on (as it was too windy at this spot for the brolly) in the image above and a resulting dramatic portrait.  I look forward to showing Julie how to become an even better strobist photographer in our next lesson!

1/500th sec minimum shutter speed for action shots moving subjects - photography tip

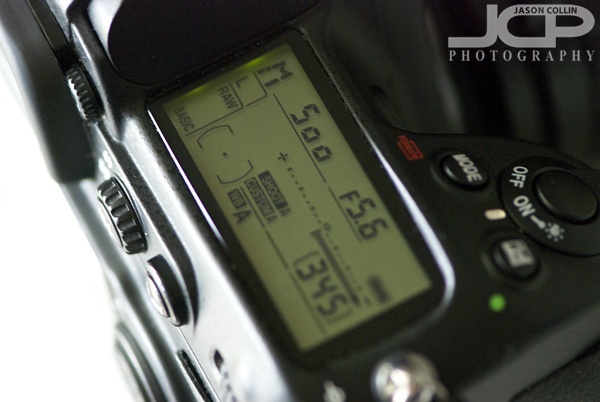
1/500th of a sec is the minimum shutter speed I feel comfortable shooting action shots with.When you shoot in manual mode or shutter priority mode, you have to set the shutter speed on your DSLR.  Of all the things you can set on your DSLR, shutter speeds have the most choices.  On my Nikon D300 I can choose from the fastest setting of 1/8000th of a second to essentially infinity (bulb mode).  So how to decide which shutter speed to use?  This week's photography tip is for choosing a minimum shutter speed for action shots or shots with moving subjects. 

  • 1/500th of a second minimum for any kind of moving subject/action shot

For me, I only feel comfortable with a minimum of 1/500th of a second when photographing anything moving.  You may be able to get away with a little slower shutter speed for not so fast moving subjects, but 1/500th of a second gives me confidence that I will freeze most action.  1/500th is the minimum though because for faster moving subjects like competive cyclists, excited dogs, etc, then even faster shutter speeds may be required.  Basically, for anything happening in your own backyard, 1/500th should be fine.  Now you have a starting point for setting your shutter speed for action shots.

1-on-1 Canon T4i DSLR Photography Lesson on dogs with Nicole

I met Nicole this morning not at my usual downtown St. Petersburg spot, but nearby at Northshore Dog Park as she had a specific assignment from her photojournalism class to photograph dogs.  She will be taking my 1-on-1 DSLR Photography Lessons to help her with that class and to be better at photography in general.  With the shots I was able to help her make this morning I am confident she will show up with the best shots in her class!

As Nicole needed to get a couple of very specific shots, and the number of dogs in the park was not a constant, for this first lesson I mostly just had her jump to the right settings for photographing dogs in motion so she could get the shots for sure, and then filled in the details as we went along.  Despite the overcast skies and puddles, we were fortunate that there were any dogs there, and even more fortunate that there were very playful ones that allowed Nicole to capture the insane faces dogs make as they wrestle with each other resulting in dynamic shots with a shallow DoF as I had Nicole shooting in Shutter Priority mode at 1/500th and ISO 400 allowing for a well exposed and sharp shot.  

I was impressed with Nicole's physical shooting skills and her ability to stay low at eye level to the dogs for extended periods of time and produce consistent results, including level horizons.  I look forward to helpin her with her next assignment!

Do not use in camera black & white setting - photography tip

I am following up last week's black & white photography tip with yet another this week.  Many digital cameras have the option to shoot in black & white right from the camera.  This may sound very convenient, but as usual with convenience there comes a trade-off, in this case less image data.  To illustrate this I set my Nikon D300 to shoot in monochrome mode for the shot on the left and then in standard mode for the shot on the right, which I then converted to black & white in Silver Efex Pro.  Both photos were large, fine jpg.  As you can see, the converted image contains a half megabyte more of data (12.8% more).  The difference in the amount of data will vary from shot to shot, and in this case it is a bit of a smaller difference, but you will always end up with more data by converting the image to black and white.  What that means is a better final image quality, especially for prints.

Other reasons to always shoot in color and then convert to black & white later include:

  • Silver Efex Pro allows for much more variety of black & white conversions
  • You may actually like the color image better
  • The color image can be shot in RAW

So I highly recommend always shooting in standard mode, and then later converting images into black & white using a powerful app like Silver Efex Pro to produce the best looking black & white images possible.

Theory of Photography 1-on-1 DSLR Lesson with Irene & her Nikon D90

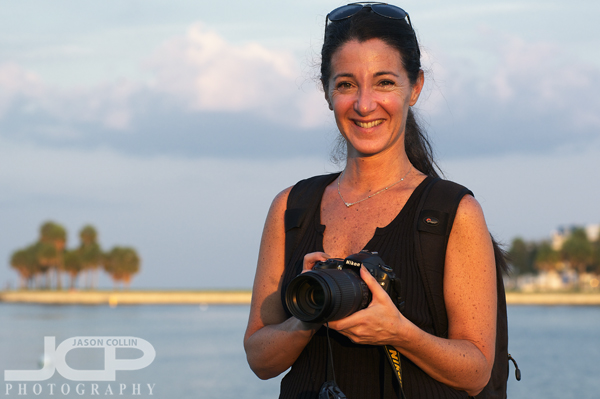
Irene with her Nikon D90 getting ready to go on her 4th African safari!I had a most unusual and interesting 1-on-1 DSLR Photography Lesson with new student Irene yesterday evening.  She already was familiar with photography terms and concepts like aperture, ISO, etc, but wanted to learn how to better apply them in combination when you hit the limits of each of those things, not to mention when available light is in short supply.  Getting all this right is key since she is about to go on her fourth African safari photography trip!  

Irene did a good job of asking questions to find out my own personal photography beliefs.  For example, if you are shooting with a 70-200mm f/2.8 lens in limited light, would you use f/4 ISO 400 1/200th or f/2.8 ISO 200 and 1/200th?  Those kinds of questions and scenarios made up the bulk of our initial 90-minute discussion.  We concluded the lesson with a few composition tips.  

I look forward to seeing all the great wildlife shots Irene will return from Africa with!

External Flash DSLR Photography Lesson with Kristin & her Canon 430 EX II

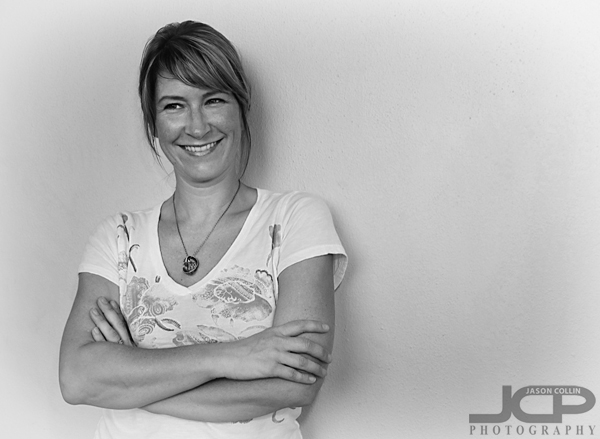
Me using Kristin's camera to demonstrate where to stand for on camera bounce flash.For our third of four 1-on-1 DSLR Photography Lessons I met Kristin in the usual downtown St. Petersburg spot.  This time she brought her new Canon 430 EX II external flash to practice how to improve her portrait making.  We started off using some bounce flash techniques by positioning the subject (alternatively me and Kristin) against a wall that was near another perpendicular well, or to put it simply, near a corner!  In this way we bounced the flash off the perpendicular wall to create softer shadows and more even light on the subject (see image above).

We concluded by using her external flash (on camera) to help make landscape portraits at sunset time and beyound.  It is a fine art of balancing the power of the flash with the exposure of the ambient light so that the subject does not look too "flashed."  I look forward to seeing Kristin's creative portraits when we meet for our next lesson.