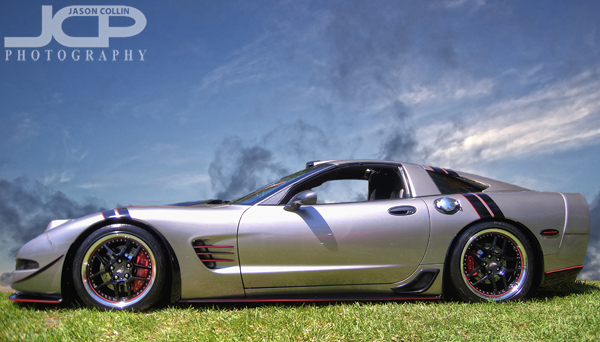
 This Corvette is real, and the sky is real, but they were not really photographed together.
I went to a Corvette car show in South Straub Park this past Saturday mostly to meet the owner of the above customized Corvette. I first photographed his car back in November. He was not by his car at the time and only by chance found my photograph of it. Since then I have been in regular contact with the owner, Bobby, about possibly doing a full shoot of his Corvette. That still has not happened yet, but at least on Saturday I got a chance to go see him and say hello.
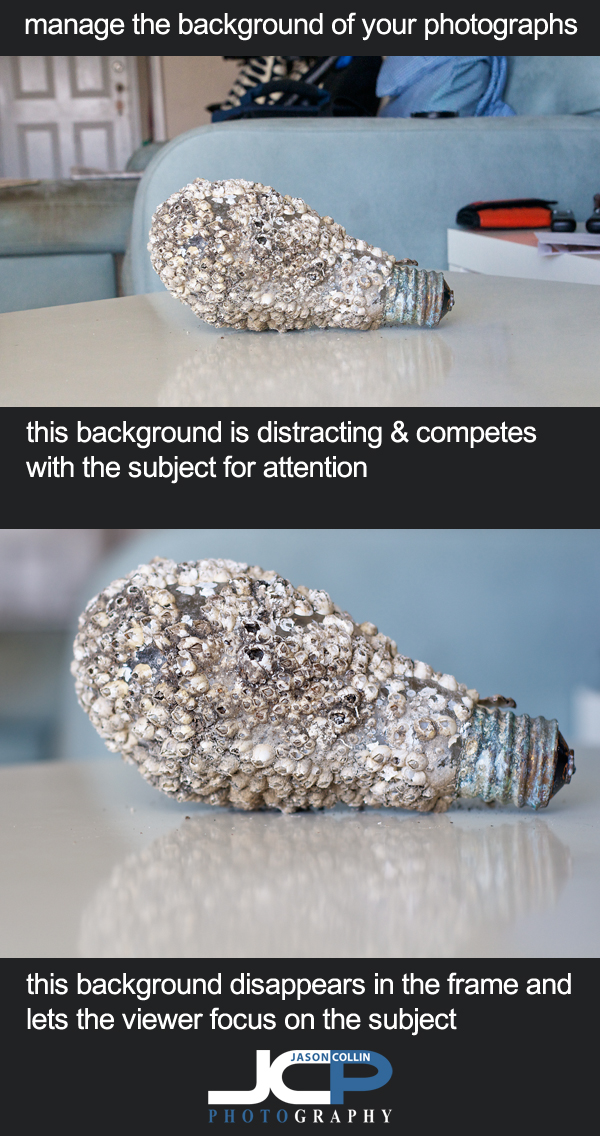
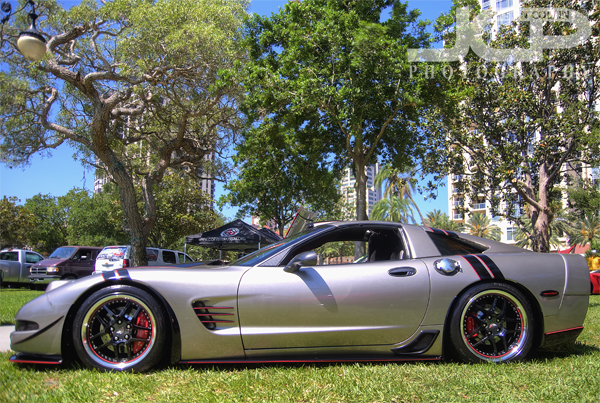 This is the original image as made on site at a car show in St. Petersburg FloridaI have written several times that shooting cars at car shows often results in less than desirable images, if you want the focus to be on the car itself. This case was no different as the trees in the background compete for the viewer's eye just as much as the Corvette. The solution for a busy background? Replace it with a better one!
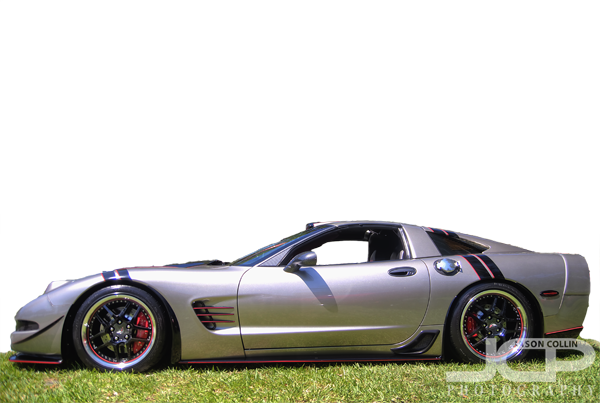 Corvette cut out from the background using Photoshop Quick Select ToolIt was pretty straight forward to remove the Corvette from its background using the Quick Select Tool in Photoshop. I kept the grass foreground as seen above. I was careful to of course not select the inside of the window so that too could be part of the background replacement.
 The replacement background used in the composite image.I went into my photo archives to look for a suitable replacement background. Using actual objects is rather hard to do as proportions can be very difficult to match (car looks giant, buildings look tiny, etc). A sky background is usually a good and easy replacement background subject. I used one I made of Sunset Beach on Treasure Island, Florida.
 The new background slipped right behind the Corvette, window included.Then it is just a matter of slipping the sky background layer behind the Corvette layer in Photoshop. I positioned it taking into consideration cloud placement. I did not even need to cut out the sandy beach part because that is all hidden behind the Corvette. The above image is the final composite photograph which allows the viewer to focus on the Corvette as the subject.
 Motion blur added to a more advanced edit of the Corvette composite image
After getting a composite image I liked, I experimented with even more Photoshop editing. I added a motion blur to the grass and a radial blur to the tires to create the illusion that the Corvette is speeding along on the grass. I darkened the window and put in a silhouette of my own head to show a driver inside to help complete the motion illusion. What do you think of the motion shot? Is it convincing or not quite there yet?

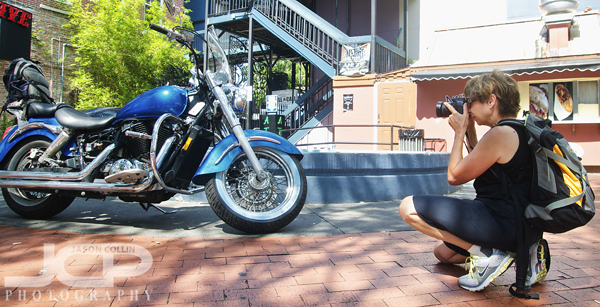
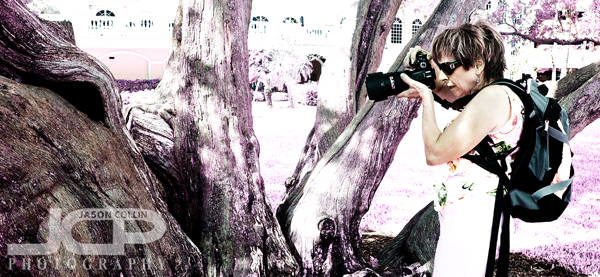
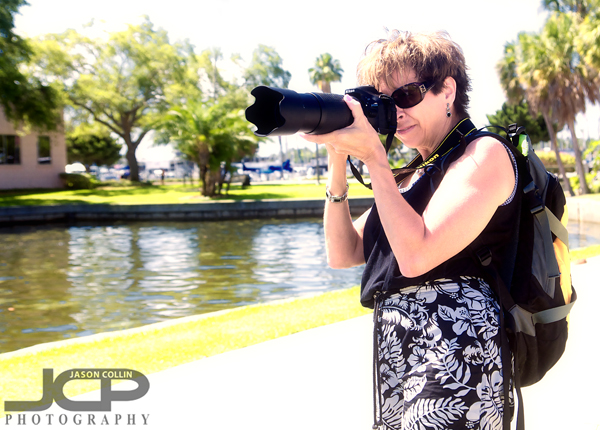
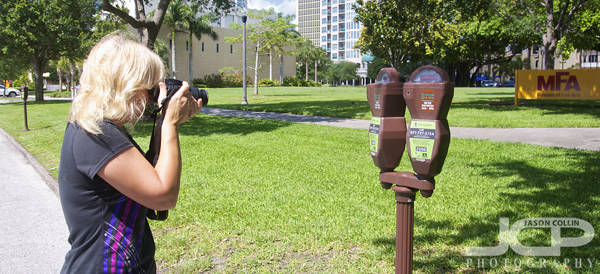 Lisa setting up her Nikon D5100 to eliminate the background (create bokeh) during our 1-on-1 photography lessonI met Lisa this very warm June morning for our first of four 1-on-1 DSLR Photography Lessons in downtown St. Petersburg Florida. Lisa has been a DSLR owner for a long time, starting with a Nikon D40x. She now also has a Nikon D5100, but over all these years she was still just shooting on auto-mode. This morning we started to remedy that as I began to teach her my 5-step process for shooting in manual exposure mode.