Photography Tips

The Best St. Petersburg Florida Photography Locations

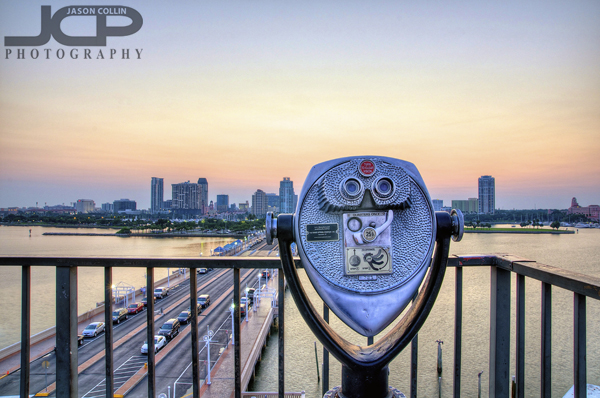
LOCATION:  THE PIER ROOFTOP  (currently unavailable due to Pier closing, but base areas may still be open)

The single best spot to shoot non-beach sunsets in St. Petersburg.  Each evening offers a different kind of light and a different kind of shot.  You can get an unprecedented view of the skyline and cityscape, or use a telephoto lens to shoot individual buildings, to long exposures to get light trails of cars driving to and from The Pier.  It is simply the best spot to shoot from in all of St. Petersburg for any kind of shot.  The railing on the roof is high, so a tall tripod is required to be able to shoot over it.  Plus, The Pier is scheduled to be demolished in summer 2013, so get there while you can!

View Larger Map


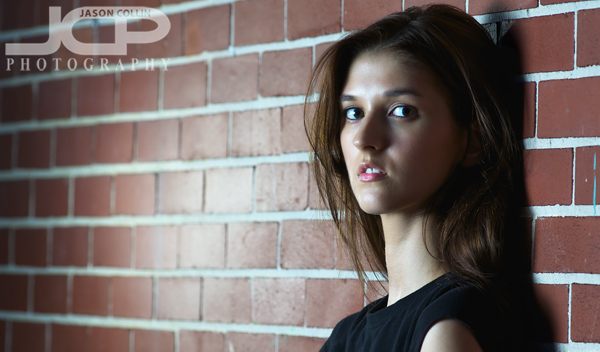
LOCATION:  2ND STREET NORTH (BRICK WALL)

Need a good brick wall to photograph a model in front of?  Then right next to Jannus Live in downtown St. Petersburg is a great one on 2nd Street North between Central Ave and 1st Ave North.  The sidewalk in front of it is wide allowing for plenty of space to setup lights and still let passersby get by.  Bonus:  there is also a cool double-door at the end of it.

View Larger Map


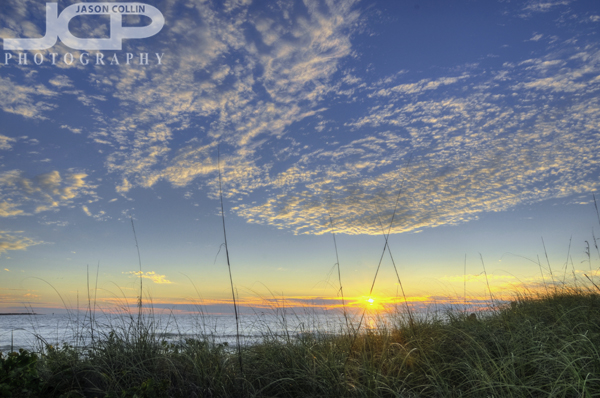
LOCATION:  PASS-A-GRILLE BEACH

It may seem like all beaches along Gulf Blvd running north to south of Pinellas County are the same.  They are not.  Pass-A-Grille Beach is the very last of them, at the southern most tip of Pinellas County.  Such it is somewhat of a forgotten beach.  You can often find it empty, espcially outside of summer months.  The beach is long and mostly narrow allowing for super wide panorama images to be made.  Sea grass grows between the sidewalk and sand (see above) making for a good foreground subject, or a background in and of itself.
View Larger Map

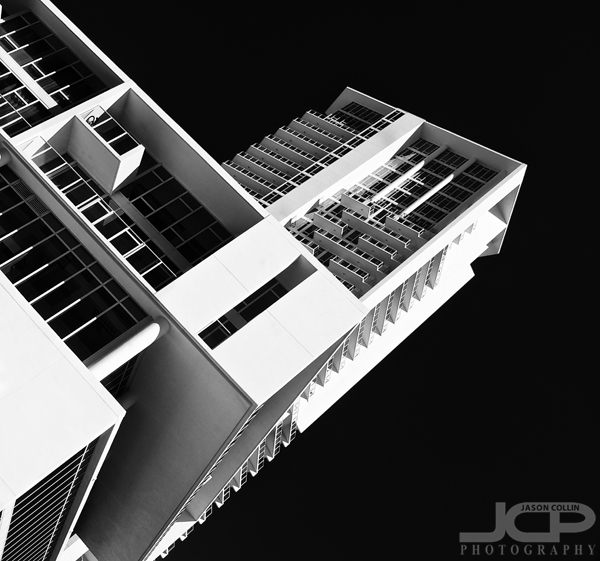
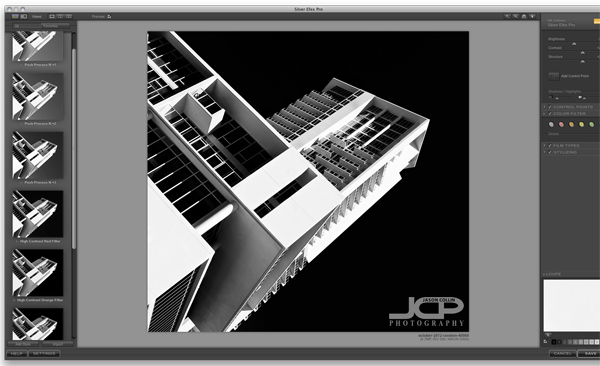
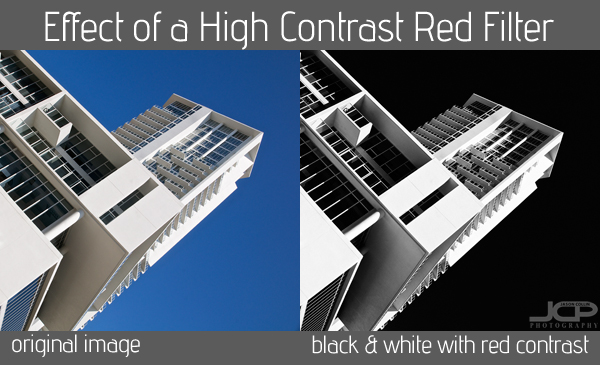
High Contrast Red Filter turns blue sky to night in Silver Efex Pro

Signature Place in downtown St. Petersburg Florida - Nikon D300 Tamron 17-50mm @ f/11 ISO 200 1/320th with high contrast red filter in Silver Efex Pro appliedWhen teaching photography at night I often tell my DSLR photography lessons students that with long exposures you can turn night into day.  Well, with a high contrast red filter, you can do the harder reverse of that, which would be turning day into night!  It is actually not hard if you have the awesome Silver Efex Pro plugin, which I have been raving about for years.  

The Nik Silver Efex Pro interface with high contrast red filter applied to the imageFirst I went through my normal digital photo editing workflow on this architecture shot of Signature St. Petersburg.  I made a duplicate and sent it into Silver Efex Pro.  From there all that needed to be done to change the color image to black & white and the blue sky into a night one was to click on the high contrast red filter preset.  No mess, no fuss.

Behind the scenes at my Morean Arts Center photography class in St. Petersburg Florida

The four ladies of my Tuesday morning photography class at Morean Arts Center in St. Petersburg, Florida.Last Tuesday I began my first ever classroom teaching of photography at the Morean Arts Center in downtown St. Petersburg, Florida (see Morean's full list of classes offered).  Before that I had taught hundreds of 1-on-1 photography lessons out in the field, very close to where Morean is actually.  I was not sure how it would be to teach photography from a mostly indoor setting and also to a group instead of an individual, but as of the second class today I am pleased to see that it is going surprisingly well.  We were able to do quite a bit of practice shooting from right inside the classroom today, which was good as it was raining a portion of our lesson time.  

The classroom covered in photographer gear and notes!The four ladies taking the class always have relevant questions to ask so having a whiteboard is very useful for getting into camera setting details as you can see in the above photo.  On the whiteboard is my five step process for shooting in manual exposure mode along with some suggested indoor settings.  Next week I think we will venture outside more, weather permitting as everyone is getting a good grasp on the ergonomics of using their DSLRs and how the process works for getting a good exposure in any given lighting condition.

Nikon D80 1-on-1 DSLR Photography Lesson in St. Petersburg Florida with Frank

Nikon D80 moving subject practice in downtown St. Petersburg FloridaMy first 1-on-1 DSLR Photography Lesson of November 2012 was on a very pleasant morning in downtown St. Petersburg Florida meeting Frank and his pristine Nikon D80.  His DSLR was pristine because it had been sitting in a very safe case for a couple of years.  My lesson with Frank was to make sure his D80 keeps seeing the light of day!

For awhile now I have been starting out my photography students right in manual mode.  For a long time I had been starting them in aperture priority mode, but have changed my own teaching methodology.  I mean, shooting in manual mode only adds one more thing to the list of settings for making a well exposed and sharp shot in any giving shooting condition, so why not just go right to the real stuff?

Besides teaching the technical details of exposure, in a first DSLR photography lesson I also teach ergonomics, as in where the buttons are to change settings on that particular student's camera body, how to change lenses safely and how to stand and hold the camera to insure the most stable shooting position.  All these things to me matter just as much as knowing you should use AF-C for moving subjects rather than AF-S.

I hope after our lesson Frank enjoys using his Nikon D80 to make beautiful photos of Florida and it only stays in the case between locations!

Photography Tip - Which Aperture with which lens?

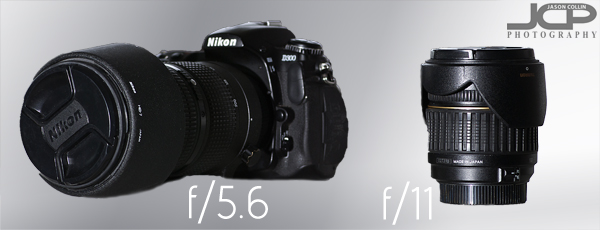
When I put a lens on my DSLR, I already have an idea of which aperture I want to use because I know which aperture is usually best for that particular lens.  I may of course fine tune that aperture, or I may be shooting an unusual subject matter for that lens, but in general I start at these apertures for these lenses.

RECOMMENDED STARTING APERTURES FOR LENSES

  • 18-50mm lens --> f/11
  • 70-200mm lens --> f/5.6
  • 50mm lens --> f/2.8

So if you are looking for a good default aperture to start shooting with when using a particular lens, the apertures above are what I recommend.  

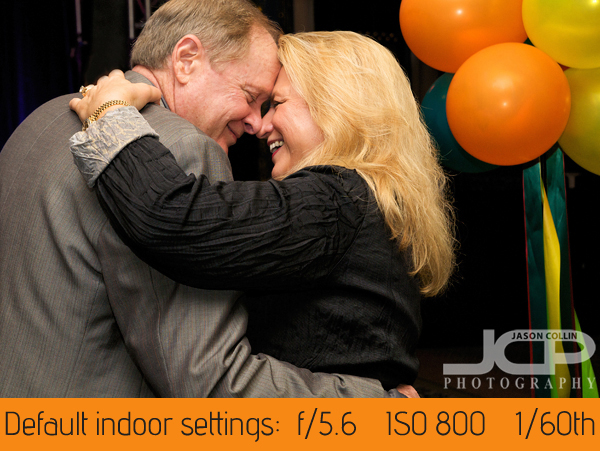
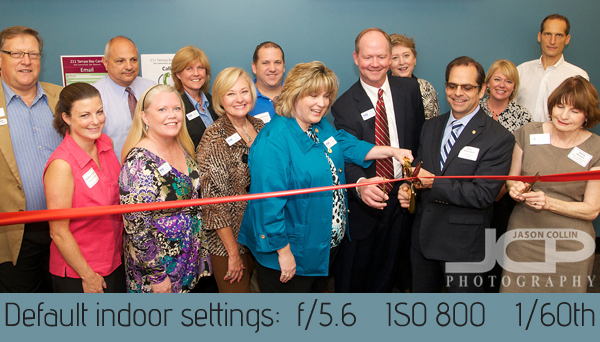
Default Indoor DSLR Camera Settings with external flash f/5.6 ISO 800 1/60th

Continuing my default DSLR camera settings series, in the above shot you can see the settings that I set my Nikon to as soon as I step indoors anywhere.  I am often asked by people, what settings should I use for such and such a situation, and it is always hard to tell them because slight variations in light, subject, etc. can have a big effect.  However, in my experience I pretty much always use these settings along with my external flash on my DSLR in any indoor shooting environment:

aperture:  f/5.6

shutter speed:  1/60th

ISO:  800

For the settings on your hotshoe mounted external flash, most of the time I find a manual power setting of 1/4th is good for lighting the intended subject and allowing the speedlight to recycle fast enough for successive shots.

As you can see the first shot was in a dark ballroom, and this shot is in a fairly well lit office, yet I used the same settings.  These default indoor settings with an external flash will not light up a large room, but will still expose the subject well (the dancers) and if the room does have good lighting and is not too large, the default indoor settings can light up both the subjects and the background.

So the next time you are shooting indoors, give these settings a try and you should be very happy with the results!

Photography Tip - Rick Sammon's Digital Photography Secrets book

I had a chance earlier this year to attend a Rick Sammon photography lecture in person, and even meet him for a few minutes.  As he was speaking, I realized just how much of his photography philosophy I had adopted myself and put into practice.  One great way to begin to establish a photography philosophy of your own is by reading Rick's book, DIGITAL PHOTOGRAPHY SECRETS.  I got my own copy autographed by him at the lecture (see here)!  

Each page has one of his photographs and a very useful and practical photography tip.  Rick travels the world with his camera so the variety of photographs is outstanding.  I highly recommend reading his book in addition to going out and shooting on your own.  In fact, read one of his tips, then go out and try it yourself!