Photography Tips

Nikon D5000 1-on-1 DSLR Photography Lesson in St. Petersburg Florida with Angela

Angela with her Nikon D5000 on our first of four 1-on-1 DSLR Photography Lessons in St. Petersburg FloridaOn a surprisingly cool spring late afternoon I met Angela in downtown St. Petersburg for our first of four 1-on-1 DSLR Photography Lessons.  She has been the owner of a Nikon D5000 for a couple of years, but all that time just using it on auto-mode.  Since she regularly photographs her daughter racing motorcross, taking control of her DSLR and getting off auto-mode will definitely help her capture better action shots in a wide variety of conditions.  

We said good-bye to auto-mode and hello to aperture priority mode to start out the lesson as I introduced Angela to my 4-step processing for making a well exposed and sharp photograph in any situation.  By the end of the 2-hour lesson Angela was using manual mode to make flash portraits in North Straub Park in preparation for making prom night portraits of her daughter this upcoming Friday.  She now has the practice and knowledge to be able to make well exposed and composed portraits in an outdoor setting that would also apply to indoors as well, with a few settings tweaks needed only.  

I look forward to hearing how the prom and motorcross photos came out during our second lesson coming up soon!

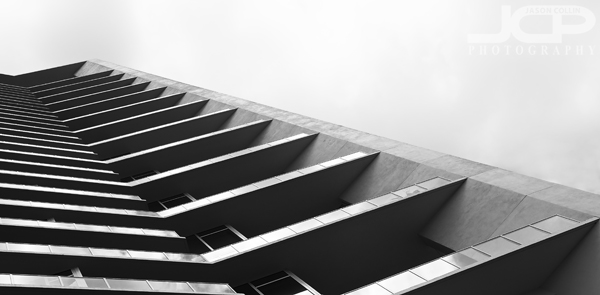
Look for repeating patterns in architecture shots

Using balconies as a repeating pattern composition - Signature St. Petersburg tower - Nikon D300 Tamron 17-50mm @ f/11 ISO 200 1/500th - black & white processing using Silver Efex ProFinding and using repeating patterns in your photographs is my photography tip for this week.  In the above photograph of Signature St. Petersburg I composed the shot to exaggerate row after row of balconies so that they came to form a repeating pattern.  I also held my camera off-angle to create a leading line with the far edge of the skyscraper and also the interior contour that leads the viewer's eye from lower right to upper left.  Thus, in this architecture shot I combined repeating patterns with leading lines in an attempt to produce an interesting photograph.

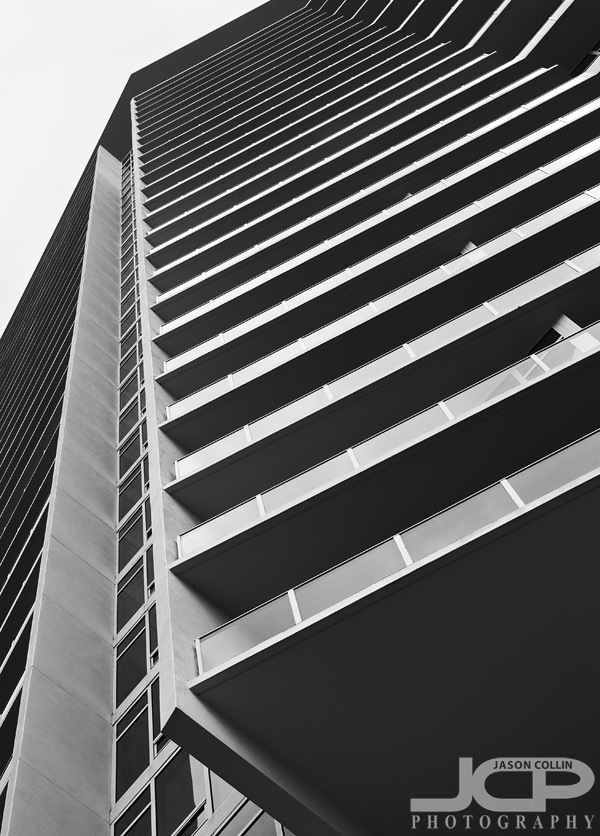
Once again using leading lines and repeating patterns to create interest - Nikon D300 Tamron 17-50mm @ f/11 ISO 200 1/200th - black & white processing in Silver Efex ProI used the exact same techniques in composing this architecture shot as well, just put into portrait orientation.  In composing and later in cropping, I paid special attention to make sure each leading line ended exactly at the edge of the frame.  Note how the lower left the line ends right into the corner, and for the small line in the upper right, just before the roof went upwards to the right, I cropped it there to keep the line straight.

Lastly, I chose black & white processing for both these images because there was cloud cover and the building itself lacks color, so no reason to leave what little color was left in the image.

  • Read more photography tips
  • View more architecture photography
  • Reserve your own 1-on-1 DSLR Photography Lesson with Jason today!
  • Canon 5D Mark II 1-on-1 DSLR Photography Lesson St. Petersburg Florida with Gina

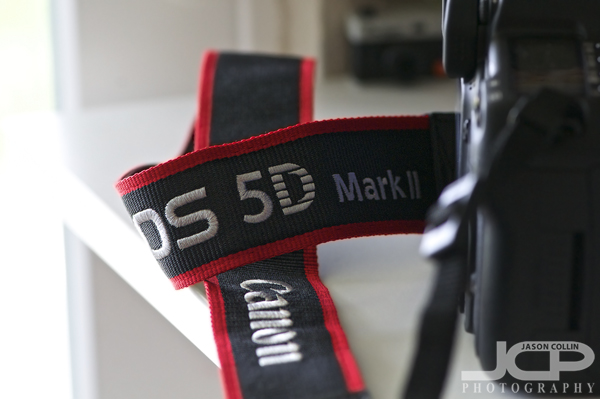
    From setting the date to setting the aperture, a wide ranging DSLR photography lesson with GinaI have been in contact with Gina for the past few days helping her with everything from which DSLR to purchase to which lenses to get for it as she has a very strong need to add to her photography knowledge as quickly as possible.  She has already been shooting for awhile, getting a few high profile jobs even.  The Canon 5D Mark II was new to her and brand new store bought yesterday so we began the lesson from the very beginning, set the time and date and putting the neck strap on.

    During our 1-on-1 DSLR Photography Lesson Gina wanted me to go through every menu setting and every button on the camera leaving no stone unturned.  This gave me my most indepth look yet at how a Canon DSLR works as I shoot Nikon.  I have already had hands on with every Canon model made in the past five years, but before now not setting one up totally from scratch.  I remain convinced the ergonomics of shooting with a Nikon of similar level are far, far better.

    We finished the lesson with a review of the correct terms for referring to shutter speed, how to identify and describe a lens, among other terms.  

    I hope Gina's upcoming shoot goes well and I look forward to seeing the images.

    Nikon D90 Architecture Photography Lesson in St. Petersburg Florida with Bill

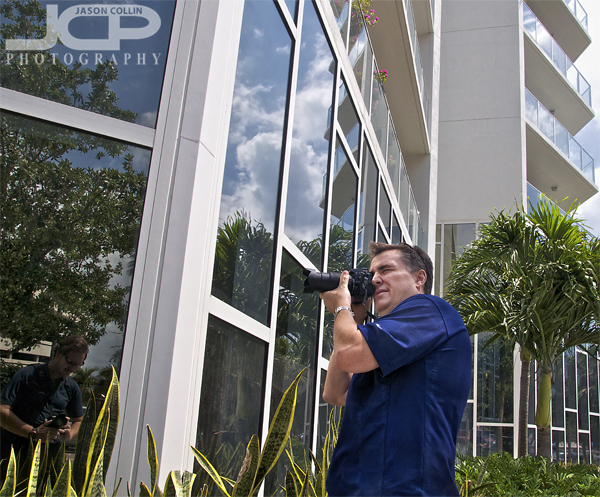
    Bill with his Nikon D90 practicing architecture photography outside of Signature Tower in downtown St. PetersburgMy third DSLR Photography Lesson with Bill on Saturday morning was our first 1-on-1 lesson as his wife Ria could not make it for this one.  We met at the usual spot in downtown St. Petersburg on a typcially beautiful, sunny and warm Florida spring morning.  The focus for this lesson was on making architecture shots, and how to use aperture priority mode to get a general idea of the exposure wanted, before switching to manual mode to fine tune it exactly to the desired results.  

    At the very beginning Bill showed me some shots of the St. Petersburg skyline and waterfront he took since our last lesson, homework so to speak.  This was very useful to me in being able to show Bill which settings were correct, and which ones needed to be changed in order to produce a better shot.  We then simulated some of those shot circumstances during our lesson so Bill could practice getting all settings correct for better results.  

    We had time during this lesson to start to discuss composition more, especially when photographing buildings.  I showed Bill my parallel edge photography tip while saying that the entire building does not always need to be in the frame.  

    Our next lessons will start to include digital photography editing in addition to more shooting practice.  I am looking forward to seeing Bill's early morning dawn shots of St. Petersburg with the help of the things we practiced this lesson.

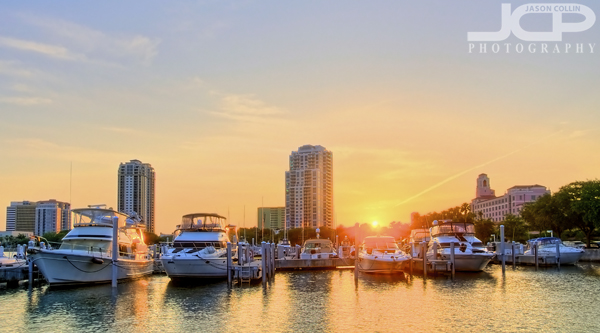
    Sun setting through downtown St. Petersburg Florida HDR

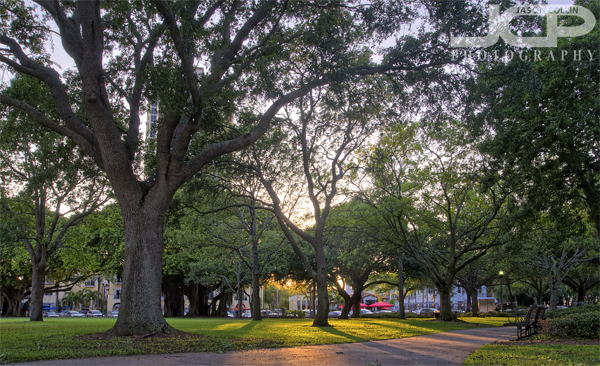
    Sunset through the trees in Vinoy Park St. Petersburg Florida - Nikon D300 Tamron 17-50mm @ f/8 ISO 200 9-exposure HDR tripod mounted with cable releaseVinoy Park is my favorite spot in all of downtown St. Petersburg.  It juts out offering panoramic views of the downtown skyline and also The Pier and Tampa Bay too.  It is the best public place to watch the sunset in the area also, well, maybe the top of The Pier is just as good.  I am always looking for different perspectives, trying not to just use my own eye level for composing shots.  For this one I closed the legs of my tripod so that I was shooting just from about a foot off the ground.  This also allowed me to get the sun right under the tree's lowest branch.

    • Photography Tip:  Use your tripod at its lowest height, or lay on your stomach if no tripod required for a unique, low perspective.

    Marina view from Vinoy Park St. Petersburg Florida - Nikon D300 Tamron 17-50mm @ f/8 ISO 200 9-exposure HDR tripod mounted with cable releaseMoving in front of the tree in the lead photo reveals a marina, on the far right Vinoy Renaissance Hotel and in the center 400 Beach Drive tower.  There are benches to sit on to enjoy this view.  I cannot imagine there are many sunsets they go unused.

    North Straub Park in St. Petersburg Florida - Nikon D300 Tamron 17-50mm @ f/8 ISO 200 9-exposure HDR tripod mounted with cable releaseAll along the downtown St. Petersburg area are parks like North Straub Park above that offer quiet places to sit and enjoy the green environment that city developers very wisely preserved.  It is these parks that in my opinioin make St. Petersburg the most beautiful area to live in all of Tampa Bay.  

    Brolly & snoot ice cream sundae strobist lighting setup

    Would you eat this ice cream? Nikon D300 with Nikkor AF-S 105mm VR micro f/2.8G lens @ f/16 ISO 200 1/250th Strobist: Nikon SB-800 Speedlight in 42" brolly @ 1/4 power behind to left & Nikon SB-600 Speedlight @ 1/8th power in Honl snoot to frame right triggered using Yongnuo remotesThis ice cream sundae is one of my favorite possessions.  It looks good enough to eat right?  However, it is made by a famous company in Japan that produces realistic food models for display in front of restaurants.  It is common, almost required, for a restaurant to put many of its dishes on display in front of the restaurant to entice passersby to come eat there.  I had been waiting for an opportunity to photograph it, so I finally decided to use it as a subject for a demonstration on what each light does in a two-light strobist setup.  The above shot is the completely lit final image.  I got the idea to show how adding lights changes a shot from this video of a photographer setting up $60,000 worth of lights to get a shot of a Lamborghini Aventador.  I cannot recommend watching the video enough as it is outstanding.  This post does not compare at all to that video, but it is something you can practice in your living room assuming you do not have access to $60k of lights and/or a Lamborghini.  
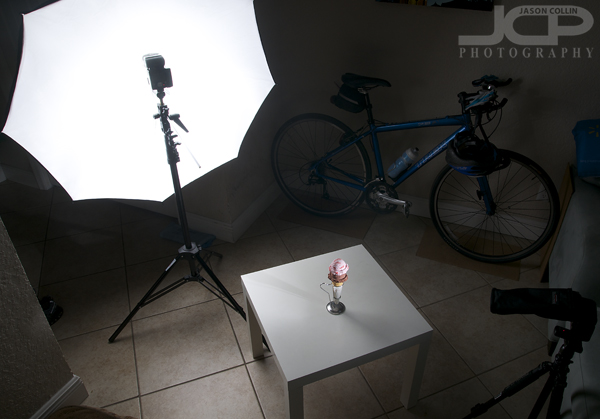
    This is the off-camera-flash setup I used right in my (cramped) living room space.  My trusty new 42" brolly is on the left with a Nikon SB-800 Speedlight shootoing into it.  In the lower right corner you can see a Nikon SB-600 Speedlight with a Honl snoot attached.  The SB-800 was @ 1/4 power and the SB-600 @ 1/8th power.  I set my shutter speed to 1/250th (the fastest I can sync with the Yongnuo radio triggers) in order to produce a black background (read more about how to make a black background).  I had to carefully position the lights so neither bounced light off the wall behind the ice cream, which from where I shot was the wall space next to the rear wheel of the bicycle.  In a studio or larger space this shot would be much easier to setup.
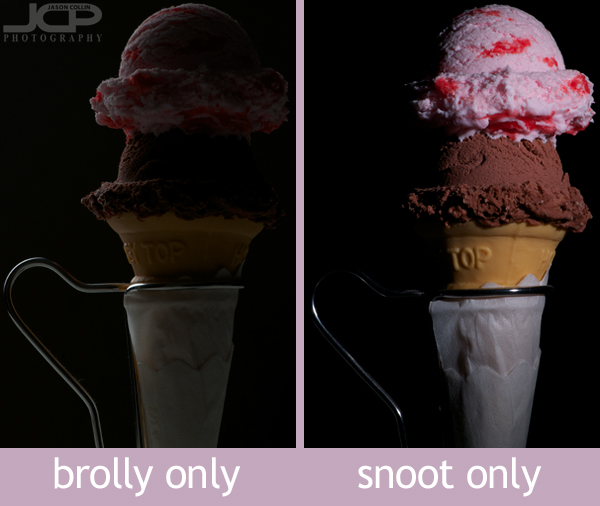
    From the angle I was shooting at you can see that the brolly though the largest light source does not add much light to the subject.  If I had just used the snoot, the handle and back part of the ice cream would remain too dark.  The top image in this post shows what both lights combined can produce.  

    Try making a shot like this at home with using multiple light sources and see the effect adding, moving or removing a light source has on how your subject looks.  Be sure and post a link to your results in the commments below. 

  • Read more photography tips
  • Reserve your own 1-on-1 DSLR Photography Lesson with Jason today!
  • Learn more about the lessons
  • Canon 7D 1-on-1 DSLR Photography Lesson in St. Petersburg Florida with Amy

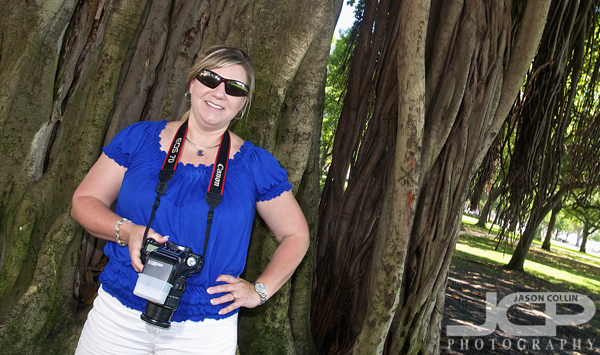
    Amy with her Canon 7D & 430 EX II Speedlight in front of a famous downtown St. Petersburg banyan treeI met Amy on a rather warm spring St. Petersburg morning for our first 1-on-1 DSLR Photography Lesson.  Amy has been doing paid work with her Canon 7D for sometime, but was looking to learn from our lesson some of the very practical tips and tricks for how to make better photographs that are not found in books, videos or even in a photography classroom.  Since I am a self-taught photographer with years of expeirence I have a lot of real-world photogrpahy practices I can share with my students to not just improve the final results of their photographs, but how to make it easier to produce a good photo before ever pushing the shutter.

    Amy had been shooting in "P" mode on her Canon 7D after receiving some bad advice from another photographer.  With her experience and with the subject matter she shoots I told her she should be shooting in manual mode exclusively, which is where we set our exposure dials for the entire lesson.  To further polish her professional way of shooting I turned off the "beep" on her 7D when getting a focus lock which is a most unwelcome sound when photographing in a quiet setting.  Then I showed her my very stable way of shooting by placing the left palm under the lens and shooting from a near sideways feet apart position allowing for both elbows to be against the body for support.

    We finished the lesson at one of the two famous banyan trees in North Straub Park.  We started using her Canon 430 EX II Speedlight on the camera as she usually shoots, but then moved to using the Canon 7D's built-in remote flash trigger ability to get the speedlight off camera.  

    I look forward to seeing how Amy applies all the things we practiced and discussed today in her future work.  If you live in or near Plant City, Amy's photography website can be found here.