Photography Tips

1-on-1 Nikon D5100 DSLR 50mm Lens Photography Lesson with Quincy in St. Petersburg Florida

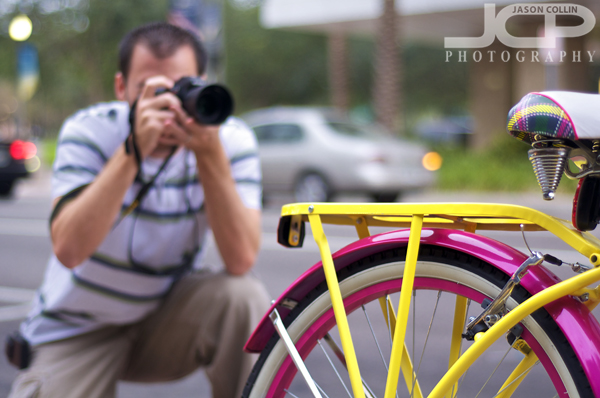
Quincy sizes up a shot of a colorful bike with his 50mm lens during a 1-on-1 photography lesson in St. Petersburg, FloridaFor our second 1-on-1 DSLR Photography Lesson I met Quincy in downtown St. Petersburg, Florida on an overcast afternoon.  This weather was very welcome as we were set to use only 50mm f/1.8 lenses during the lesson.  The overcast skies made available light scarce even hours before sunset was to arrive.  We took a route through the skyscrapers of downtown passing by a few favorite spots with a small fountain, a grimey alley and different kinds of lights that can be used to make a great background bokeh.

More than the first lesson, I gave composition advice and how to find a shot with a 50mm lens.  With its large aperture of f/1.8, a 50mm lens can often make a shot out of nothing, which is of course much harder to see than shooting a landscape that is right there in front of you.  Using a 50mm lens requires being able to see how a shallow depth of field shot is going to look with your naked eye.  Background is often the key, though that is often the key for any type of photograph if you think about it!

When should I increase ISO for handheld photography shooting?

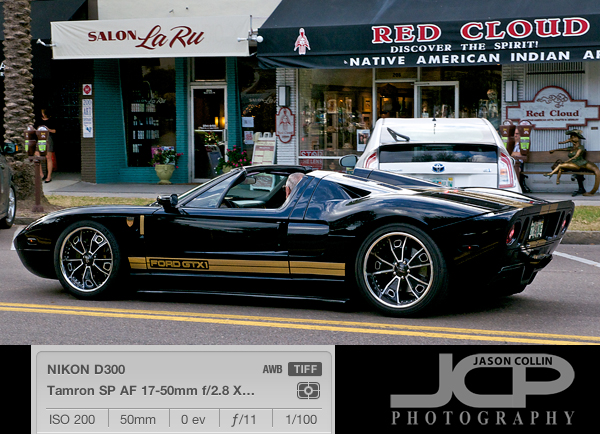
If you are shooting handheld, still subjects, with a wide angle lens like this Ford GT supercar stuck in traffic on Beach Drive NE in St. Petersburg, Florida, my advice for when to increase your ISO to get the best exposure is as follows . . .

Only increase your ISO once:

  • The shutter speed is at 1/60th
  • The aperture is at the largest or near largest for your lens (typically f/5.6)

In the photo above, you can see in the exif data I had not yet come close to the above parameters for increasing my ISO, so I had my ISO set at 200, which is the lowest for my camera.  If those settings were producing an underexposed shot, I first would have gone to 1/60th of a second.  If it was still too dark, then f/8, then f/5.6, then f/4.  My wide angle lens is an f/2.8 lens, but I know it probably will not be its sharpest at its largest aperture of f/2.8 so once I got to f/4 and 1/60th and was still getting an underexposed image, then I would have started to increase my ISO gradually until I got the exposure I wanted.

This is just one scenario for when to start increasing the ISO on your camera, there are many others that will no doubt be the subjects of future photography tip blog posts.  However, the process for thinking when to increase your ISO is always the same, it is just that the minimum thresholds for aperture and shutter speed will not always be the same.

1-on-1 Nikon D5100 DSLR Photography Lesson with Quincy in St. Petersburg Florida

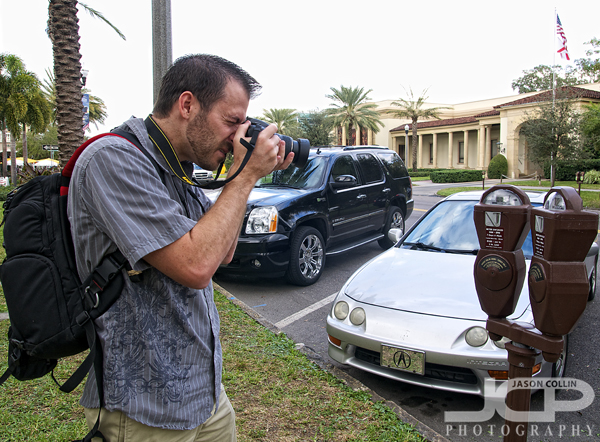
Quincy with his Nikon D5100 keeping a very close eye on his expired parking meter during our photography lessonQuincy came over the bridge from Tampa with his Nikon D5100 for a 1-on-1 DSLR Photography Lesson on a too warm to believe it is December afteroon.  As he talked to me about how he currently shoots, using aperture priority mode and what I call "gaming the system" by metering off of brighter or darker objects and then recomposing to get the exposure he wants, I told him using manual mode will greatly simplify your life and avoid having to trick the camera into doing what you want!  Since he did have this understanding about how exposure works though, in a rough sense, teaching him my 5-step manual mode shooting process organized what he already knew and eliminated things he no longer needed to worry about.

Thus, as we walked around the downtown St. Petersburg area I answered his many questions and explained to him why such and such settings would not be logical to use and explained that certain parameters dictate when to change certain settings, like there is not really any reason (in 90% of shooting situations) to increase ISO until the limits of aperture and shutter speed are hit first.  With a few key pieces of knowledge like that, one can more easily shoot in manual mode and get consistent results in any given shooting conditions.

1-on-1 Nikon D3000 DSLR Photography Lesson with Georgia in St. Petersburg Florida

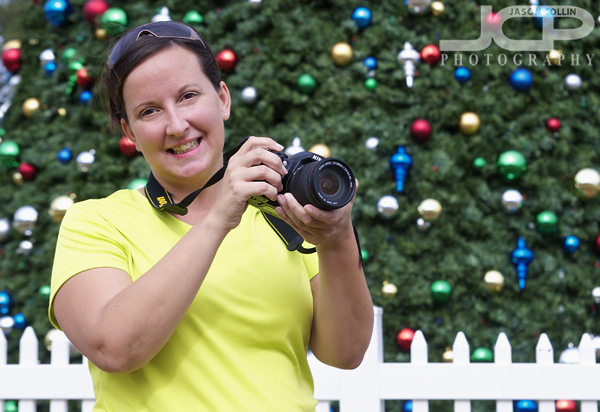
Georgia getting to know her Nikon D3000 during our photography lesson in St. Petersburg FloridaTaking a break from her normal Monday morning, Georgia met me in downtown St. Peterburg with her Nikon D3000 for our first of four 1-on-1 DSLR Photography Lessons.  We started the lesson by going over how to use her DSLR and adjust the settings that need to be adjusted for making well exposed and sharp images in any given shooting conditions.  I believe strongly in knowing your camera well.  If you do not know how to adjust your ISO then how can you fix an underexposed image.  Of course you need to know what ISO is in the first place and exactly when you should start to increase it.  Thus, 99% of the first lessons I teach start with such explanations and camera overviews.

After giving Georgia a crash course in how to use her DSLR in general, we started to get a little more specific ending with some natural light portraits like the one I made of her (above) using a huge Christmas tree as the festive background.  Each of our next three lessons will be even more specific as we build on the general photography skills from this first lesson, which was an information packed one!

1-on-1 Nikon D60 DSLR Photography Lesson with Carol in downtown St. Petersburg Florida

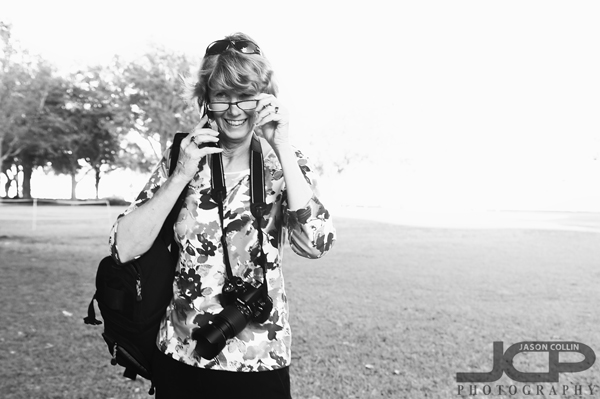
Carol with her Nikon D60 during our 1-on-1 photography lesson in downtown St. Petersburg, FloridaIt was another afternoon time 1-on-1 DSLR Photography Lesson in downtown St. Petersburg on a fine December day with Carol and her Nikon D60.  She had her D60 for awhile, but like many of my photography students, was only using it on auto-mode.  Having other recent experience with the Nikon D60, I confirmed again that its meter can easily be tricked into producing lackluster results.  This was apparent when making the exact same shot in manual mode and aperture priority mode back-to-back.  Thus, I am more convinced than ever that even my beginner students should start out learning how to shoot in full manual mode.

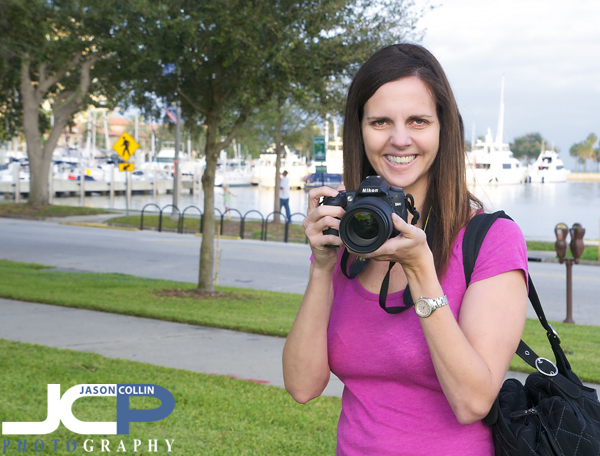
While teaching Carol my field tested 5-step process for making a well exposed and sharp image in any shooting conditions we visited the St. Petersburg marina area, the Museum of Fine Arts and ended up in North Straub Park for a little natural light portrait practice in the shade using a 200mm focal length.  

I look forward to hearing how Carol now loves manual mode and never has to return to auto-mode again, I hope!

Where to put the horizon in landscape photographs

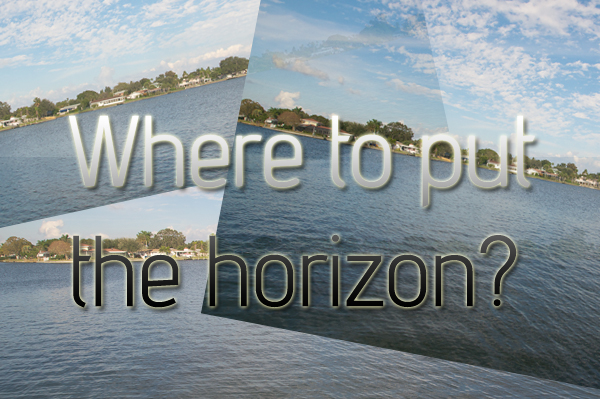
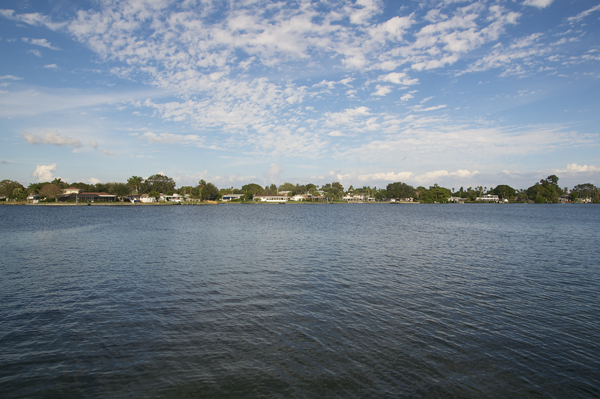
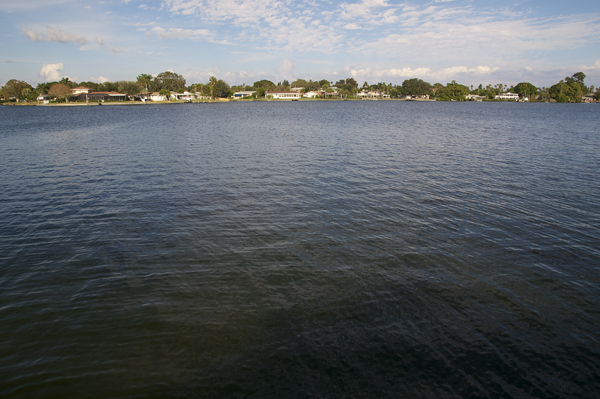
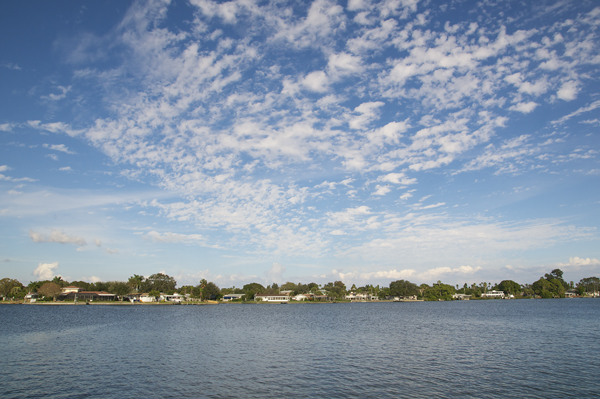
When composing a photograph, especially a landscape shot, everything needs to be considered, and that includes where to put the horizon.  By where the horizon is placed in the frame determines much of the overall impression of the photo.  One simple way to help with horizon placement is to follow the rule of thirds, by that I mean placing the horizon in the lower or upper third of the frame often results in an appealing shot.  

The horizon dead smack in the middle, not a very exciting shot.Without any formal photography training, most of the time picking up a camera and making a landscape shot of sky and water would result in the above image with the horizon dead centered.  Unless there is some kind of cool reflection or vertical symmetry, this results in a boring shot.  The photographer has not chosen which to feature more of in the frame, the sky or the water?

Placing the horizon in the upper third showcases the foreground.In the above shot the horizon is placed in the upper third of the frame, showing that the photographer chose to feature the water.  Putting the horizon in the upper third highlights the foreground.  So you have to ask yourself, is the foreground nicer than the background?  If so, compose with the horizon in the upper third.  However, for most water shots here in Florida, including the one above, the water is not as beautiful as the sky so the shot can end up looking like a lot of brown with a peak of blue at the top.

Putting the horizon in the lower third often results in the best Florida landscape compositionFinally the horizon is placed in the lower third showing more of the beautiful afternoon sky and less of the nondescript water.  This framing showcases the best feature of the shot, the sky, and just enough water to let the viewer know it is a waterfront shot.

So when framing your shot, decide what you want to feature, and then place the horizon accordingly.  

1-on-1 Nikon D90 DSLR Photography Lesson with Raegan in downtown St. Petersburg Florida

Raegan with her Nikon D90 in North Straub Park during our 1-on-1 DSLR photography lesson - St. Petersburg FloridaThe first true afternoon 1-on-1 DSLR Photography Lesson of the fall was with Raegan and her Nikon D90, meeting at 3pm which would be unthinkable most months of the year in Florida.  She has had her D90 for quite sometime and had even taken other photography lessons in the past, but was still looking for a better way to tie together aperture, shutter speed and ISO.  Of course, that is exactly what my lessons aim to do from the get-go.

Since Raegan did have some photography knowledge to start with, and was already shooting in manual mode, I described to her my 5-step process for making a well exposed and sharp image in any chooting conditions in a bit more detail at first than usual.  In particular shutter speed limits, with those of course being in general 1/60th for still subjects and 1/500th for moving subjects.  Knowing those two limits is the key to eliminating blur and camera shake.  

We ended the lesson with a little flash portrait practice in North Straub Park along with a few composition tips that make a big difference in the final overall look of a portrait.  

I hope now that Raegan can confidently photograph her children in focus when they are sitting or moving, or both!