Photography Tips

Using a collapsible background to make a home photography studio St. Petersburg Florida

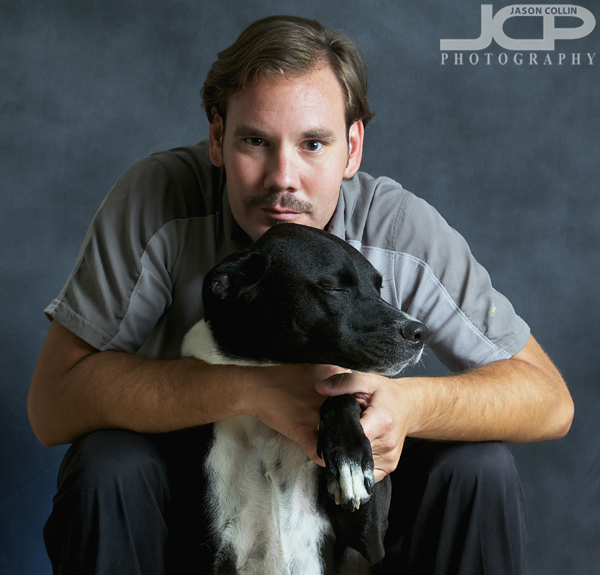
Kiki & I in a self-portrait featuring my new Botero Collapsible Background - Nikon D300 Tamron 17-50mm @ f/5.6 ISO 200 1/60th - Strobist: SB-800 in brolly to frame right & SB-600 pointed up at background with blue gel and HONL snoot (open)I am always looking to improve the range and quality of photography products I can offer to clients.  In the pursuit of this I invested in a collapsible photography background (view on bhphotovideo.com) that measures 5'x7' is neutral to dark gray and folds up like a car sunshade into a circle when not in use.  Such a background allows one to setup a small studio space virtually anywhere, including your own living room.  
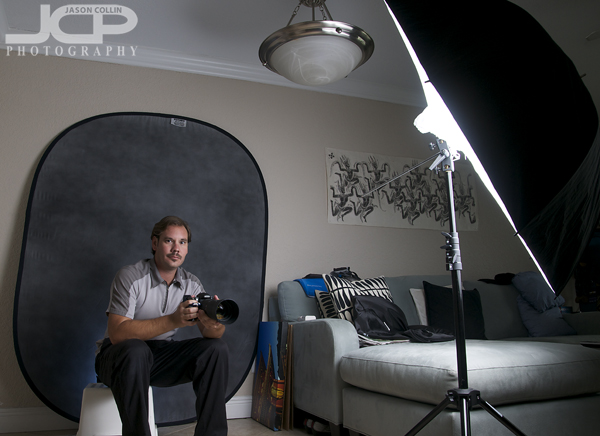
My new home studio setup featuring a 43" brolly on a light stand, 5'x7' collapsible background & gelled speedlight (behind me)The collapsible background does not require any special holder or stand.  I simply took a canvas print off the wall and rested the background up against it.  It took a little fiddling and flipping it over to get it to stay in the space I wanted it too, but all-in-all a pretty easy setup.  The background is easily big enough for two people, and maybe three or more depending on how they are posed.
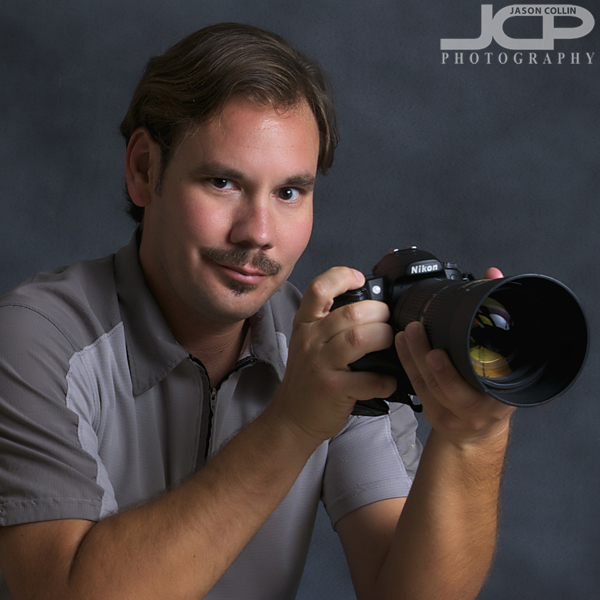
This self-portrait headshot took MANY takes to make!If you like to make portraits and do not have the space to maintain a dedicated photo studio in your home, then my photography tip is to invest in a collapsible background that can be used in any room in the house and easily taken over to the homes of friends and family too.

50mm Lens Photography Lesson 1-on-1 with Tim & his Nikon D7000 in St. Petersburg Florida

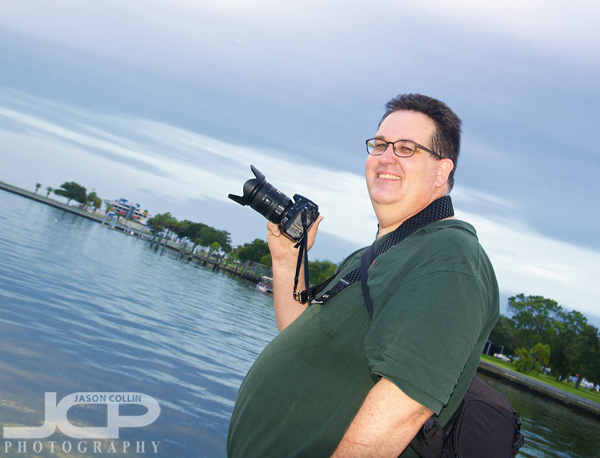
Tim with a Nikkor 50mm f/1.8G lens on his Nikon D7000 during our second 1-on-1 photography lesson in St. Petersburg, FloridaFor our second 1-on-1 DSLR Photography Lesson I met Tim in the usual downtown St. Petersburg spot for 2-hours of instruction on how to shoot with a 50mm lens.  He has the Nikkor 50mm f/1.8G for his Nikon D7000.  This time he also tossed on the external battery grip to his DSLR as well.  There was also a piece of new photography gear to debut for him, a BlackRapid camera strap!  During our first lesson he commented on mine and I said I could not imagine using the old over-the-neck-style strap ever again (read my full review).  BlackRapid if you are reading this I would not mind a FastenR-3 in thanks for referring another customer to you!

Some of the 50mm shooting tips I gave Tim included moving the focus point in the frame rather than recomposing, really paying attention to the background for creating the best bokeh and not always trying to get the whole subject in the frame (read photo tip on this).

In addition to all that his fingers got a good workout constantly adjusting the shutter speed and often the aperture too as we worked exclusively in manual mode today and were often moving from shade to bright light on our tour of downtown St. Petersburg.  For our next lesson we will head to The Pier for a lesson focusing on shooting from a tripod.

1-on-1 Nikon D7000 DSLR Photography Lesson St. Petersburg Florida with Tim

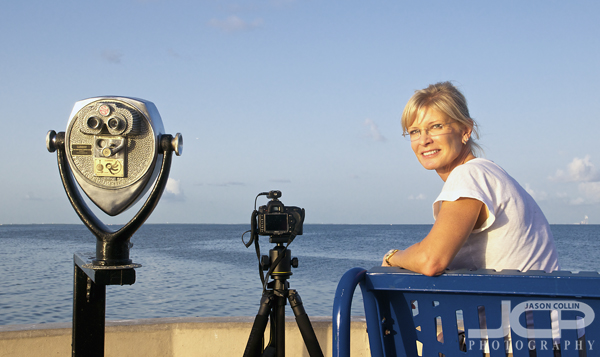
Tim with his new Nikon D7000 with the St. Petersburg Pier in the background during our 1-on-1 photography lessonLike many of the people that take my 1-on-1 DSLR Photography Lessons, Tim just recently purchased his first DSLR making a not insignificant investment in both the body, a Nikon D7000, and accessories and did not want to be stuck shooting in auto-mode.  Prior to our first of four lessons yesterday evening Tim had done a lot of reading and video watching so he was already familiar with the most common photography terms and settings.  During the lesson I helped him understand how all those things (aperture, shutter speed, ISO, focus mode) work together in order to produce a well-exposed and sharp photograph.

Tim's technical expertise from his job I believe also helped him understand things quickly, like how to read the histogram and which way to adjust the shutter speed in order to improve a shot.  We basically stayed in manual mode the entire lesson, a far cry from auto-mode!  

We also had a few other things in common like spending time in Japan to talk about.  For our second lesson we will focus on using his 50mm f/1.8 lens.

Induro CT214 Tripod 1-on-1 DSLR Photography Lesson St. Petersburg Florida with Chris

Chris at The Pier with her new Induro CT214 tripod with her Nikon D90 mounted on the Induro BDH2 ballheadTo my great surprise Chris showed up for our third of four lessons with an Induro CT214 carbon fiber tripod, the exact same one I have!  I gave her some tripod buying advice, but for a truly no comprimses tripod, I can only recommend the one I, myself, bought last summer, which was the Induro CT214 (reviewed in detail here).  After I got over my initial surprise I went about the business of showing Chris all the features of the Induro CT214 that I have amassed in a year of using it as well as good tripod practices in general, like making sure the lens always points out over a leg of the tripod.

She even had new Yongnuo speedlight radio remotes for triggering a flash off camera, but they can also be used to remotely trigger the shutter too, a really cool bonus feature.  This way she was able to shoot from the tripod without adding the risk of camera shake from physically pushing the shutter.  Now that we had all this exciting new gear to use, all we needed was a great location, and The Pier in the evening time always provides one.  There was even a nice breeze making the temperature almost pleasant.

We concluded the lesson up on the top of The Pier photographing the sunset as it dipped below the St. Petersburg skyline (example of the view).  Chris has ample opportunities to photograph the sunset and other great vistas so I look forward to seeing the images she takes between now and our fourth lesson.

Use DSLR self-timer on a tripod photography tip

Use the self-timer on a tripod to reduce shake after pressing the shutter on a DSLRLast week I wrote at length about the benefits of using a cable release when mounting your DSLR on a tripod.  What if you do not have a cable release?  How can you then eliminate camera shake from physically pressing the shutter button?  You can use the self-timer function on your DSLR.  By setting the self-timer to activate the shutter, the camera can come to rest again on the tripod after pressing the shutter to activate the self-timer countdown.  

I have read that some photographers do not believe that 2-seconds is long enough for a camera to completely stop shaking.  2-seconds is typically the first setting for a self-timer.  I have not done my own experiments to see if that is just some serious nitpicking or if shake does still linger.  Given that the next setting for a self-timer on a DSLR is usually 10-seconds, that is quite a long time to wait!  If your DSLR has an option for 5-seconds, that seems like the best choice.

Nikon MC-30 Cable Release Review & Photography Tip

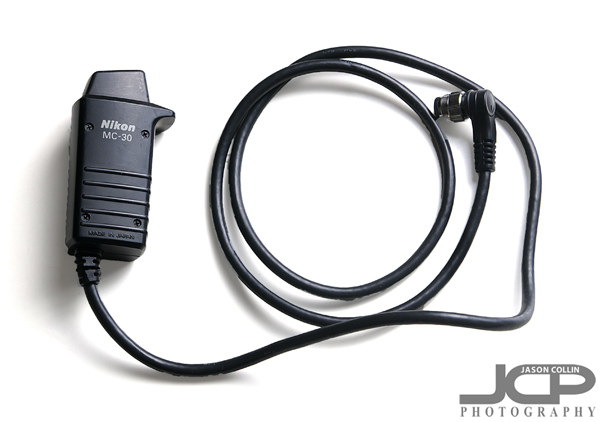
My own well-worn Nikon MC-30 cable release which is an essential piece of gear in my bagI am a very firm believer in having the right tools for the right job, and if you own a tripod, then you certainly should own a cable release as well.  Cable releases tend to only work with a select few DSLRs based on the connection the camera has.  The cable release for my Nikon D300 is the Nikon MC-30 which at the time retailed for $99, but thankfully Amazon.com had it for just $49 on sale.  It currently is priced at $55.61.  There are cheaper cable releases for other cameras and of course much more expensive ones with LCD screens and more functions.  For my $49 I got the most basic cable release you could get, a small rectangle of plastic with a shutter release button and a lock button.  That said, it does its job very well and I have gotten my money's worth out of it.

It just plain feels cool to use a cable release, like you are an old-time photographer.Why do you need a cable release if you already have your camera on a tripod?  Because the act of pushing the shutter with your finger can and will produce shake even with your DSLR on a stable tripod.  Using a cable release along with a tripod insures the most stable shooting method.  Plus, it just plain feels cool to use a cable release!  It will make you feel like an old-time photographer.  It is just another tool, along with a good tripod, that really, really helps you relax while out in the field making photographs.  

The lock button on the Nikon MC-30 helps when shooting in bulb modeThe one feature of the Nikon MC-30 cable release is its lock button, or rather switch on the side of the device.  Being able to lock the shutter open is very convenient when using bulb mode.  This way you do not need to keep the shutter pressed the entire time, you can just lock it.  When I photograph fireworks, I lock the shutter open allowing me to concentrate on blocking the front of the lens with a card.

The unique connector port for the Nikon MC-30 on my Nikon D300Refer to your particular's DSLR maker's website for which cable release will work with your camera because there are several different port connectors on cameras.  One complaint about the Nikon MC-30 is that connecting it is awkward due to the small line up point markings on it, but I actually always attach it blind because the bend of the cable naturally lines up with the pin connector!  Likewise, I never screw the cable onto the port, I just push it in and it has never popped off.

Even at its current price, the Nikon MC-30 can seem very expensive for essentially a piece of wire with a button on it, but I believe the value of having one and using it will definitely help your photography.

  • Read more gear reviews
  • More of Jason's photography tips
  • Take a 1-on-1 private DSLR Photography Lesson with Jason today!
  • Nikon D90 & Nikon D40x DSLR Photography Lesson in St. Petersburg with Chris & Paul

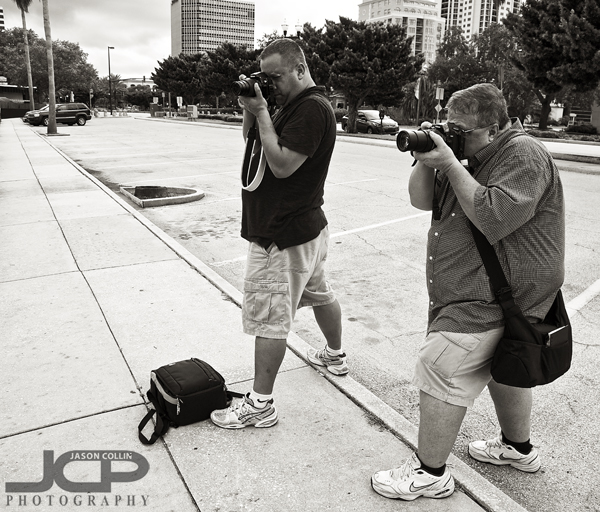
    Chris & Paul showing good shooting form with their Nikons during our photography lesson in St. Petersburg FloridaI met Chris and his father-in-law Paul on a pleasant overcast St. Petersburg evening to help them both get off auto-mode on their Nikons.  Each of them had a few lenses and had been shooting for awhile, but they thought it was time to learn how to take more control over their DSLRs and that is exactly what my DSLR Photography Lessons are designed to do!

    In addition to teaching my four step process for getting the exposure and focus right for any given shooting situation, I also teach several habits of the pro-photographer than anyone with a DSLR should emulate as well.  This starts with safely changing lenses, putting everything in the same place in your camera bag every time, always leaving your DSLR on until you put it away in your bag and of courrse how to properly hold your DSLR to maximize stability (see above stances).

    Once again I did not have to be the model during this lesson as Chris & Paul took turns being the subject for each other as we ended the lesson with a little flash portrait practice using the scenic St. Petersburg harbor as the background at dusk.  I look forward to seeing how their photographs improve as they put the skills we covered to use to take more control over their shots!