 Having a little fun with a Polaroid Photoshop templateA couple of times a year I get the urge to experiment with Photoshop. This time I was searching for postcard templates. I did not find any of those that I liked (I ended up designing my own), but I did find this faux Polaroid Photoshop template. For awhile I was keeping a photo of some keyboardist-singer hanging around that I took a few months ago wondering what I could do with it. I liked the emotion, but I could not really find a fit for it. After I found the faux Polaroid template, I thought they might go together.
HOW TO CREATE YOUR OWN FAUX POLAROID PHOTOGRAPH
First, download the faux Polaroid template from this site. Then open up the .psd file in Photoshop. Also open up the photograph you want to use in the template in Photoshop too. The faux Polaroid template has quite a few layers to it, not all of them I chose to keep.

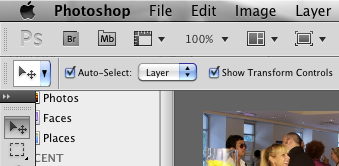
Using the quick select tool with these settings in the screencap above, I clicked on the layers I did not want and then just hit the delete key. Now the template was ready for the photo to be inserted. There was some resizing prep-work to be done on the photo first before it could be inserted into the template, however. I resized the faux Polaroid template to 600px wide (the size of all images on the blog).

Then I measured the actual pixel space available in the template, represented by the black area seen above. I cropped the photo to just a few pixels less in each dimension then resized it. Then it was just a matter of using the quick select tool to drag the photo onto the open black space on the template. The last thing I did was change the text caption.

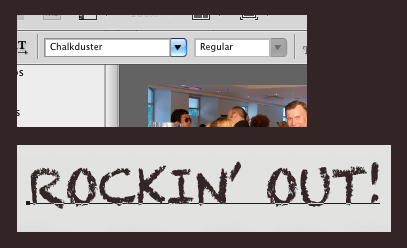
I once again selected the template layer with the quick select tool. Then used the horizontal type tool to write "ROCKIN' OUT!" using the Chalkduster font.
Here is the final image again:

