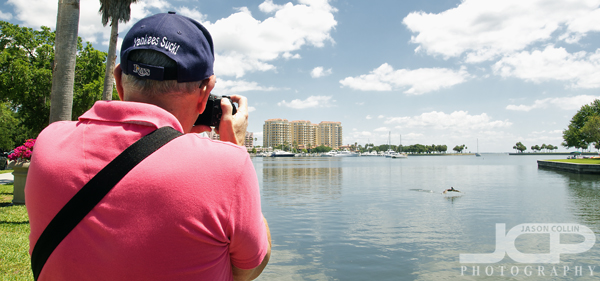
1-on-1 Digital Photography Lesson with Sony Camera in downtown St. Petersburg Florida with Harvey

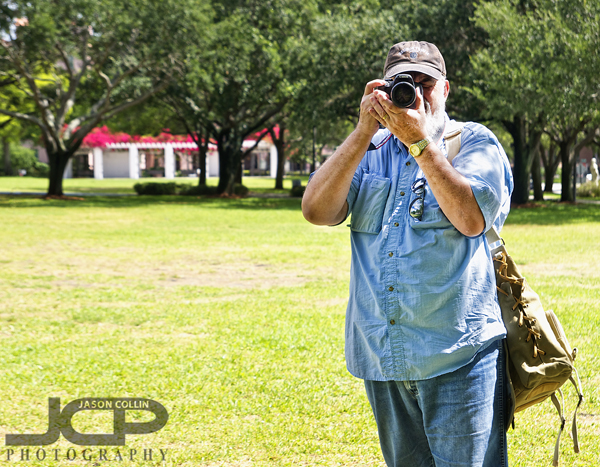
Harvey photographing a pelican coming in for a landing during our digital photography lesson in St. Petersburg FloridaI have been teaching 1-on-1 DSLR Photography Lessons in downtown St. Petersburg for almost four years now.  In that time I believe I have only twice before taught someone with a non-DSLR camera.  My reasoning for that is that there is a uniformity to DSLRs even across brands allowing me to quickly show a person how to shoot in manual mode.  Non-DSLRs have no such uniformity and it took quite some time just figuring out how to change the aperture on Harvey's Sony digital camera.  Although it took more time than usual, I was able to figure out how to use the camera in full manual mode and thus began teaching my 5-step process to Harvey.

He kept asking me, like many people do, "which settings should I use for this and that," which I can never answer because unless I am looking at the same subject and light, I cannot really say.  This is why I stressed to him and to others that I teach a process that allows you to determine which settings to use on your own.  Of course there are basic default settings one can start out with in typical shooting situations, and those can be found in my photography tips section, but I cannot answer questions that contain the words "always" and "settings."

Eventually Harvey became a bit more comfortable, and accepting, of shooting in manual exposure mode.

50th Birthday Party Father & Daughter in Treasure Island St. Petersburg Florida

Celebrating his 50th birthday party with his daughter on Treasure Island - Nikon D300 Tamron 17-50mm @ f/11 1/250th ISO 200 - Strobist: SB-800 to frame left & SB-600 to frame rightI went out to Treasure Island to photograph a 50th Birthday Party at the client's home.  It turned out to not be the usual birthday party photography, but more like a photobooth of people just rotating in and out of in front of my speedlights.  I was hoping to make some more candid and fun photographs of the actual birthday celebrator, and was glad to get in a few shots of him with his daughter playing around.  This was my favorite shot of the some 45 minutes I otherwise spent merely as a photobooth operator.

  • Reserve a birthday party photography package for any age today
  • More information on birthday party and other event photography packages
  • View more birthday party photo stories 
  • Canon T4i 1-on-1 DSLR Photography Lesson in St. Petersburg with John

    John with his new Canon T4i during our 1-on-1 photography lesson in downtown St. Petersburg FloridaOn a surprisingly crisp Florida morning in May I met John in downtown St. Petersburg for a 1-on-1 DSLR Photography Lesson.  His interest in photography has been growing leading him to purchase a Canon T4i making the transition from point-and-shoot to the DSLR world.  He had also starting reading up on photography before we met so he had familiarity with photography terms, but just needed help seeing how they all relate and also simply how to set them on his DSLR.  

    After I showed him around his Canon T4i we walked around the waterfront area practicing how to use the meter to get a baseline exposure, and then how to read the histogram after making the shot to see how the results really came out.  I showed John how to control DoF with aperture and focal length and then concluded the lesson with a little shade versus direct sunlight portrait practice.  

    Photography Tip - get close, then get closer for higher impact images

    Getting in very close on this photograph of Kiki showing her viewpoint and thoughts.Getting in close to your subject is one way to immediately add more impact to the photograph.  Once you think you have gotten in as close as you should, try going in even closer.  This is especially true for portraits, as seen above in the portrait of Kiki seemingly in deep thought.  The framing only reveals her right eye and some of her head leaving all else a mystery to the viewer.  

    It helps to use a macro lens to make this kind of shot.  Another good way is to use a long focal length (200mm+).  

    Get close, and then closer even for group portraits to capture more emotion.The get close, and then get closer composition style also works for group portraits, not just single subject portraits.  In the above example showing the groom and groomsmen head to toe is a fine shot, but the viewer feels distant from the subject.  Zooming in and composing a much tighter shot reveals each person's individual character more and makes for a much more personal experience for the viewer.

    Try getting much closer than you normally do in composing your shots and let me know in the comments below what the results were.

    Two Chefs Commercial Headshots on digital white backgrounds Belleair Bluffs Florida

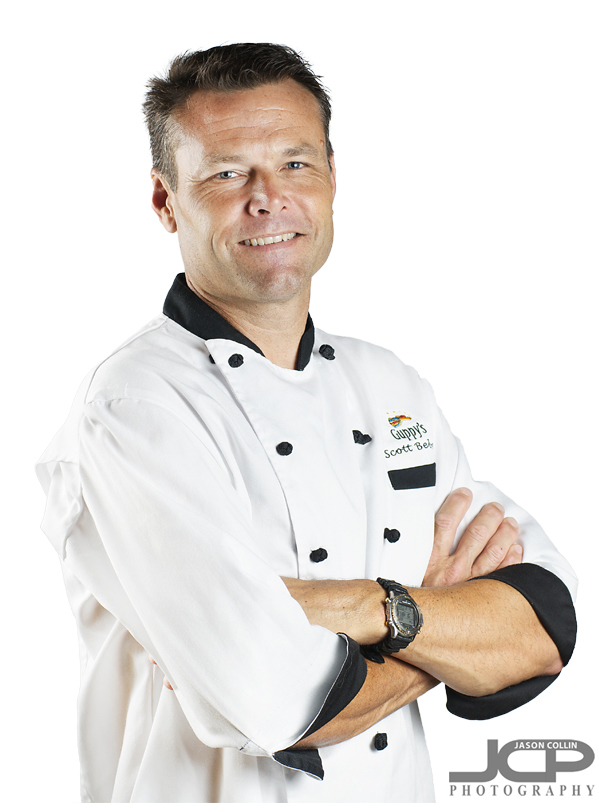
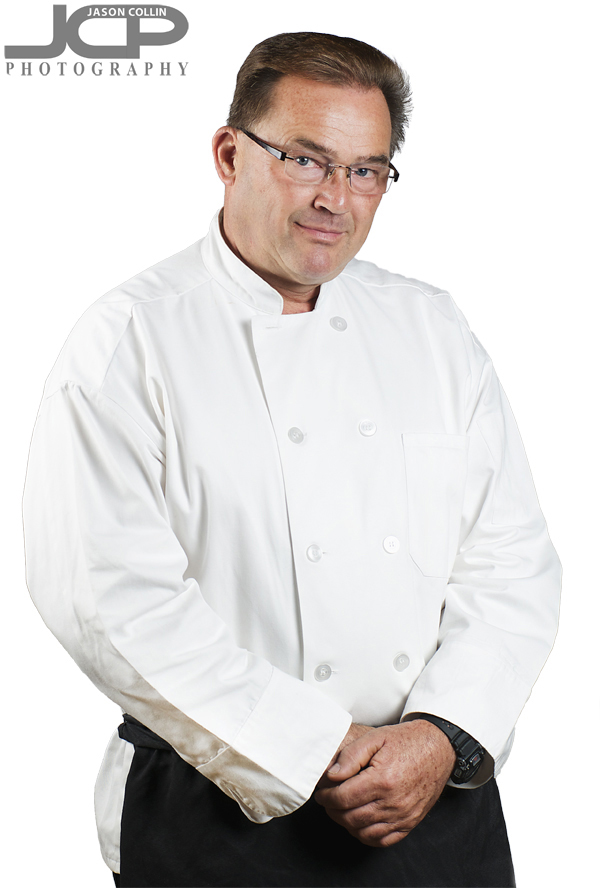
    Chef Scott & Chef Erwin posing for an updated look - Nikon D300 Nikkor 80-200mm @ f/6.3 ISO 200 1/160 - Stobist: SB-800 @ 1/4 power in 43" brolly to frame left & SB-600 in 43" shoot through umbrella to frame rightThis morning I drove over to Belleair Bluffs (surprisingly little traffic) to photograph two chefs.  Networking friend Allen who works in marketing referred this job to me, thank you! (if you need marketing, see his site)  The chefs needed updated headshot style photos for new marketing materials, including a billboard!  So if you are driving around Belleair Bluffs keep a lookout for these images!

    Chef Scott individual promotional shot Belleair Bluffs Florida - Nikon D300 Nikkor 80-200mm @ f/6.3 ISO 200 1/160 - Stobist: SB-800 @ 1/4 power in 43" brolly to frame left & SB-600 in 43" shoot through umbrella to frame back rightI photographed them inside the restaurant itself, but all that was desired by the client was a final image on a clear background.  To make it easy to cut them out of the shot I setup a white background.  The white background in these images here was added in Photoshop.  The client though can add any color or type of background as needed.

    Cheff Erwin individual promotional headshot Belleair Bluffs Florida - Nikon D300 Nikkor 80-200mm @ f/6.3 ISO 200 1/160 - Stobist: SB-800 @ 1/4 power in 43" brolly to frame left & SB-600 in 43" shoot through umbrella to frame back rightI have photographed with clients with glasses before, and have had some challenge getting know glare or reflection showing up.  This time the challenge was a bit more than usual.  I think I learned a tip for eliminating glare/reflection in glasses, have the subject look down slightly.  That was how I was able to make the above photo of Chef Erwin with signature glasses on.

    Harley-Davidson 50mm Motorcycle Series St. Petersburg Florida Photography

    Harley-Davidson in downtown St. Petersburg Florida - Nikon D300 Nikkor 50mm @ f/2.8 ISO 200 1/250thI like to photograph motorcycles with a 50mm lens.  I saw this Harley-Davidson parked in downtown St. Petersburg Florida.  Using a 50mm f/1.8 lens lets me select only a part of the motorcycle to show in focus by using a large aperture creating a shallow DoF.  I like this style for motorcycles where the bike is shown in ever increasing blur from front to back.  

    Shooting motorcycles with a 50mm lens - Harley-Davidson - Nikon D300 Nikkor 50mm @ f/2.8 ISO 200 1/250thUsing a 50mm lens up close also means the whole motorcycle cannot be fit into the frame, which I think is a plus.  It is much easier to get creative with composition with focal length restrictions.  

    Photography Tip - shoot slowly after you push the shutter exhale and follow through

    Wait to do this until you have at least finished pushing the shutter!

    I have noticed when people are beginning to formally learn photography they can be impatient with seeing how their shot came out.  I see this behavior when they are shooting.  It seems almost before they have even finished pushing the shutter they are already looking at the back of their camera to see how bad the shot came out.  I always discourage this behavior and encourage taking your time.  Pushing the shutter on your DSLR, and thus starting the action of making a photograph, is a lot like a swinging motion.  The follow-through is important too.  

    So when you push the shutter, push it and follow through by holding the shot, by exhaling, letting thoughts flow through your mind about what you just did, and then review your shot on the back of your camera.  If you are so hastily looking at your shot after you take it then you were not ready in the first place to even push the shutter.  Prepare more before pushing the shutter so you know what to expect after you do.