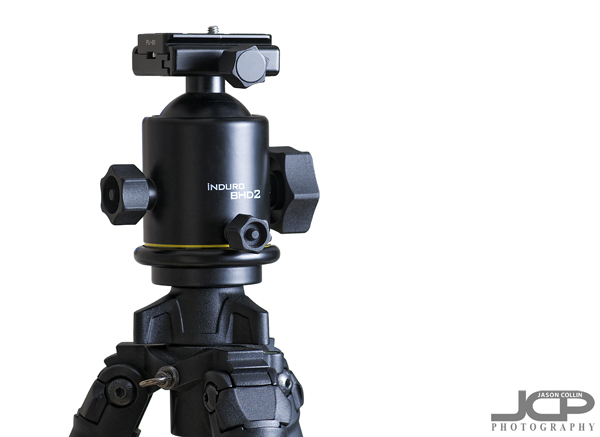
 Induro BHD2 ballhead on top of Induro CT214 carbon fiber tripod legs - $600 well spent - all product shots in this post by Jason Collin PhotographyPhotographer's say to buy the best tripod you can afford because you only ever want to buy one tripod. If you go the cheap route, you will utimately end up spending more replacing the flimsy tripod you first bought with a proper, stable tripod eventually. I can state that this is 100% true. Now, if someone asks me what tripod should I get, I tell them the Induro CT214 carbon 8x legs with Induro BHD2 ballhead. That is also something not widely known, the best tripods are bought in pieces, legs and head separately. After a lot of research looking for a "no compromises" tripod, and by that I mean:
- very stable, light weight, made of carbon fiber, very easy to use, great build quality, taller than 5 feet without using extension column, collapses to a relatively small size for easy transport
. . . I found the Induro CT214 with the Induro BHD2 ballhead to be the cheapest optioin that meets all the above requirements. So exactly how much does the cheapest no compromises tripod I could find on the market cost? $600 . . . and in the nine months I have been using it, it has been worth every penny.
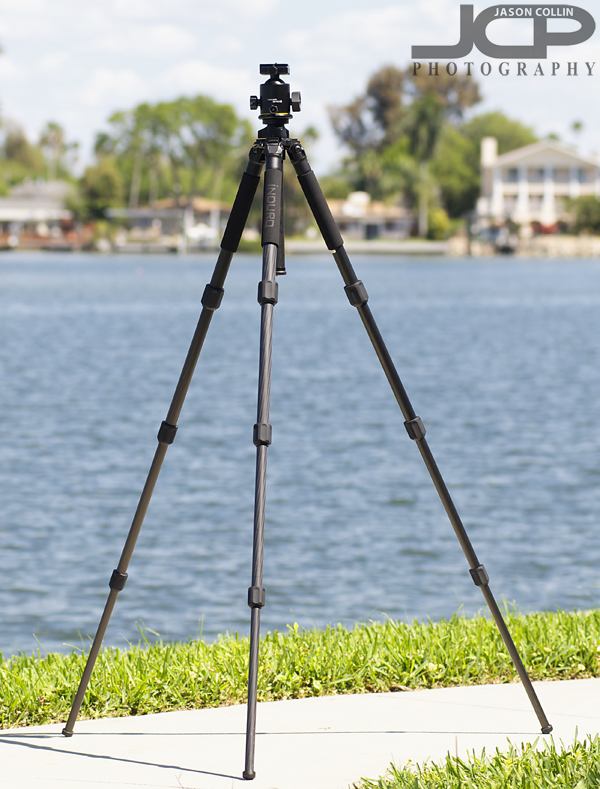 52.6" without column extended offers a very good height on the Induro CT214 legsIt also helped that Scott Bourne, a photographer I respect very much, recommended this tripod and proved it by switching from decades of using Gitzo tripods. For those using lenses 70-200mm f/2.8 and smaller, the CT214 with BHD2 offer a very stable platform that is still light to carry.
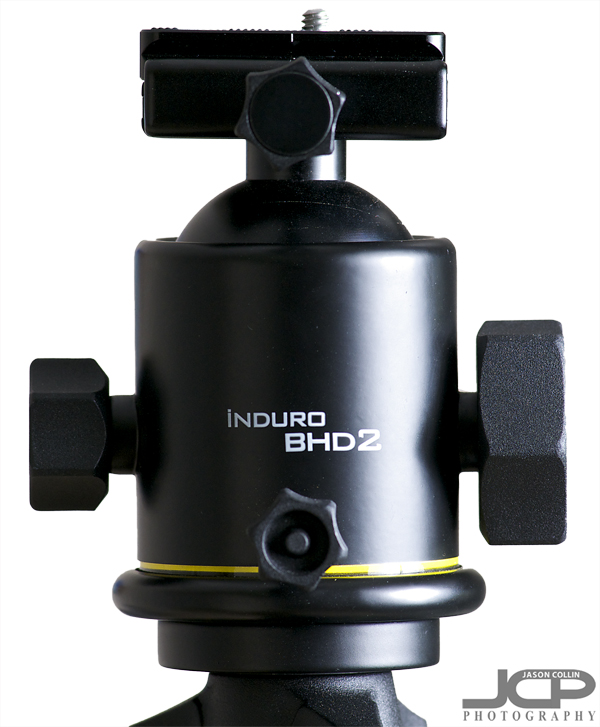 Induro BDH2 ballhead -- from left to right: tension knob, head rotation knob, ballhead release knobWhen first using a ballhead, it may take some getting used to. Adjusting multi-lever tripod heads meant one lever moved the camera only one way. With a ballhead, you can move the camera in any direction by loosening just one knob and than swiveling the camera any way you need.
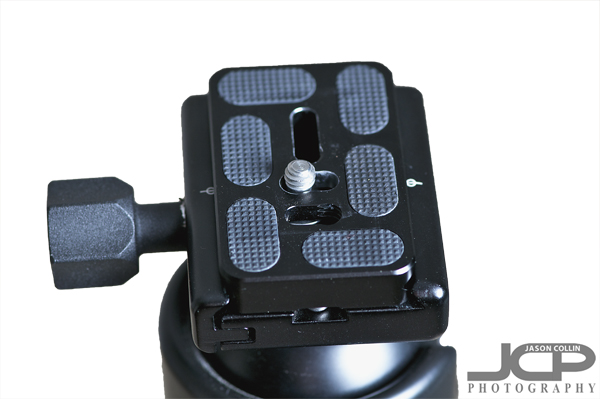 The Induro BDH2 uses and comes with a standard Arca-Swiss mounting plateWhen you attached the Arca-Swiss compatible plate to the bottom of your camera (tool required) and then mount it to the ballhead via its vise-like grip, you feel absolutely sure of the connection. Everything about it feels rock solid.
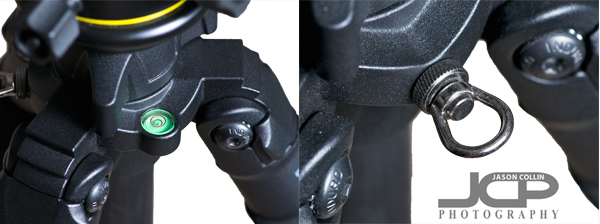 Induro CT214 tripod leg features a built-in bubble levelA small bubble level built into the Induro CT214 legs helps make sure things are level especially when working on uneven ground, though I do not use it much when composing shots, instead using the grid lines in my Nikon D300's viewfinder to fine tune levelness.
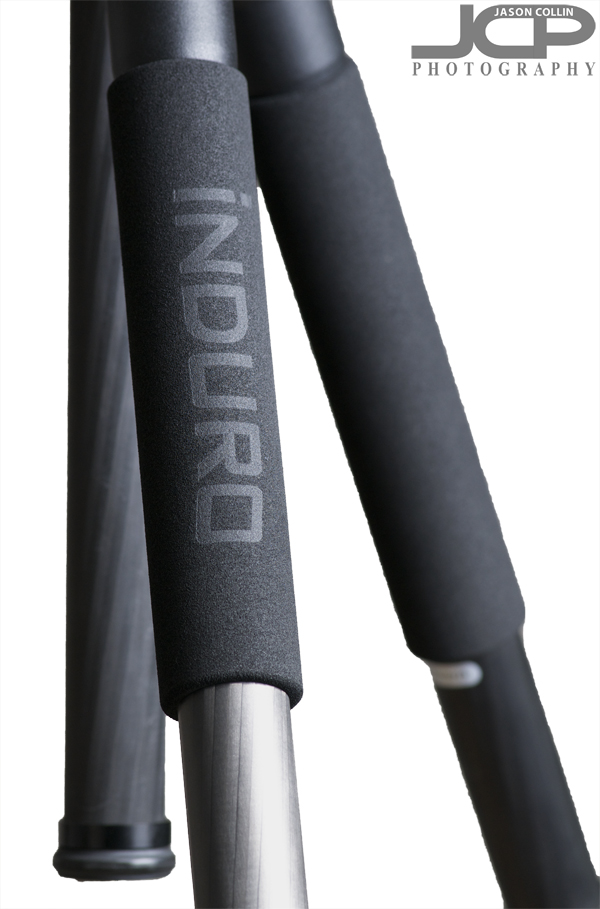 Induro CT214 has foam grips on all three legs for comfort holding & carryingEach carbon fiber leg had a foam grip for ease of holding and using the tripod in very warm or cold climates. I find them to be most useful when carrying the tripod with my camera attached for providing cushioning on my shoulder.
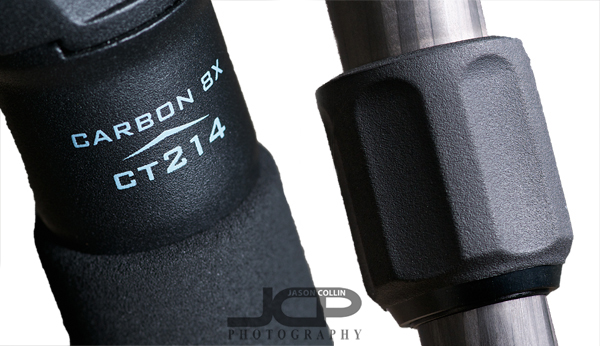 Full Carbon 8x build quality is found in the Induro CT214 along with 1/2 turn only leg locksIt is easy to understand how a lighter, more stable and taller tripod would be easier and more comfortable to use. These qualities of the Induro CT214 can be shown in the included photographs. However, what made me love the tripod from the very first time I used it were the leg locks and the solid locking of the ballhead.
I was suspicious of turn style tripod leg locks being easy to use. I thought, what could be easier than just flickind and shutting a clamp leg lock? Well, only having to turn the leg locks 1/2 a turn before they slide gracefully down and then a 1/2 turn back to firmly lock them in place, that is much easier and a very elegant solution to extending and closing tripod legs.
Then the grip with which the BHD2 ballhead tightens means the camera does not move a few extra millimeters after you compose your shot. That use to drive me crazy about using a flimsy tripod. I get everything framed just right, lock the head, take my hands off the camera, only for the tripod head to creap down a little ruining my carefully composed shot. In nearly all situations, the BHD2 eliminates this. I did notice some ever so slight creep when using my large 105mm macro lens angled downwards. For the most part, once you frame the shot, lock the ballhead, everything stays right in place. I cannot tell you how much of a pleasure that makes using a tripod.
Basically, using a tripod like the Induro CT214 with Induro BHD2 ballhead feels like driving a luxury car, while using cheap & flimsy tripods feels like driving an economy rental car. The price is steep, $600, but if you use a tripod for commercial work like I do, it is a no-brainer, and even if you do not make money from your photographs but love to make photos that require a tripod, the price I believe is still worth it.