great egret

Great Egret Fine Art Composite Canvas Prints St. Petersburg Florida Photography

Now available for purchase is this unique great egret composite print.  Featuring three views of a great egret, including one in flight, all photographed in St. Petersburg, Florida.  

For a limited time only buy this print at 36"x9" on 1.5" thick canvas gallery wrap for $250 including shipping.  Larger sizes are also available.

This print will look great on any wall in your home, office or place of business.  Prints can be ordered as gifts too!

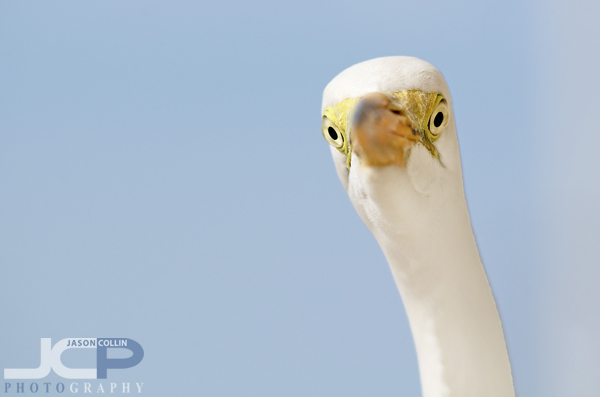
Great Egret looking awkwardly straight on St. Petersburg Florida Fine Art Photography

Great Egret looking straight at the lens in St. Petersburg Florida - Nikon D300 Nikkor 80-200mm @ f/5.6 ISO 200 1/1000thBirds are often seen photographed in profile view where their long beaks compliment their vertical necks.  This is especially so for the great egret who has a very long and slender white neck.  However, when photographed from straight on, such birds lose their elegant appearance and take on a more awkward, comical look as seen above.  I had the chance to get very close to this great egret right at the same eye level as well out on The Pier in downtown St. Petersburg, Florida.

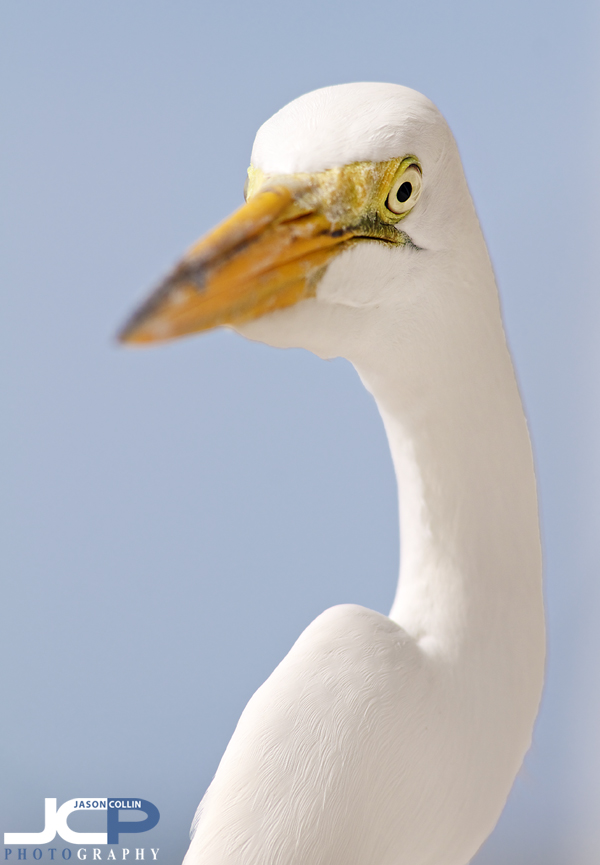
Eye-to-eye with a great egret at The Pier in St. Petersburg Florida - Nikon D300 Nikkor 80-200mm @ f/5.6 ISO 200 1/1000thEven just a little bit less straight on is much more of a flattering look for this great egret!

Photography Tip - use portrait orientation for long tall subjects like a great egret

Photography Tip - portrait orientation allows the great egret to fill the frame - The Pier, St. Petersburg, Florida

  • Setup:  Nikon D300 Nikkor 80-20mm f/2.8D @ f/4 ISO 200 1/2000th 

Getting into a fixed routine of using landscape orientation with your DSLR is easy.  After all, the DSLR seems to be designed to be held horizontally.  However, only using landscape orientation eliminates 50%+ of composition possibilities!  Not to mention it makes it extremely awkward to photograph long, tall subjects like the above great egret.  Perhaps the best criticism I was every given about my photography was there there were not enough portrait orientation shots (thanks Jeff!).  I was told that over two years ago.  Ever since then every time I shoot I am mindful of using an appropriate amount of landscape and portrait orientation shots.  Maybe now you will be too.

When shooting in portrait orientation, I like to hold the grip part of the DSLR up, which allows me to still wedge my left elbow into my body creating a stable shooting position.  The highest end DSLRs (i.e. $5000+) come with a vertical grip built in.  However, many other DSLRs do have vertical grip accessories available for them made by the manufacturer.  Another benefit of using a vertical grip is that it houses more batteries so you can shoot longer.  

This great egret photograph is available for commercial license and fine art print

Photography Tip - Use Photoshop Clone Stamp Tool to clean backgrounds

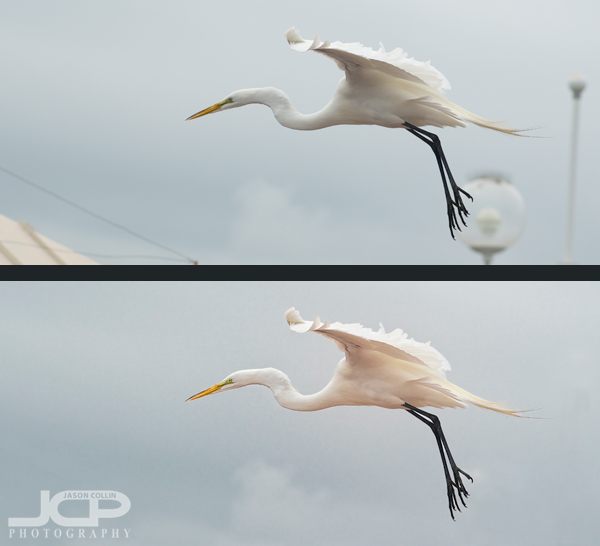
Top: the original RAW image Bottom: after using clone stamp tool to clean background

When I go around saying digital photography editing skills are 50% of what you need to produce a satisfactory final image, I really mean it even though every other photographer around would probably disagree with that.  I invite you to look at the above before and after shots and tell me in the comments below what percent digital editing had in helping the final image be all it could be.  

For this photography tip I will just concentrate on: 

  • how I used the clone stamp tool in Photoshop CS5 to clean up the background, i.e. removing the light posts and wires 

When I first pulled up this photo in Aperture 3, I really liked the bird in flight action.  The great egret was caught in an unusual mid-flap wing position.  However, the background was not clean and the egret's feet were overlapping a light post.  Then there was the corner of a roof intruding in the lower left of the frame.  Finally, there was a single tall light post on the right of the frame that was another distraction.  

To me the two things that really make a photograph of a common subject matter standout are light and background.  You need good light for a flattering exposure and a clean background to let the subject stand out.  While it is entirely possibly to be at a location where one can get both of these things just right, I, myself, do not want to be limited to just those exact right circumstances.  Hence, I have worked on my clone stamp skills with earnest.  
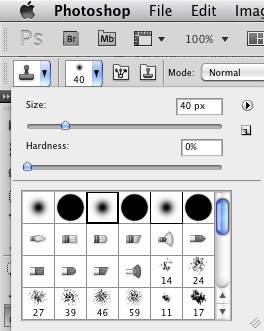
Now, if you have used the clone stamp tool in Photoshop you know it kind of has a mind of its own.  It almost never works like you want it too, especially if you use it in broad strokes.  First, in order to be able to use the clone stamp tool, you must have a source area in your photo you can sample from.  In the great egret shot, I have plenty of other gray clouds to sample to later stamp onto the light posts.  Really this is an ideal shot for using the clone stamp tool to fix because of the ample source cloning material, the relatively small amount of area that needs to be stamped on, and the fact that the subject does not much overlap any of the background distractions (just a bit of feet do).  

The shortcut for selecting the clone stamp tool is "S" and the key to using Photoshop efficiently is learning as many keyboard shortcuts as you can.  To change the size of the brush use the bracket keys:  ] and [   To sample an area hold the Option key (on a Mac) then click on the desired spot.  I very rarely use the clone stamp at 100% as that makes is hard to control and often artifacts are introduced.  For this shot I mostly used 80% opacity.  Once I sampled a cloud I stamped in ver short strokes, never more than one or two at a time.  Then I would go back and sample the same or another area.  Also, I almost always use a soft brush (see screenshot).  

So to summarize how I use the clone stamp tool in Photoshop CS5: 

  • "S" to select it
  • [ ] to change brush size
  • type 8 to change opacity to 80%, etc
  • Option-click to sample an area
  • Use short strokes
  • Resample every one or two strokes as needed 

Try this clone stamping technique on one of your photos and post a link in the comments below to a before and after shot, or e-mail the shot to me and I will include it in this post.

Great Egret flying in St. Petersburg Florida - bird photography tips

Great Egret in flight - St Petersburg Florida - Nikon D300 Nikkor 80-200mm f/2.8D @ f/4 ISO 200 1/2500thContinuing with the bird trending blog posts, I had the opportunity to photograph a great egret up close and in flight.  As you can see I did not have to use a 600mm lens to get this tight of a shot of the great egret.  Nor was I in an airplane.  The secret to being able to get a shot like this without spending $10,000 is to . . . go to The Pier in downtown St. Petersburg!  Even the base of The Pier itself is rather high off the water often putting you at eye level to passing and even incoming birds.

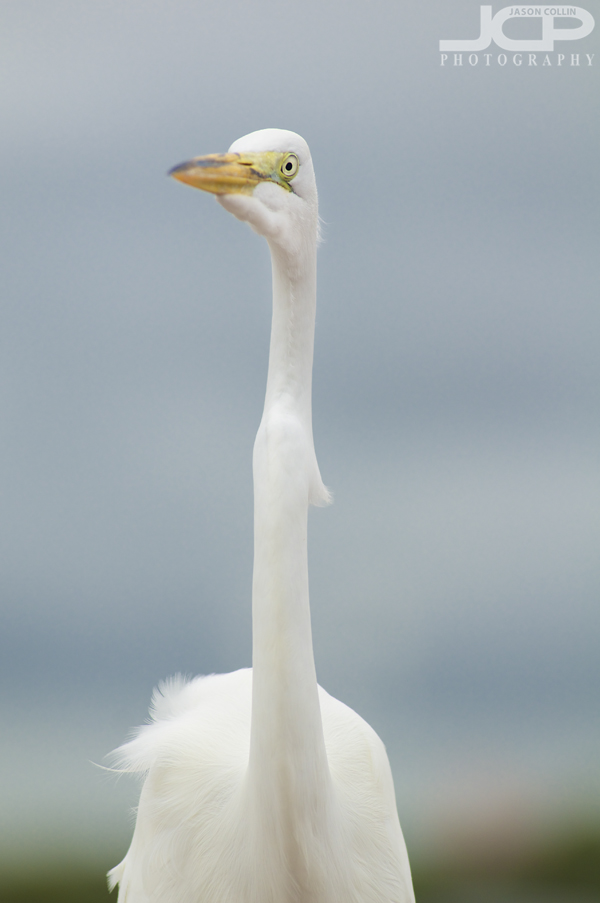
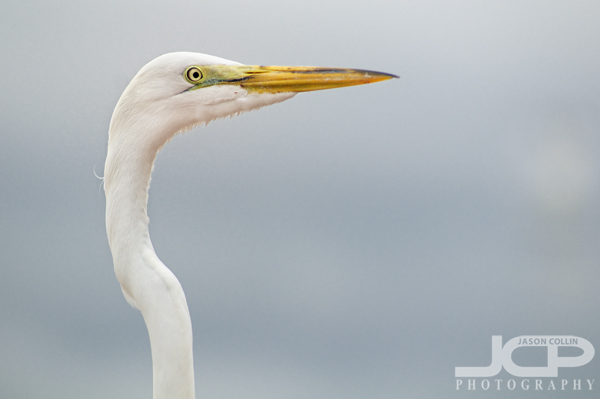
great egret - The Pier in St Petersburg Florida - Nikon D300 Nikkor 80-200mm f/2.8D @ f/4 ISO 200 1/2000thThis afternoon was a rare very overcast Florida day.  That meant I did not have to worry about getting my back to the sun or anything like that.  In fact, shooting a white bird like this great egret is best done on an overcast day I think, not counting sunrise or sunset time of course.  So, without having to worry about the light because the light was the same from any direction, the last location factor to be mindful of was:  background.  I often say bird shots are make or break first because of the light, and second because of the background.  Without a fantastically clean background, your shot will just not stand out from the other thousand great egret shots taken every day in Florida.  Of course one of the ways to reduce the impact of the background is to just make it all creamy bokeh.  Still, color of the bokeh does come into play.  Do you think the transition of brown at the base of the above photo works, or would it be better all blue-gray?  I thought it added another point of interest in the frame myself.  Let me know in the comments if you agree or disagree.  One last thing about the photo, looking at a bird like a great egret is strange and reminds of the rare times Beavis every looked straight ahead.  There is just something off about it!  Ah, and notice how I set the focus on the bird's eye.  Without the eye in focus, the shot would have been a fail, or I would have had to pass it off as "artistic style" of some sort!

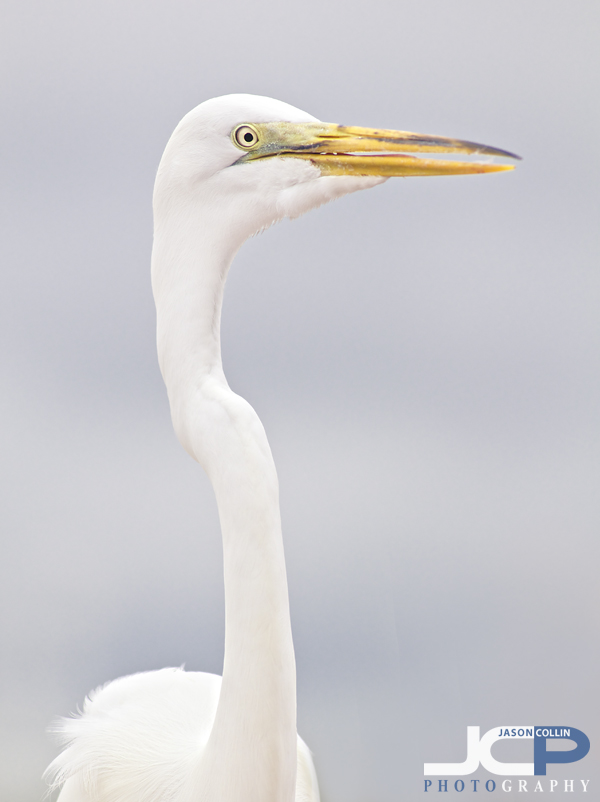
Great Egret beak - The Pier St Petersburg Florida - Nikon D300 Nikkor 80-200mm f/2.8D @ f/4 ISO 200 1/2000thOne last tip on photographing long-necked birds:  they are an awkward shaped creature, and it is often not the most flattering to include their entire body in the shot, especially when standing, and doubly especially when they are standing on a concrete wall!  Nothing takes the nature out of your shot like a human-made structure!  

Hence, in the above shot I focused on framing only a part of the great egret.  I used the rule of thirds and placed the eye in the upper left most third.  I had the bird looking into the empty space of the frame.  I of course also made sure the background was clean and the bokeh color complementary to the white of the egret.  Plus, I just think it looks cool to see this long neck protruding from the bottom of the frame.

Please share any of your Florida bird photography tips and links to your own shots in the comments below.