composite image

Professional Bottle Product Photography in Albuquerque for Keto Cola

Professional Bottle Product Photography in Albuquerque for Keto Cola

Professional Bottle Product Photography available in Albuquerque

I often learn new things about photography because of getting certain photo jobs. Such was the case with this shoot for Chuck, founder / inventor of Keto Cola. I had never photographed bottles before so it was an adapting, adjusting, and refining process to make these cola bottle photos. Once I got the setup fine tuned for the result Chuck liked, it was then a one right after the other process that I could consistently repeat. I got to use my Light Cone from V-Flat World and my new continuous LED lights. This combo, along with shooting tethered with live view allowed me to show Chuck what the final photo would look like without even pushing the shutter. The glowing yellow photo you see above is a composite image I made using three different bottle photos.

Read More

Professional Commercial Photography of LED Panels in New Mexico for Planar

Professional Commercial Photography of LED Panels in New Mexico for Planar

Composite photos for the best commercial photography

I was contacted by Planar two months ago to make professional commercial photos of their LED panel displays products they installed in a call center in Hobbs, New Mexico. However, Covid-19 soon shut everything down and it took until now for it to be safe to travel to Hobbs and finally make the photos. To make these images I knew the challenge would be how to capture the bright LED displays in a dimly lit space.

Read More

McLaren 650S in black multiple strobist blend layer mask photography tip Clearwater Florida Car Photography

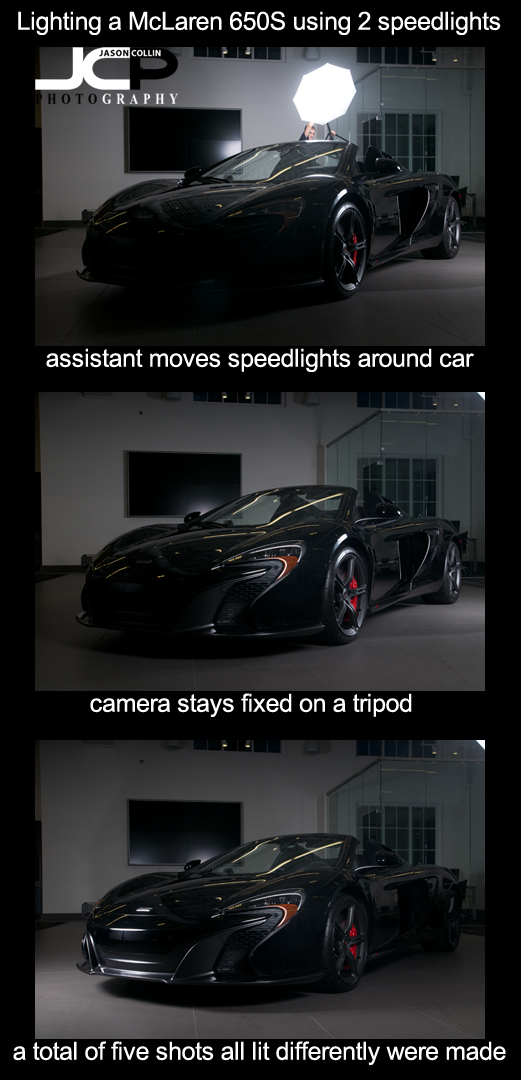
What if you want to photograph a large object, especially in a low light situation, but you only have two speedlights, or even only one?  No problem!  Here is how you can do it and what you will need.

Photo gear used to photograph the McLaren 650S indoors:

  • Nikon D300
  • Tamron 17-50mm f/2.8
  • SB-800 & SB-600 Speedlights
  • 2 shoot through umbrellas
  • Yongnuo radio triggers
  • tripod
  • cable release
  • assistant (to help move and hold the lights)
  • Photoshop CS5

A tripod is a must because you will need to take multiple shots from different angles to properly light the subject, in this case the McLaren 650S supercar.  In all I ended up using five photographs to make the one fully lit photograph (below).  I lit the front of the car first, then moved the lights around the car (counterclockwise in this case) taking another photograph each time.  I even had my assistant hold a speedlight over the top of the car (see top most image).  The assistant being in the shot or a lightstand partially being in the shot is no problem at all as the final step takes place at home in Photoshop using layer masks.

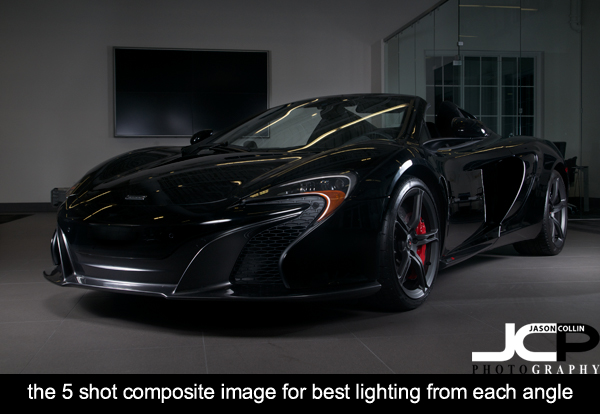
In the above photo all 5 shots have been blended together one at a time using layer masks in Photoshop.  I started with the shot of the McLaren 650S lit from the front.  I then dragged it onto the next photo in the series with the driver's side wheels lit up.  I created a layer mask and then revealed the lit wheels photograph underneath, keeping the front lit part from the other photo.  I then flattened all layers and repeated this process using the other three photographs.  You can see shadows from coming from more than two angles in the above shot because effectively ten speedlights were used to light up the car, not just the two in reality I had for the shoot.  

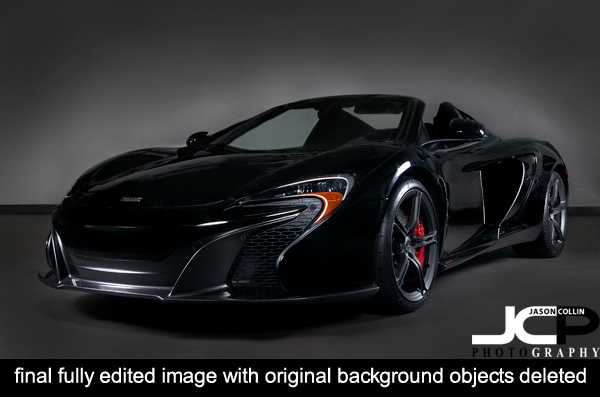
I could have stopped with the 5 shot composite, but I got carried away with removing objects from the background until I finally decided just to remove them all!  I started this edit on Saturday night, and finished it on Monday afternoon it took that long and I kept wanting to do more and more to it.  I did nothing special to remove the background objects, just simply used the Clone Stamp tool on only carefully selected portions of the photo.  Then I removed a lot of the reflections on the car body and cleaned up the floor.  The final result was my most advanced photopraph edit in Photoshop to date!

Give this multiple exposure strobist blend layer mask type image a try and let me know the results in the comments below.

Lightning Fine Art Photography St. Petersburg Florida Snell Isle Composite

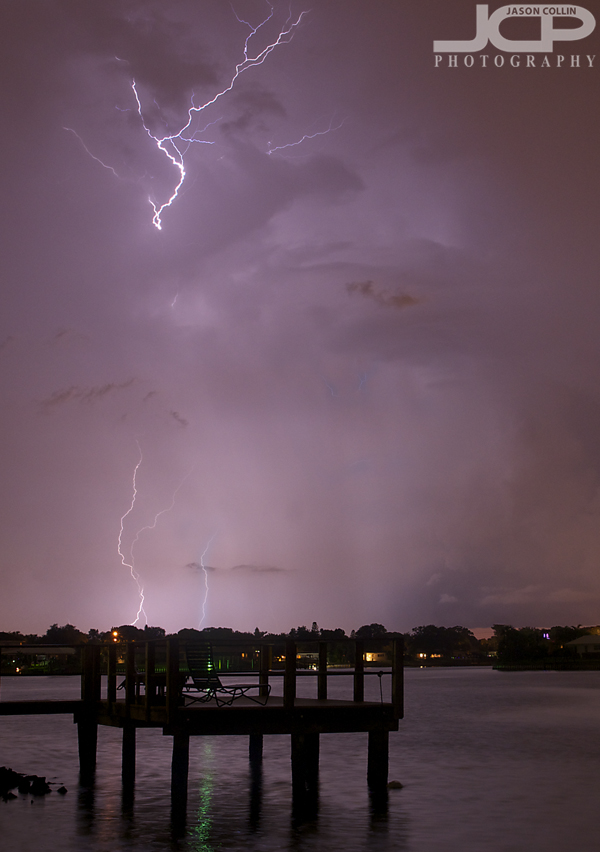
Lightning over Smacks Bayou, Snell Isle, St. Petersburg Florida fine art photography - Nikon D300 Tamron 17-50mm @ f/8 ISO 200 17.1 secMy after dinner twilight walk with Kiki was thwarted this evening by rain and lightning.  So after going back inside I mounted my Nikon to my tripod to see if I could get lucky and capture a few bolts.  Of course the lightning was striking much more frequently when I was out with Kiki than when I was actually out with my camera, but with some patience I finally got enough lightning in a shot to fill the frame.  The image above is a slight composite of two images to add just a bit more lightning.  

Photography Tip - replace a busy background with clean sky Corvette Photography

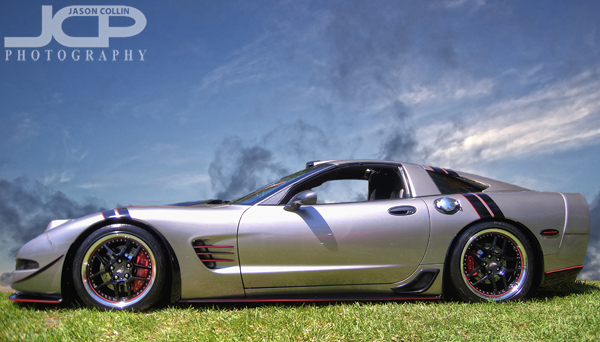
This Corvette is real, and the sky is real, but they were not really photographed together.

I went to a Corvette car show in South Straub Park this past Saturday mostly to meet the owner of the above customized Corvette.  I first photographed his car back in November.  He was not by his car at the time and only by chance found my photograph of it.  Since then I have been in regular contact with the owner, Bobby, about possibly doing a full shoot of his Corvette.  That still has not happened yet, but at least on Saturday I got a chance to go see him and say hello.  
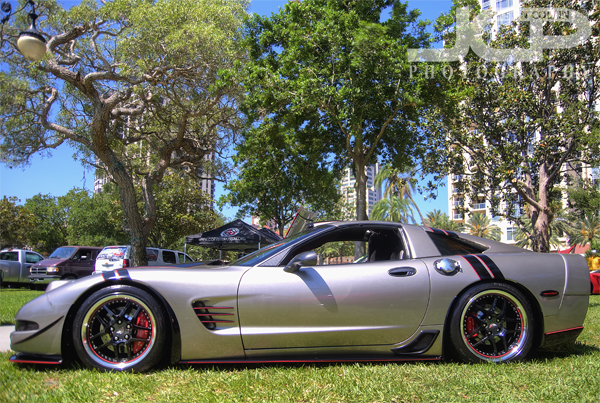
This is the original image as made on site at a car show in St. Petersburg FloridaI have written several times that shooting cars at car shows often results in less than desirable images, if you want the focus to be on the car itself.  This case was no different as the trees in the background compete for the viewer's eye just as much as the Corvette.  The solution for a busy background?  Replace it with a better one!
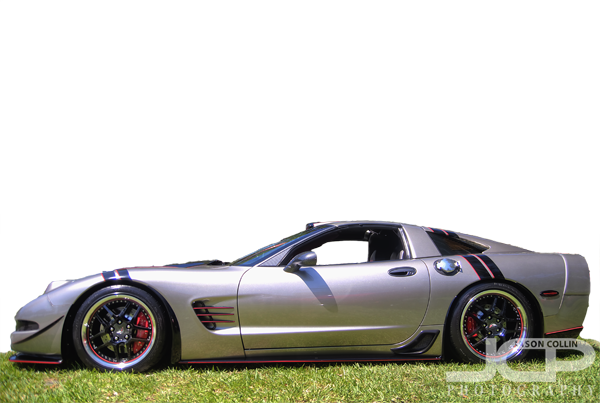
Corvette cut out from the background using Photoshop Quick Select ToolIt was pretty straight forward to remove the Corvette from its background using the Quick Select Tool in Photoshop.  I kept the grass foreground as seen above.  I was careful to of course not select the inside of the window so that too could be part of the background replacement.

The replacement background used in the composite image.I went into my photo archives to look for a suitable replacement background.  Using actual objects is rather hard to do as proportions can be very difficult to match (car looks giant, buildings look tiny, etc).  A sky background is usually a good and easy replacement background subject.  I used one I made of Sunset Beach on Treasure Island, Florida.

The new background slipped right behind the Corvette, window included.Then it is just a matter of slipping the sky background layer behind the Corvette layer in Photoshop.  I positioned it taking into consideration cloud placement.  I did not even need to cut out the sandy beach part because that is all hidden behind the Corvette.  The above image is the final composite photograph which allows the viewer to focus on the Corvette as the subject.

Motion blur added to a more advanced edit of the Corvette composite image

After getting a composite image I liked, I experimented with even more Photoshop editing.  I added a motion blur to the grass and a radial blur to the tires to create the illusion that the Corvette is speeding along on the grass.  I darkened the window and put in a silhouette of my own head to show a driver inside to help complete the motion illusion.  What do you think of the motion shot?  Is it convincing or not quite there yet?

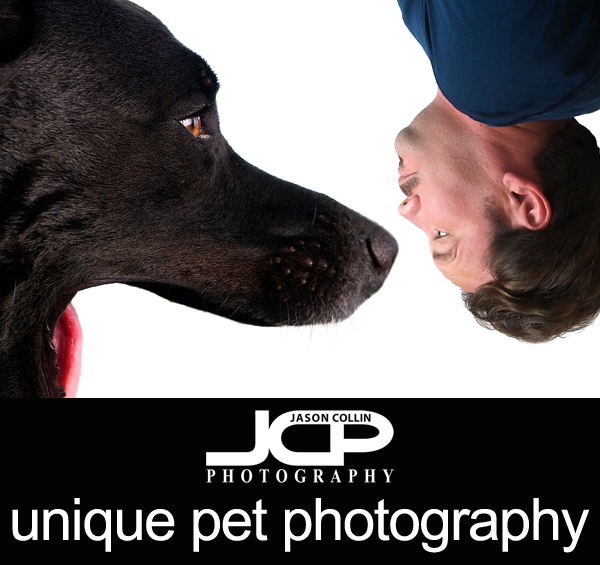
Unique Pet Photography - Kiki & Jason out of perspective

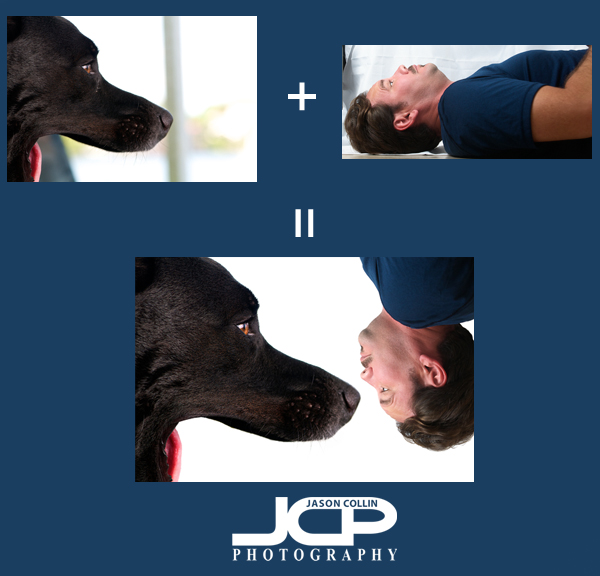
How can you make a unique photograph?  How can you push the bounds of what a photograph can be?  A single exposure, a single shot, that can create a great pet photograph no doubt.  However, it is limiting in just how unique a shot can be.  I am always thinking of ways to make unique and interesting pet photography shots, and photographs in general.  In the above composite photograph of me and my beloved puppy Kiki, I took a shot I made of Kiki over a year ago and combined it with a self-portrait I just made this afternoon.  Below is how I did it:

I already had the shot of Kiki edited onto a white background.  The original photo was mostly white in the background, but I still used the Quick Select Tool in Photoshop to cut Kiki out of it and then paint in a digital background.  I have that photo printed out and on a shelf in my bedroom so I see it every day.  It popped into my head recently to put myself into that image to make it appear that Kiki was about to swallow me.  There was not enough space under her upper jaw for me to really be seen, so instead I used a flipped self-portrait in a perspective showing me to be actually smaller than Kiki, adding to the uniqueness and strangeness of the final composite image.