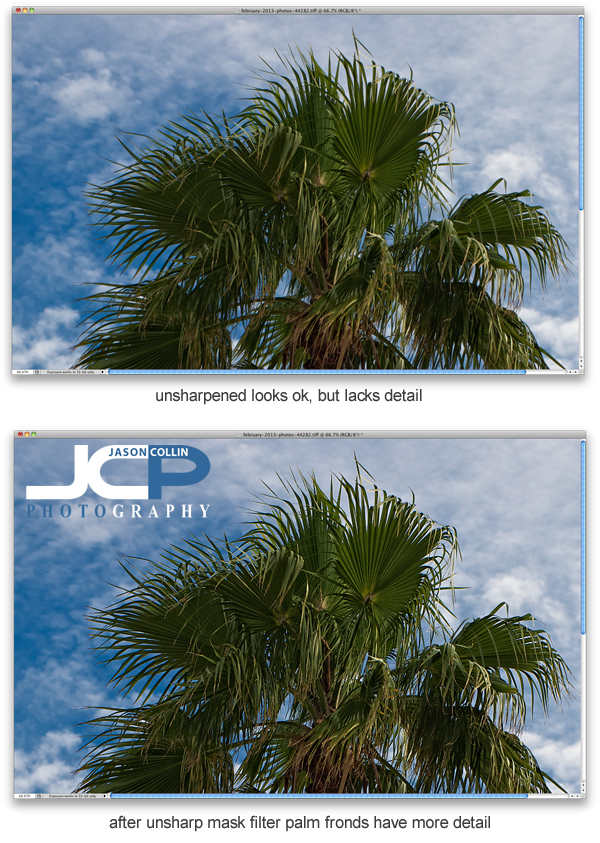
Sharpening is a key part of editing digital photos and perhaps one that goes overlooked due to thinking sharpening is not needed. On every shot I edit, I use the Unsharp Mask filter in Photoshop (I still use CS5). In the above example of a cabbage palm tree, I did all my usual editing except sharpening. The unsharpened image may look fine, but I know it can look better. In the sharpened version much more detail is visible in the palm fronds, especially on the edges. Another photography tip within a tip, I did all other editing first because sharpening should be the last thing done when editing an image.

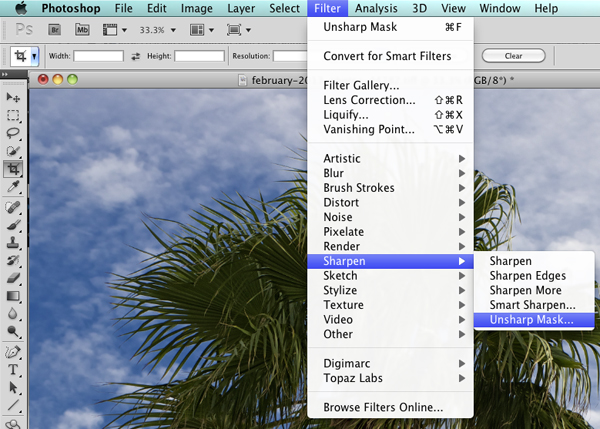
To find Unsharp Mask in Photoshop go into the Filter menu, then Sharpen, and there you will find Unsharp Mask. I kow it sounds totally crazy to use something called unsharpen to sharpen, but that is just one of the thousands of quirks you either find charming about Photoshop or infuriating! Note that if you used Unsharp Mask already, on a Mac you can just hit CMD-F to apply the same sharpening to the current photo you are working on.

You can see the settings I use in the Unsharp Mask filter in the above screenshot. Radius and Threshold never change and are at settings I found I liked, though I learned these from another photographer and fine tuned them a bit. The only setting of the three I change when applying the Unsharp Mask filter is the Amount percent. For a very large majority of my photographs, I use 60%. For portraits (single subject) I may use less. For HDR shots, I may use more. Each camera and lens may dictate more or less sharpening to be used.
Try out the Unsharp Mask filter and let me know what you think in the comments below!
